Why You’ll Love This DIY
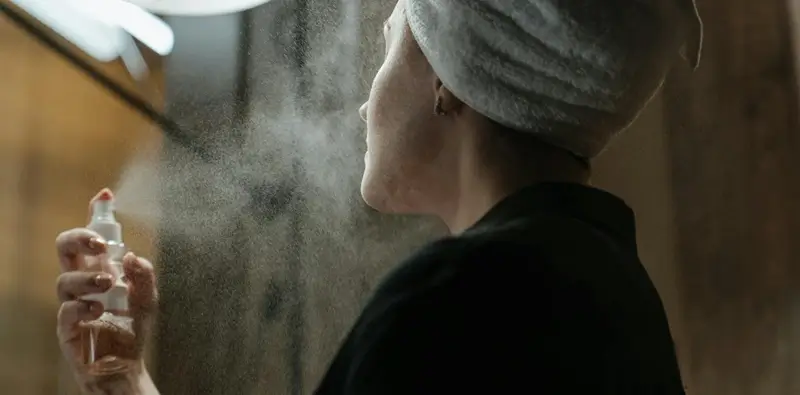
DIY rice toner for skin and hair is a natural, easy way to nourish your skin and hair with minimal effort. This 2-ingredient wonder combines the soothing power of rice with the refreshing benefits of rose essence, making it ideal for both your skin and hair. It’s quick to prepare, cost-effective, and gentle enough for daily use.
Whether you’re looking to brighten your complexion, reduce skin irritation, or add shine to your hair, this toner does it all. With just two ingredients, you can create a multi-purpose product that nourishes and revitalizes both your skin and hair.
Gather the Ingredients
Choose high-quality ingredients to boost the effectiveness and safety of your DIY beauty products.
- White Rice
- Rose Water
Did You Know?
Rice is so nourishing that it’s even fed to infants for growth, thanks to its rich vitamins, minerals, and amino acids. Its benefits extend beyond nutrition, making it a key ingredient in skincare and haircare. The starch in rice helps to hydrate the skin, promote cell regeneration, and tighten pores, which is why it has been used in beauty routines for centuries.
In addition to its skincare benefits, rice strengthens hair and adds shine. When used as a toner, it helps brighten the complexion and improve skin texture. This simple, natural ingredient is a powerhouse for both skincare and haircare, offering a gentle and effective solution to nourish and rejuvenate.
Gather the Gear
- Small bowl
- Standard glass, approximately 240 ml (8 ounces)
- Tablespoon
- Suitable bottle with a spray nozzle to store your DIY Rice Toner for Skin and Hair
Prior to use, ensure that both your utensils and containers are properly cleaned and disinfected. Wash them with warm soapy water, dry with a tissue, and then sanitize by spraying with 70% medical alcohol. Wipe them clean and let them air dry before use.
Let’s Make DIY Rice Toner for Skin and Hair
Spoons Explained!
In some articles, we use spoon measurements for non-liquid ingredients. These terms apply to both tablespoons and teaspoons:
- One Spoon: Ingredient filled and leveled in a measuring spoon.
- Rounded Spoon: Ingredient slightly piled above the spoon’s edge.
- Heaped Spoon: Ingredient scooped as high as possible on the spoon.
- Slightly Heaped Spoon: A bit more than a rounded spoon but not overly heaped.
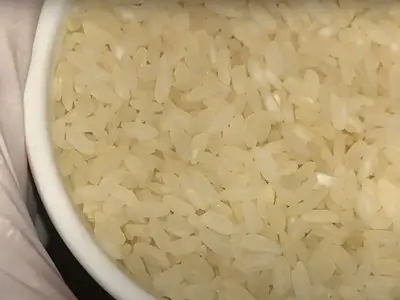
1- Begin by placing 2 heaped tablespoons of white rice in a small bowl.
2- Wash the rice with water, as you would when preparing it for a meal.
3- Fill a standard glass with rose water, approximately 240 ml (8 ounces), leaving some space at the top.
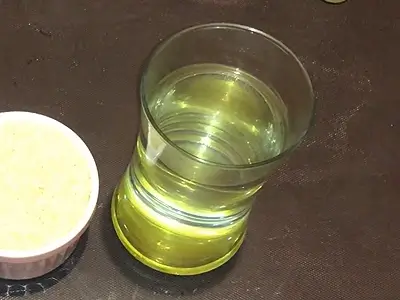
4- Warm the rose water slightly in a bain-marie. A bain-marie is a gentle heating method where the glass of rose water sits in a pot of warm water, preventing direct heat. This ensures the rose water is warmed without overheating. Be sure it doesn’t get too hot.
5- Pour the washed rice into the glass of rose water.
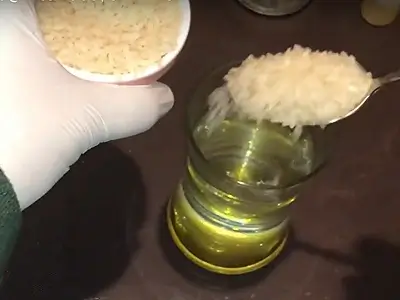
6- Stir the rice and rose water with a spoon. The liquid immediately turns milky white because the rose water is a little warm. This indicates the mixture is beginning to infuse.
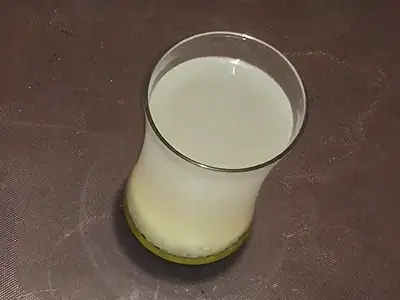
7- Allow the mixture to sit overnight or for 24 hours to fully infuse. This ensures that the rose water absorbs the beneficial nutrients and compounds from the rice, maximizing its effectiveness. The rice’s starches, amino acids, and antioxidants will gradually blend into the rose water, enhancing its nourishing properties for skin and hair.
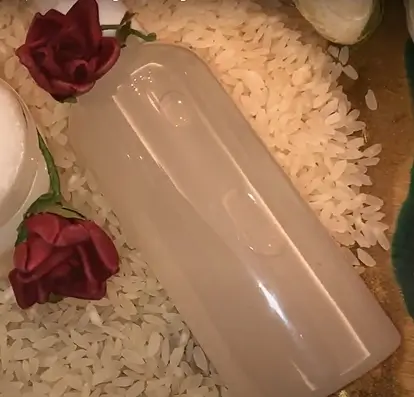
8- After the infusion period, pour the liquid into a suitable bottle with a spray nozzle for easy application. Your DIY rice toner for skin and hair is now ready to use.
9- Store the toner in the fridge and use it within 7 days. After this period, discard any remaining toner to ensure it retains its full potency and benefits.
Using It Right
This DIY rice toner is a dual-use toner designed to nourish both your skin and hair. To keep it fresh and effective, store the toner in the fridge and use it within 7 days. After that, any leftover toner should be discarded to ensure maximum freshness and potency.
Before using the toner on your face or hair, it’s recommended to perform a patch test to check for any allergic reactions, especially if you have sensitive skin. Simply apply a small amount to your wrist or behind your ear and wait 24 hours to ensure there’s no irritation.
For Skin:
a. Cleanse: Start by cleansing your face with water and soap or a facial cleanser of your choice.
b. Toner Use: Apply the rice toner before or after your rice cream, depending on your preference.
c. Spray: Gently spray the toner onto your face, ensuring even coverage.
d. Frequency: Use the toner up to three times a day — morning, afternoon, and evening — for best results.
For Hair:
i. Post-Shower: After showering, towel-dry your hair so it’s damp.
ii. Spray on Damp Hair: Apply the toner to your roots and hair length, ensuring full coverage.
iii. Massage: Gently massage the toner into your scalp and hair for better absorption.
iv. Leave In: Let it air-dry or style your hair as usual, enjoying the added nourishment and shine.
This simple routine is a great way to add natural nourishment to both your skin and hair, with the powerful benefits of rice!
The Sweet Rewards
Hydration: It deeply hydrates the skin, providing nourishment and reducing dryness.
Tighter Pores: The toner tightens pores and helps balance oil production, promoting a clear and even skin tone.
Brighter, Smoother Skin: Regular use of the rice toner helps to brighten your complexion and smooth your skin, leaving it refreshed and glowing.
Shinier, Stronger Hair: For your hair, the toner adds natural shine and strength, making it softer and more manageable.
Frizz Control: It helps to reduce frizz, improving the overall texture of your hair.
All-Natural Benefits: You get a gentle, natural solution that’s perfect for daily use, offering effective skincare and haircare without any harsh chemicals.
Continue Your DIY Adventure
Browse through these articles on similar products to enrich your DIY crafting experience!
- DIY Massage Oil for Couples: Create a Sensual and Relaxing Experience at Home!
- DIY Face Toner with Rose and Niacinamide (Vitamin B3): Clear and Luminous Skin Naturally
- DIY Frankincense Face Serum: 3 Ingredients for Natural Skin Firming and Radiance
See How It’s Done on Jinane World YouTube
The steps to make the DIY Rice Toner for Skin and Hair are demonstrated in this video starting at timestamp 08:02.
