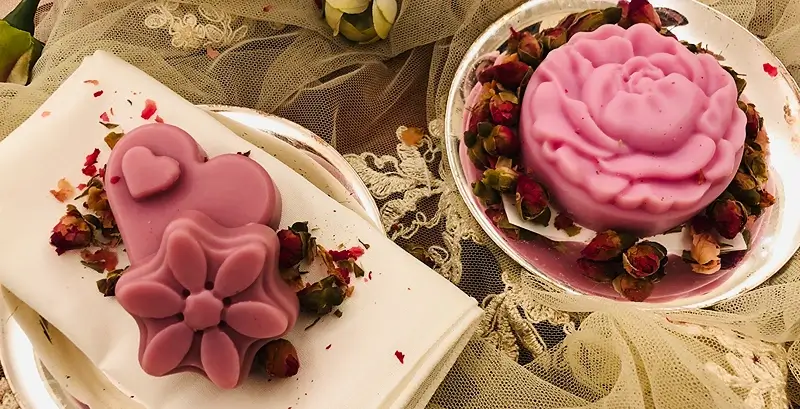
Why You’ll Love This DIY
The DIY solid lotion bar for dry skin is a game-changer for anyone looking to keep their skin soft and moisturized. These bars are easy to make at home and are packed with nourishing ingredients like cocoa butter, shea butter, and natural beeswax. Perfect for dry patches or overall hydration, they melt gently as you glide them over your skin, leaving it feeling smooth and deeply moisturized.
What’s great about this recipe is the natural goodness it brings. With added wheat germ oil, frankincense oil, and a hint of amber fragrance, you get a blend that’s both effective and luxurious. Plus, the solid form makes it portable, mess-free, and perfect for everyday use.
Gather the Ingredients
Choose high-quality ingredients to boost the effectiveness and safety of your DIY beauty products.
- Cocoa Butter
- Refined Odorless Shea Butter
- Natural Beeswax
- Coconut Oil
- Wheat Germ Oil
- Frankincense Oil: You can purchase it pre-made or, better yet, make it at home as explained below.
- Fragrance Oil: Here I use amber fragrance oil.
- Oil-soluble Color Powder: Here I use purple color.
- Vitamin E
How to Make frankincense oil
- Put 10 grams (0.35 ounce) of frankincense powder in a small glass bottle.
- Add 90 grams (3.17 ounces) of sweet almond oil.
- Store the bottle for 20 days in a cabinet. Shake the container every 2 days or so.
- Important: after 20 days, filter it thoroughly to remove any residue completely.
Did You Know?
We’re using refined, odorless shea butter in this recipe to avoid the strong, often unpleasant smell of raw shea butter. Raw shea butter has a distinct nutty aroma that many find overpowering, and it can easily dominate the fragrance of your DIY lotion bars.
Refined shea butter, on the other hand, has been processed to remove this odor while maintaining its rich moisturizing properties. Its neutral scent and lighter color make it the perfect choice for creating luxurious skincare products, especially when you want other fragrances, like amber or essential oils, to shine through.
Gather the Gear
- Scale to weigh quantities
- Medium glass beaker
- Small glass beaker
- Glass mixing rod
- Digital thermometer
- Silicone mold
- Butter paper (parchment paper or wax paper)
Prior to use, ensure that both your utensils and containers are properly cleaned and disinfected. Wash them with warm soapy water, dry with a tissue, and then sanitize by spraying with 70% medical alcohol. Wipe them clean and let them air dry before use.
Let’s Make DIY Solid Lotion Bar for Dry Skin
Make sure to use the exact measurements indicated below to create a lotion bar that provides intense moisturization while maintaining its firm texture during use. Following these precise amounts will ensure your lotion bar performs perfectly and delivers the best results for your skin.
1 – Begin by placing 45 grams (1.58 ounces) of cocoa butter in a medium glass beaker.
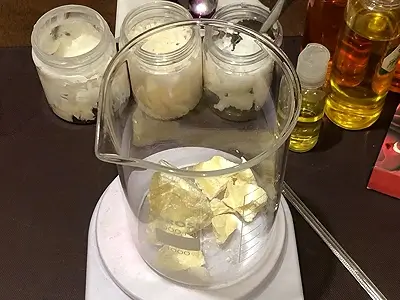
2 – Add 5 grams (0.17 ounce) of refined odorless shea butter to the cocoa butter.
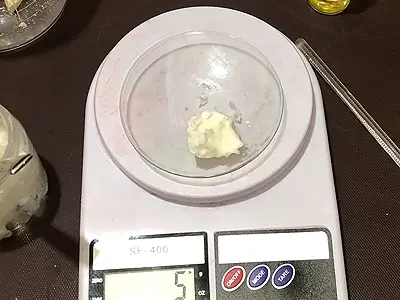
3 – Add 18 grams (0.63 ounce) of natural beeswax to the butters.
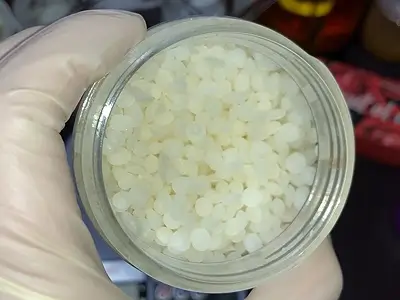
4 – Add 3 grams (0.10 ounce) of coconut oil to the mixture.
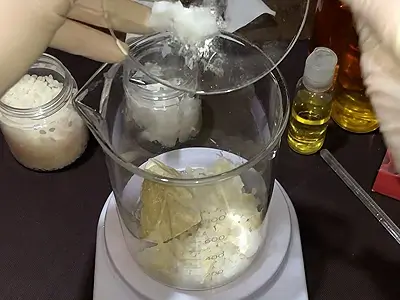
5 – Pour 7 grams (0.24 ounce) of wheat germ oil into the beaker.
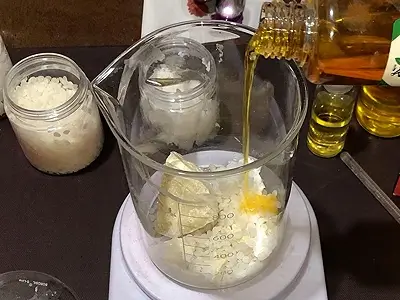
6 – Add 20 grams (0.70 ounce) of frankincense oil to the beaker, over the other ingredients.
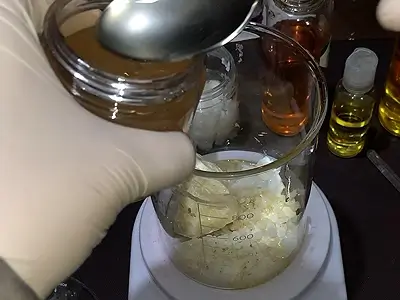
Note: In case any of the oils listed above (coconut oil, wheat germ oil, or frankincense oil) are unavailable, you can substitute with 30 grams (1.05 ounces) of a single oil. Options include sweet almond oil, jojoba oil, wheat germ oil, sesame oil, or argan oil. The key is to ensure the total amount of oil used equals 30 grams.
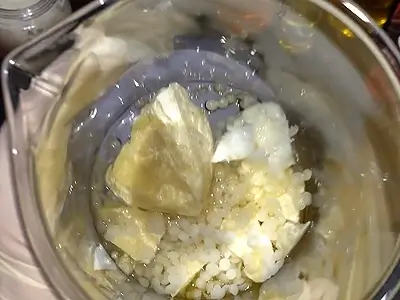
7 – Gently heat and melt the ingredients using a bain-marie (hot water bath). To set up a bain-marie, place the beaker in a larger pot partially filled with hot, steaming water over low heat. This method will gradually heat and melt the contents without direct heat. Stir the mixture while it melts, and avoid boiling.
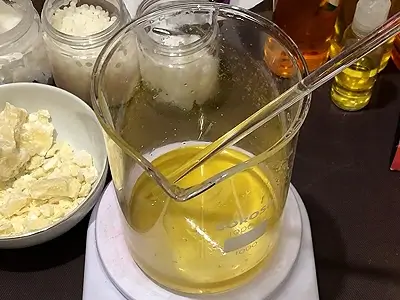
8 – Now let’s add some nice color: In a separate small beaker, mix a small amount of purple oil-soluble color powder with a little oil and stir thoroughly. Then, add 0.5 gram (0.017 ounce) of the color solution to the melted ingredients in the beaker.
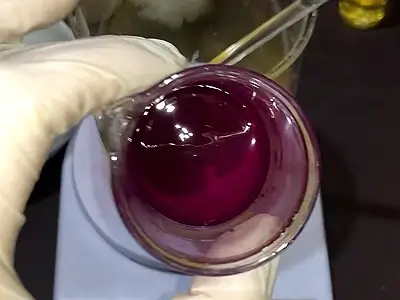
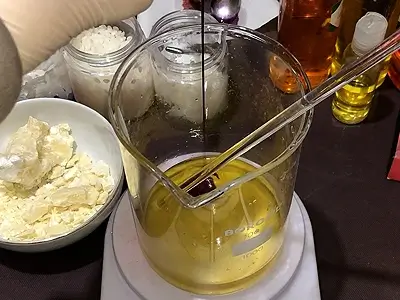
9 – Stir well to evenly distribute the color throughout the mixture.
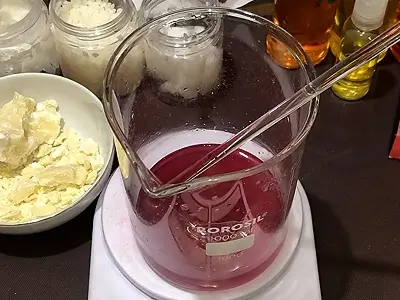
10 – Allow the mixture to cool down to 50 ℃ (122 ℉). If the mixture is too hot, the fragrance oil added in the next step might evaporate.
11– When the temperature reaches 50 ℃ (122 ℉), add 3 grams (0.10 ounce) of fragrance oil.
12 – Stir the mixture thoroughly.
13 – Add 1 gram (0.035 ounce) of liquid vitamin E to the lotion mixture and stir well. Vitamin E helps protect the lotion from oxidation and rancidity, extending its shelf life.
14 – Pour the lotion mixture into a mold.
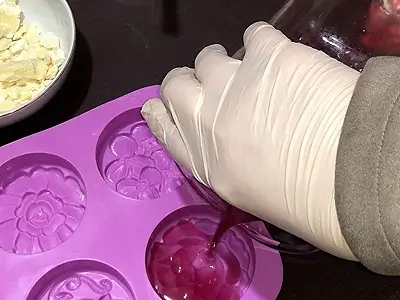
15 – Allow the lotion bars to cool completely, then remove the bars from the mold.
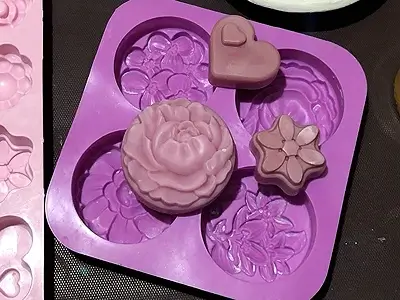
16 – The DIY solid lotion bar for dry skin is now finished and ready to use!
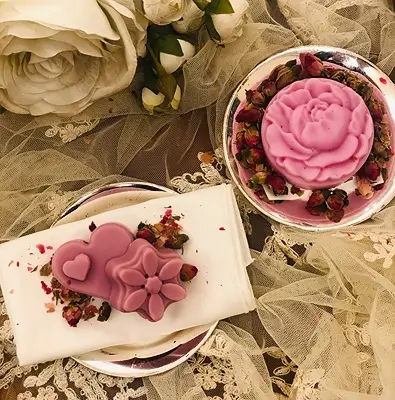
Using It Right
To use your DIY solid lotion bar for dry skin, simply pass it along your skin, rubbing it gently. The warmth of your skin will soften the bar just enough to release a thin layer of lotion, making it easy to spread.
Glide it over dry areas like hands, elbows, knees, or anywhere in need of extra moisture. The bar stays firm and mess-free, giving you a smooth, controlled application every time. It’s as simple as moisturizing on the go!
Storing It Right
To keep your DIY solid lotion bar for dry skin in top condition, store it in a container lined with butter paper (parchment paper or wax paper). This prevents the bar from sticking to the container and makes it easier to remove when needed.
Simply place the paper at the bottom of the container and set your lotion bar on top. Avoid exposing the container to direct sunlight or heat to keep the bar firm and ready for use. This method keeps your lotion bar tidy, protected, and always within reach!
The Sweet Rewards
Deep Moisturization: Cocoa butter and shea butter provide long-lasting hydration, leaving your skin feeling soft and smooth.
Nourishing Ingredients: Packed with natural oils like coconut and wheat germ oil, your skin gets a healthy, rejuvenated glow.
Anti-aging Benefits: Frankincense oil, known for its anti-aging properties, helps combat signs of aging, promoting youthful and radiant skin.
Convenient and Mess-Free: The solid form is easy to apply without any spills or mess, perfect for on-the-go use.
Natural Fragrance: Amber fragrance oil adds a subtle, calming scent that’s not overpowering.
Portable: Compact and travel-friendly, making it easy to take your skincare anywhere.
No Harsh Chemicals: Free from synthetic ingredients, this DIY lotion bar offers a natural solution for your skincare needs.
Eco-Friendly: Reduce waste with a reusable container, perfect for a sustainable beauty routine.
Continue Your DIY Adventure
Browse through these articles on similar products to enrich your DIY crafting experience!
- Moisturizing DIY Emulsified Body Butter Recipe: Ultimate Hydration
- DIY Chamomile Cream for Sensitive Skin: 2-Ingredient Calming Hydration
- DIY Frankincense Face Cream for Smoother Skin: Easy 4-Ingredient Recipe
See How It’s Done on Jinane World YouTube
The steps to make the DIY Solid Lotion Bar for Dry Skin are demonstrated in this video starting at timestamp 02:55.
