Activated charcoal is an excellent ingredient for your DIY beauty products, especially if you have oily skin. This DIY natural activated charcoal recipe uses just three simple ingredients to create a powerful addition for your homemade soaps, scrubs, and masks.
With natural charcoal, lemons, and water, you can make an effective ingredient that absorbs excess oil and detoxifies your skin. Follow this straightforward guide to enhance your DIY beauty creations and achieve clearer, healthier-looking skin.
Ingredients Needed
- Natural Charcoal: Ensure it is made from untreated wood and free of chemicals.
- 4 Lemons
- Water

Tools Needed
- Large bowl
- Large sieve
- Glass beaker
- Lemon juicer
- Plastic zip bag
- Pestle
- Silicone spatula
- Glass containers or jars (2 small)
- Medium bowl
- Fine sieve
- Powerful electric grinder (spice or coffee grinder)
Prior to use, ensure that both your utensils and containers are properly cleaned and disinfected. Wash them with warm soapy water, dry with a tissue, and then sanitize by spraying with 70% medical alcohol. Wipe them clean and let them air dry before use.
Quick Steps to Make Natural Activated Charcoal
- Wash and dry 6 large pieces of natural charcoal.
- Squeeze 4 lemons into 300 ml of water and set aside.
- Crush the charcoal into coarse powder and small pieces.
- Soak the crushed charcoal in the lemon mixture for 24 hours.
- Rinse, strain, and sun-dry the charcoal for 24 hours.
- Grind the dried charcoal into a fine powder, sifting as needed.
Detailed steps can be found in the section below.
Steps: DIY Natural Activated Charcoal
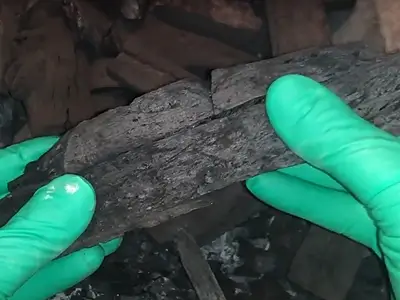
Wash and Dry the Natural Charcoal
Since the activated charcoal that we are making will be used in DIY beauty products for the skin, we begin by washing the natural charcoal thoroughly with water.
1- Fill a large bowl partially with water.
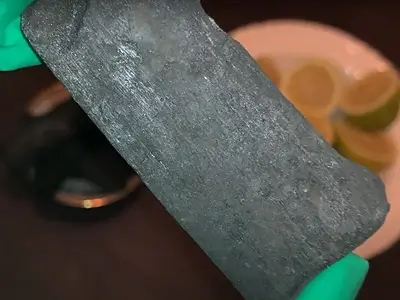
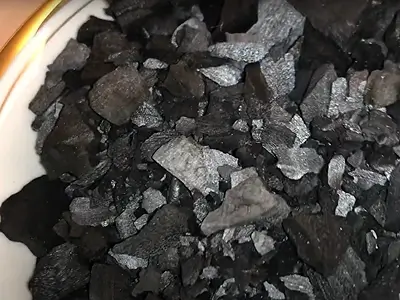
2- Place some 6 large pieces of natural charcoal in the water.
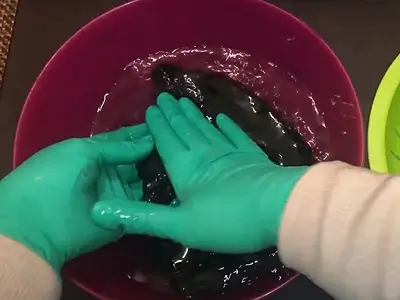
3- Wash and rub thoroughly each piece of natural charcoal with your fingers, to ensure all dust, dirt, impurities and ash are removed. Refill the bowl with clean water, and repeat the cleaning process.
4- After washing the natural charcoal pieces, place them in a large sieve to allow the water to drain out completely.
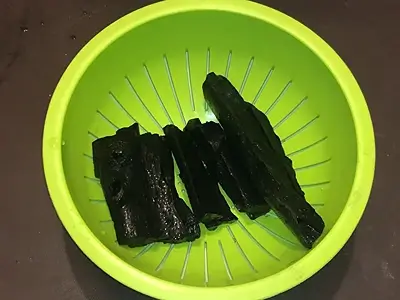
5- Place the sieve and the washed charcoal pieces in the sun to dry them completely. Allow 24 hours for the drying process.
Prepare the Water and Lemon Juice Mixture
6- Cut each of the 4 lemons in half and squeeze out the juice.

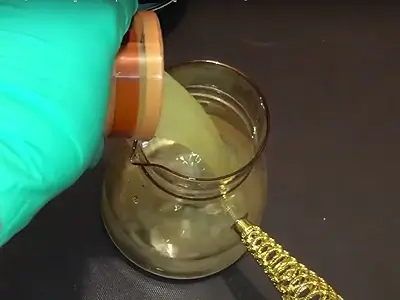
7- Pour 300 milliliters (10.14 fl oz) of water into a glass beaker.
8- Add the lemon juice to the water in the beaker. Cover the beaker.
Crush and Soak the Natural Charcoal
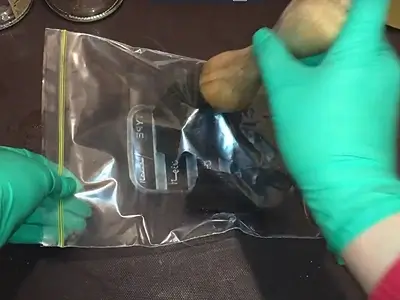
9- Place the washed and dried pieces of natural charcoal (from step 5 above) in a plastic zip bag and seal it.
10- Use a pestle or small hammer to crush the natural charcoal into a mixture of coarse powder and small pieces.
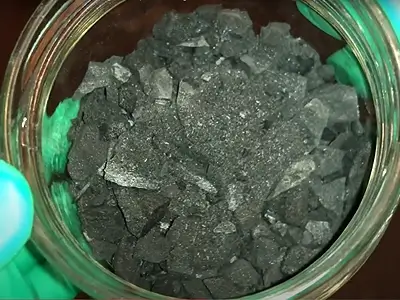
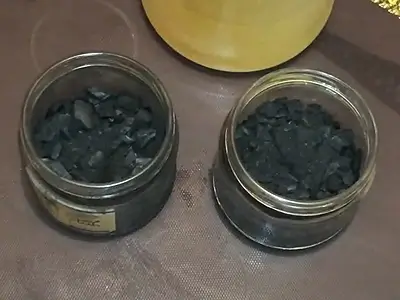
11- Place the crushed natural charcoal into small glass containers or jars.
12- Pour the water and lemon juice mixture over the crushed natural charcoal till you fill up the containers.
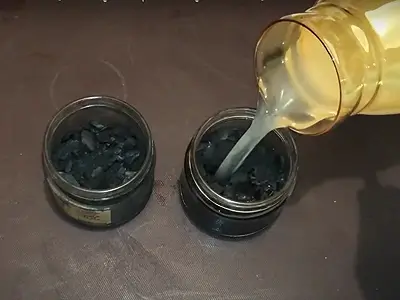
13- Stir the contents of each container with a small silicone spatula, and ensure that the natural charcoal is fully immersed in the water and lemon juice mixture.
14- Seal the containers or jars, and let them sit for 24 hours to allow the charcoal to absorb the essence of the lemon juice and water mixture.
Make the Activated Charcoal
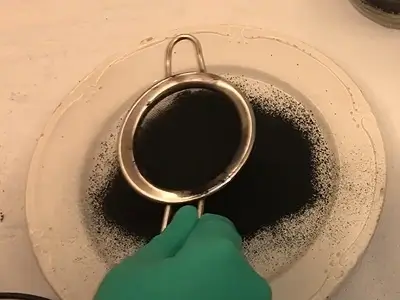
15- After 24 hours of soaking, pour the contents of the containers through the sieve and wash the charcoal thoroughly with water.
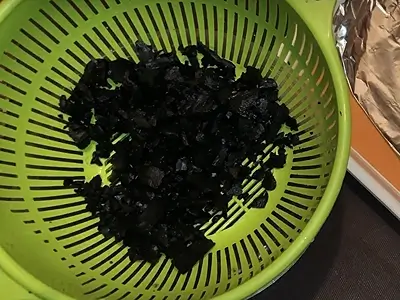
16- After washing the charcoal thoroughly with water, place the charcoal pieces on a tray lined with aluminum foil, and spread them out to dry.
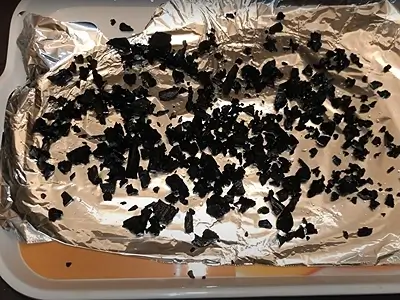
17- Place the tray with the charcoal pieces in the sun and allow 24 hours for them to dry. Afterward, collect the pieces into a medium or small bowl in preparation for the final step.
18- Use a powerful electric grinder (spice grinder or coffee grinder) to grind the charcoal pieces thoroughly into a fine powder.
19- After the first grinding, use a fine sieve to sift out the larger pieces and obtain a fine powder. Re-grind the larger pieces and repeat the process until all the charcoal is finely powdered.
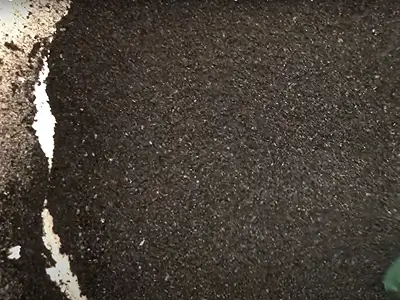
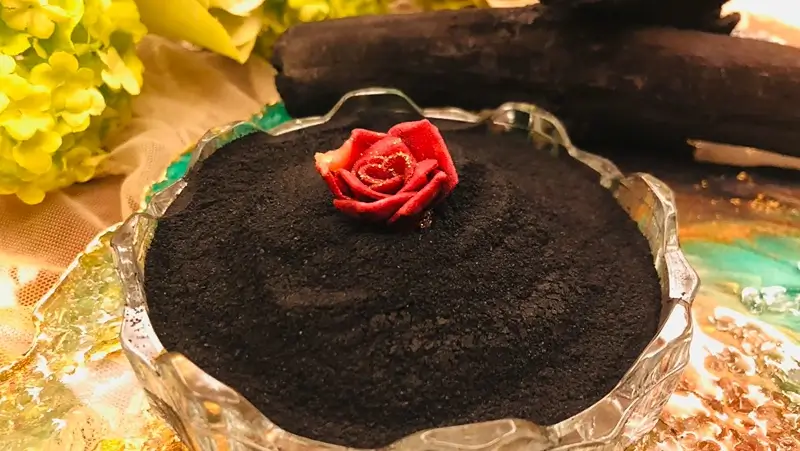
20- Your DIY Natural Activated Charcoal is now complete!
How to Use DIY Natural Activated Charcoal in Beauty Products
DIY Natural Activated Charcoal is a fantastic ingredient for enhancing your homemade beauty products, particularly if you have oily skin. However, it is not suitable for dry and sensitive skin, so use it with caution if you have these skin types, and consider patch testing first.
For optimal results, use activated charcoal at a 2% concentration by weight in your DIY beauty products. Here’s how to incorporate it into various DIY items:
a. DIY Natural Soaps: Add 2% activated charcoal to your soap mixture. For example, if you’re making 500 grams of soap, use 10 grams of activated charcoal. Mix thoroughly before pouring into molds.
b. Body Scrubs: Blend 2% activated charcoal into your scrub formula. For a 250-gram batch, incorporate 5 grams of activated charcoal. Mix well to ensure even distribution.
c. Face Masks: Stir 2% activated charcoal into your face mask blend. For a 75-gram batch, add 1.5 grams of activated charcoal. Mix until smooth and apply to your face for a detoxifying treatment.
d. Body Butters: Incorporate 2% activated charcoal into your body butter formula. For a 200-gram batch, use 4 grams of activated charcoal. Blend thoroughly to ensure even distribution throughout the body butter.
This dosage helps balance oily skin and enhances the effectiveness of your DIY beauty creations.
Here are DIY recipes that have activated charcoal as an ingredient:
- Detoxify Your Skin: DIY Activated Charcoal Soap Recipe with Glycerine
- DIY Soap for Oily Skin Recipe: Banish Oil and Brighten with Charcoal and Turmeric
Benefits of Including Activated Charcoal in DIY Beauty Products
Deep Cleansing: Activated charcoal’s porous structure helps draw out impurities, dirt, and toxins from the skin, providing a thorough cleanse and promoting a clearer complexion.
Oil Control: By absorbing excess oil, activated charcoal helps balance oily skin, reducing shine and preventing clogged pores that can lead to acne.
Exfoliation: Its gritty texture makes activated charcoal an effective exfoliant, gently sloughing off dead skin cells to reveal smoother, more radiant skin.
Pore Minimizing: Activated charcoal helps remove impurities from clogged pores, which can reduce their appearance and give your skin a more refined look.
Detoxification: The detoxifying properties of activated charcoal help eliminate harmful substances from the skin, enhancing overall skin health and appearance.
Incorporating activated charcoal into your DIY beauty products can lead to a fresher, cleaner, and healthier-looking complexion, especially for those with oily skin.
Here are articles on DIY natural handmade extracts and dried powders:
- How to Make Dried Carrot Powder: Enhance Your Skincare with Powerful Antioxidants
- DIY Hibiscus Extract with Glycerine: Empower Your Handmade Beauty
- DIY Aloe Vera Extract: Enrich Your Homemade Beauty Products
- DIY Orange Extract for Skincare: Transform Your Handmade Products with Citrus Elixir!
- DIY Strawberry Extract for Skincare: Powerful Elixir for Lasting Beauty
Video How-To on My Channel | Jinane World
The steps to make the DIY Natural Activated Charcoal are demonstrated in this video.