Why You’ll Love This DIY
This moisturizing DIY emulsified body butter is designed for deep hydration with a light, fast-absorbing feel. By combining oils and water into a smooth, lotion-like texture, it offers a practical alternative to heavier, oil-only body butters.
The recipe uses shea butter, jojoba oil, rose hydrosol, and moisture-attracting ingredients to create a creamy blend that’s easy to apply and comfortable for everyday use. With clear steps and balanced ingredients, it’s suitable for both beginners and experienced DIY skincare enthusiasts.
This step-by-step guide is part of our How To Make Body Butters And Creams collection.
Gather the Ingredients
This recipe includes a variety of ingredients, but the end result is totally worth it. Not only will you have a luxurious, moisturizing body butter, but the DIY project itself is incredibly fulfilling, giving you the satisfaction of crafting a high-quality, personalized skincare product. Trust me, the glowing skin and smooth texture will make every step worth it!
Choose high-quality ingredients to boost the effectiveness and safety of your DIY beauty products.
- Distilled Water
- Rose Hydrosol: If rose hydrosol is unavailable, you can substitute it with distilled water. Simply replace the amount of rose hydrosol with an equal amount of distilled water.
- Vegetable Glycerin
- Sweet Almond Oil
- Jojoba Oil
- Wheat Germ Oil
- Refined Odorless Shea Butter: Natural. Derived from the shea tree, it deeply moisturizes and nourishes skin while being odorless due to the refining process.
- Ewax Arlacel 165 or Ewax NF: Semi-synthetic. These emulsifying waxes blend oils and water to create smooth, stable creams and lotions.
- Stearic Acid: Natural (mostly plant-derived). Typically sourced from palm or soybean oil, it thickens and stabilizes products while enhancing texture.
- Mica Color Powder, red and gold
- Fragrance Oil: Choose what you like. Here, I use amber and rose fragrance oils.
- Gold Glitter
- Preservative, like Phenonip or Germall Plus: You can use any suitable preservative for water-based body butters. Add it at a standard dosage of 1% or as recommended by the supplier to prevent bacterial growth. Always follow the manufacturer’s guidelines for accurate usage.
Did You Know?
Emulsified body butters are a great way to boost skin hydration without the greasy feeling. The process of blending water with oils creates a stable emulsion, making the product feel lighter and more absorbent. Plus, the inclusion of humectants like glycerin helps attract moisture, keeping your skin soft longer.
Gather the Gear
- Scale to weigh quantities
- Two large bowls
- One medium bowl
- Two small beakers
- Silicone spatula
- Digital thermometer to measure the temperature of your mixtures accurately
- Immersion blender (electric hand blender)
- Piping bag (decorating bag or pastry bag)
- Small suitable glass containers to store your DIY Emulsified Body Butter
Prior to use, ensure that both your utensils and containers are properly cleaned and disinfected. Wash them with warm soapy water, dry with a tissue, and then sanitize by spraying with 70% medical alcohol. Wipe them clean and let them air dry before use.
If you prefer a mess-free option, this DIY solid lotion bar offers similar nourishment in a compact form.
Steps for Moisturizing DIY Emulsified Body Butter Recipe
A. Water Phase
1 – Begin by pouring 100 grams (3.52 ounces) of rose hydrosol into a large bowl.
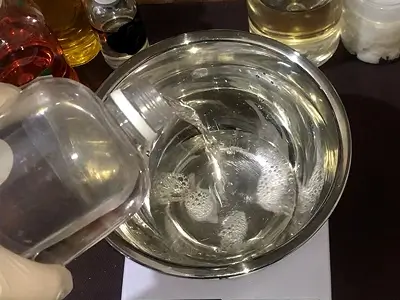
2 – Pour 200 grams (7.05 ounces) of distilled water over the rose hydrosol.
Note: If rose hydrosol is unavailable, you can use 100 grams (3.52 ounces) of distilled water instead. In this case, you will have a total of 300 grams (10.58 ounces) of distilled water in the bowl.

3 – Add 20 grams (0.70 ounce) of vegetable glycerin to the mixture.
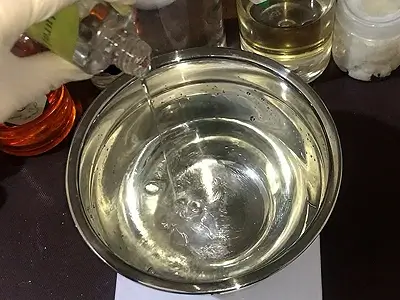
4 – Stir the mixture thoroughly with a silicone spatula to combine the ingredients fully.
5 – This completes the water phase. Place the bowl aside.
B. Oil Phase
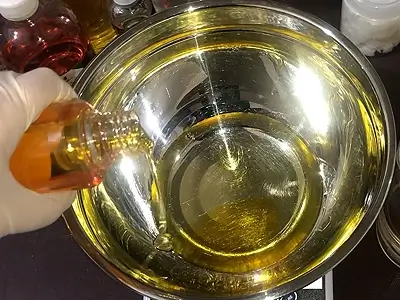
6 – In a separate large bowl, pour 82 grams (2.89 ounces) of sweet almond oil.

7 – Add 15 grams (0.53 ounce) of jojoba oil to the sweet almond oil.
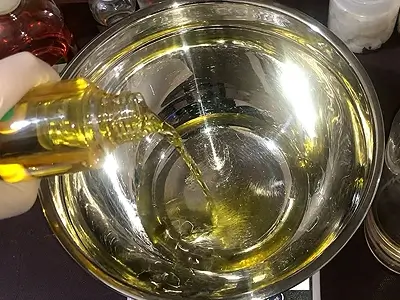
8 – Pour 15 grams (0.53 ounce) of wheat germ oil into the mixture of oils.
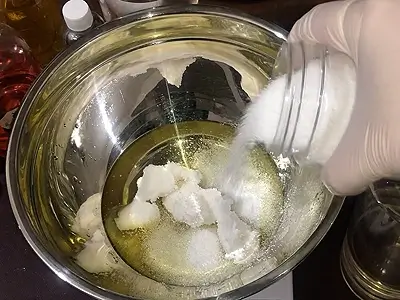
9 – Add 54 grams (1.90 ounces) of odorless shea butter to the oils.

10 – Add 18 grams (0.63 ounce) of stearic acid to the mixture.
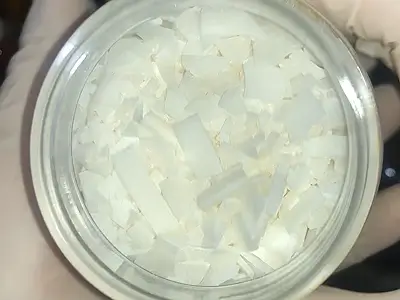
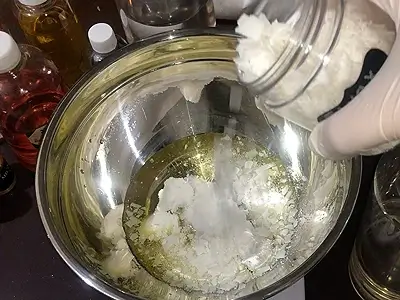
11 – Add 60 grams (2.11 ounces) of Ewax Arlacel 165 (or Ewax NF) to the ingredients. This emulsifying wax helps blend oils and water, creating a smooth, stable mixture.
C. Heat the Phases and Mix
12 – Now, heat the water phase ingredients and melt the oil phase ingredients in separate bain-maries (hot water baths). Set up a bain-marie for each bowl by placing it into a larger pot filled with hot, steaming water over low heat. This gentle method heats and melts the ingredients evenly without direct heat. Stir occasionally, and be careful not to let the mixtures boil.
13 – Once the oil phase ingredients have fully melted, remove both bowls from the bain-maries. Use a digital thermometer to measure the temperature of each mixture.
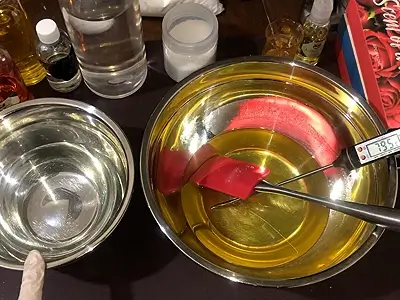
14 – Allow both mixtures to cool to a temperature range of 60–70°C (140–158°F). Aim for the oil phase to be around 65°C (149°F) and the water phase to be closer to 70°C (158°F) for optimal blending.
15 – Once both mixtures have reached the correct temperatures, slowly pour the water phase into the oil phase while stirring continuously with a silicone spatula to combine.
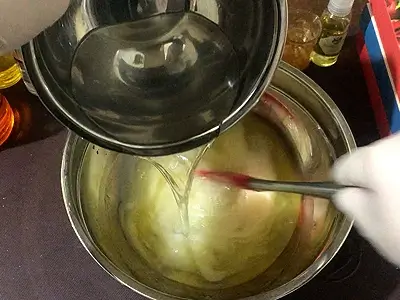
16 – Continue stirring the mixture with the spatula for about 15 seconds to ensure the ingredients are well blended.
D. Blending and Cooling Cycle
17 – Whip the mixture with an immersion blender (electric hand blender) for 30 seconds. Keep the blender stationary and the handle vertical to avoid excess bubbles. After 30 seconds, bubbles will form on the surface. Continue blending for another 15 seconds, moving the blender around to achieve an even consistency.
18 – Allow the mixture to cool for 5 minutes.
19 – After 5 minutes of cooling, blend for 30 seconds, alternating between electric blending and manual stirring with the blender handle.
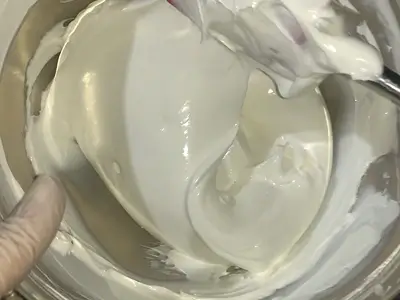
20 – Repeat this cycle of 5-minute cooling and 30-second alternate electric and manual blending two more times. You should obtain a creamy consistency as shown in the image below.
E. Make the Emulsified Body Butter
21 – Add 3 grams (0.10 ounces) of preservative. You can use either of the preservatives mentioned above or any suitable preservative for water-based body butters, following the store’s instructions for the correct dosage.
22 – Stir the mixture thoroughly with a spatula, then give it a final whip with the immersion blender to ensure the preservative is fully integrated.
23 – Add 5 grams (0.17 ounce) of fragrance oil. Here, I used amber and rose fragrance oils. Choose whatever you prefer.
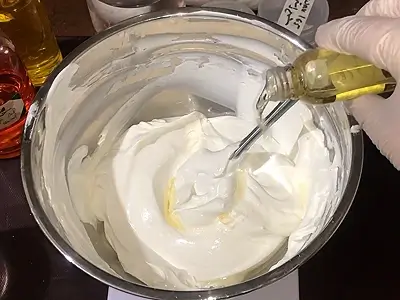
24 – Stir the mixture well with the spatula.
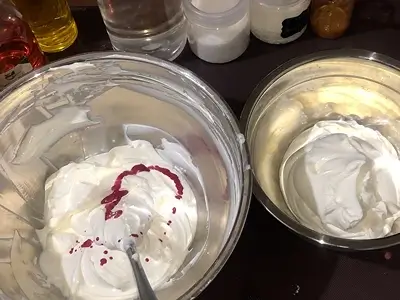
25 – Scoop half of the butter mixture into a separate medium bowl, leaving the other half in the large bowl. One half will remain white, while the other will be colored.
26 – Prepare the color: In a separate small beaker, mix small amounts of red mica powder and sweet almond oil until well combined.
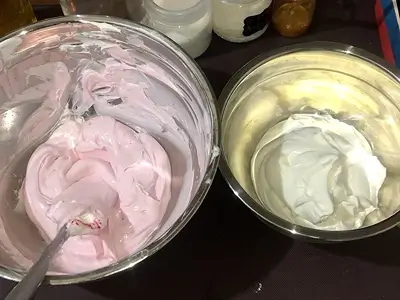
27 – Add some of the mica color solution to one body butter half.
28 – Stir this body butter half thoroughly to ensure the color is evenly distributed.
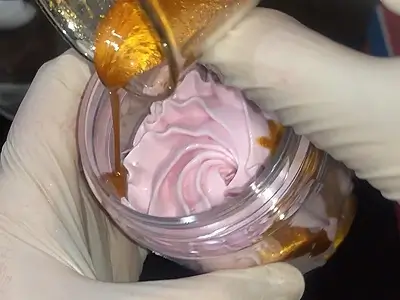
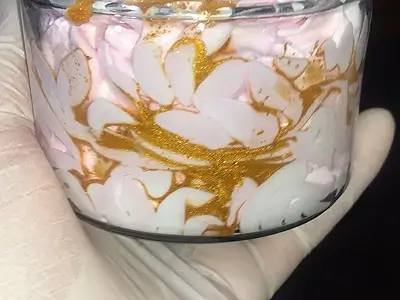
29 – Prepare the golden solution: For a decorative touch, in a separate small beaker, mix small amounts of sweet almond oil, gold mica powder, and gold glitter. This mixture will be added when placing the body butter in the containers.

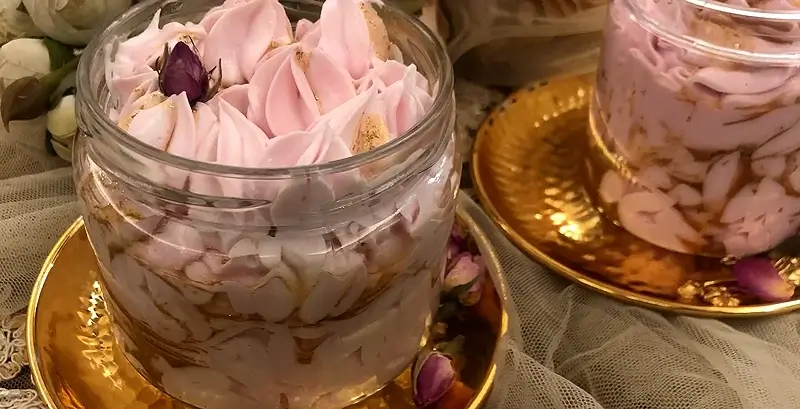
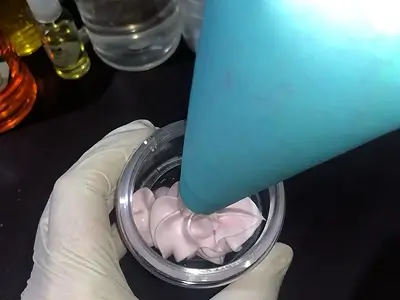
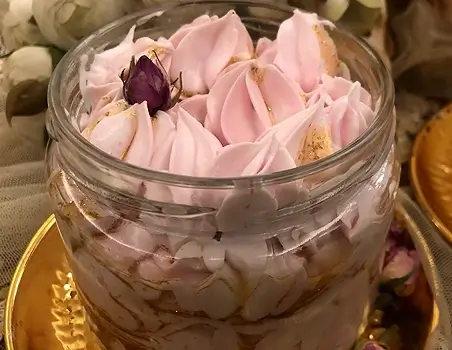
30 – Use a piping bag (decorating bag or pastry bag) to transfer the colored body butter into a suitable container, filling it only halfway. Slowly drizzle a thin trickle of the golden solution along the inner surface, just above this first layer. Then, fill the rest of the container with the remaining colored body butter.
31 – Repeat for the white body butter using another container, and you’re done!
Rich body butters are also commonly used in blends like this natural tanning balm.
Using It Right
a. Apply after a shower: For best results, use the body butter right after a shower while your skin is still slightly damp. This helps seal in moisture and leaves your skin feeling hydrated.
b. Massage into body: Gently massage the body butter into your skin, paying extra attention to areas that tend to get dry, such as elbows, knees, and feet.
c. Great for hands: It’s also perfect for dry hands. Apply a small amount to your palms and rub it in for a non-greasy, fast-absorbing moisturizer.
The Sweet Rewards
Soft, smooth skin: After application, your skin will feel incredibly soft and smooth, deeply nourished without any greasy residue.
Long-lasting hydration: Expect your skin to stay moisturized throughout the day, leaving it feeling refreshed and hydrated.
Visible glow: With regular use, your skin will look healthier, glowing, and more radiant.
DIY satisfaction: You’ll enjoy the sense of accomplishment from making your own luxurious body butter.
Perfect for gifting: This body butter makes a thoughtful, personalized gift, offering friends and family the same soothing, hydrating benefits.
Frequently Asked Questions
1. What is an emulsified body butter?
An emulsified body butter contains both water and oils, allowing it to absorb quickly without feeling greasy.
2. Is this body butter suitable for dry or sensitive skin?
Yes. When made with gentle ingredients, it provides long-lasting moisture and is suitable for dry and sensitive skin. A patch test is still recommended.
3. How long does homemade emulsified body butter last?
With proper storage and a preservative, it can last 3–6 months. Keep it in a cool, dry place for best results.
Continue Your DIY Adventure
Browse through these articles on similar products to enrich your DIY crafting experience!
- DIY Chamomile Cream for Sensitive Skin: 2-Ingredient Calming Hydration
- DIY Frankincense Face Cream for Smoother Skin: Easy 4-Ingredient Recipe
- DIY Red Clay Mask with Rose Powder: Your Path to Clear, Hydrated Skin
See How It’s Done on Jinane World YouTube
The steps for the Moisturizing DIY Emulsified Body Butter Recipe are demonstrated in this video starting at timestamp 05:21.