Are you looking for a natural and nourishing way to care for your skin? Then homemade oat soap may be just what you need. Oats are known for their gentle cleansing and exfoliating properties. By making your own oat soap at home, you can customize the recipe to your own preferences, while avoiding harsh chemicals often found in store-bought soaps.
In this article, we’ll show you how to make your own oat soap using just a few simple ingredients. This step-by-step guide will help you enjoy the benefits of this natural ingredient and pamper your skin in the process. So, let’s get started!
Ingredients Needed
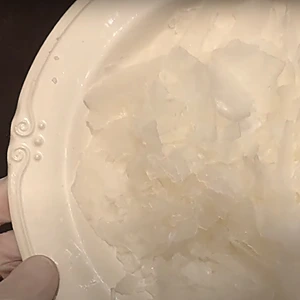
- Shredded or cut-up glycerine soap
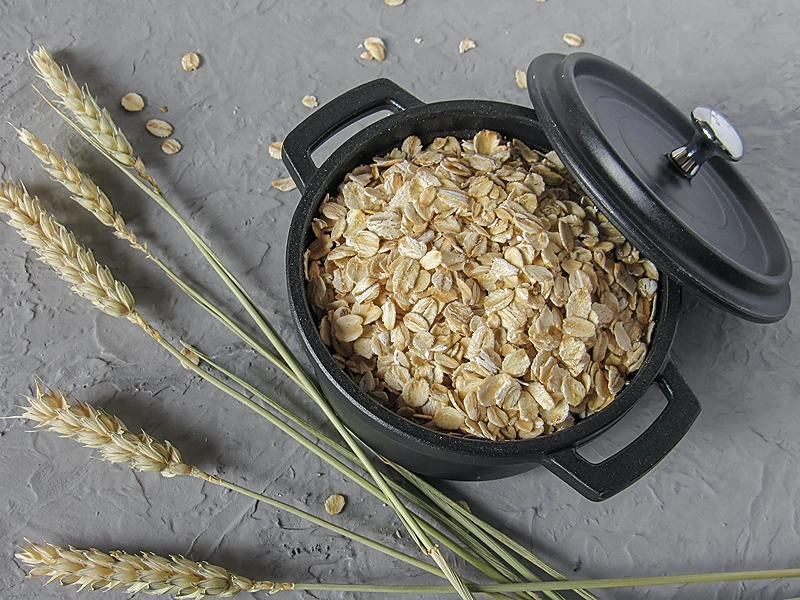
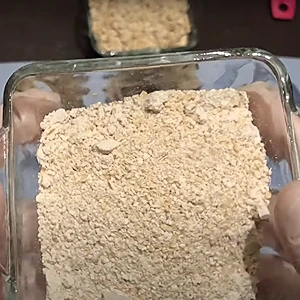
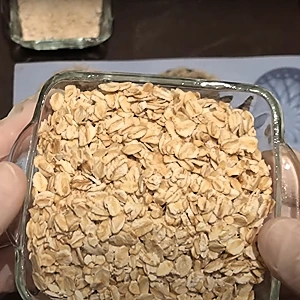
- Ground oats. If you cannot find ground oats, you may place rolled oats into a mixer and ground it yourself. The final result should be in powder form.
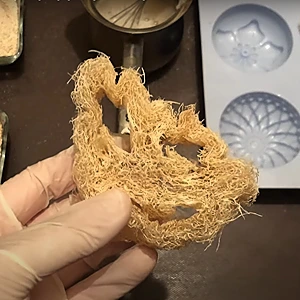
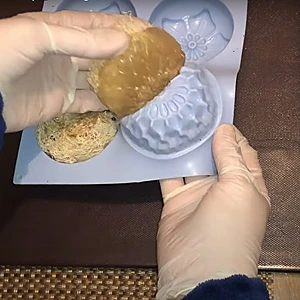
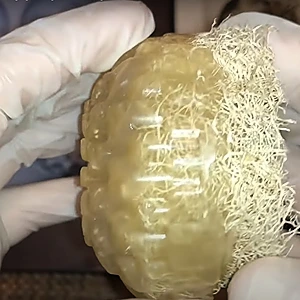
- Piece of loofah
- Coconut essential oil or fragrance oil
Notes on Ingredients
Choose high-quality ingredients to boost the effectiveness and safety of your DIY beauty products.
When an essential oil is included, I use either concentrated or diluted essential oils. If using concentrated essential oils, use up to 0.5% by weight to ensure safety for all skin types. To use diluted essential oils, mix 1 gram (0.035 oz) of concentrated essential oil with 100 grams (3.5 oz) of sweet almond oil or jojoba oil.
If a recipe calls for fragrance oil, you can use diluted essential oil instead to benefit from both its scent and therapeutic effects. This provides a natural alternative to synthetic fragrance oils and offers additional benefits.
Items Needed
- Measuring cup
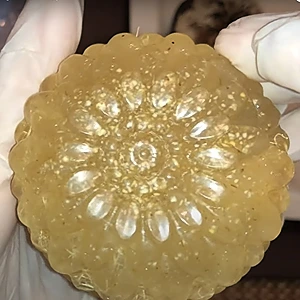
- Circular silicone mold
- Whisk
- A piece of loofah
- Medical alcohol 70% spray
Unit of Measurement: gram
- 100 grams of shredded glycerin soap = 3.52 ounces
- 2 grams ground oat= 0.07 ounces
- 2 grams coconut essential oil or fragrance oil = 0.07 ounces
Steps: Homemade Oat Soap
We will make an oat soap of 100 grams.
1- Begin by placing 100g of shredded or cut-up glycerine soap into a glass beaker or a container.
2- Place the container into a hot water bath to melt the glycerin soap. A hot water bath is done by placing the container in a larger pot of hot steaming water. This will gradually melt whatever is inside the container without causing the contents to burn. As it melts, make sure to mix every now and then.
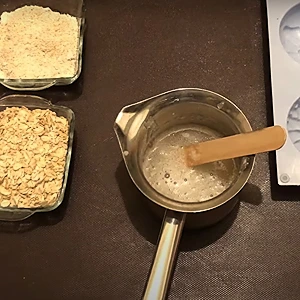
3- Once the glycerine soap has fully melted, add 2g of ground oat.
4- Mix well with a whisk.

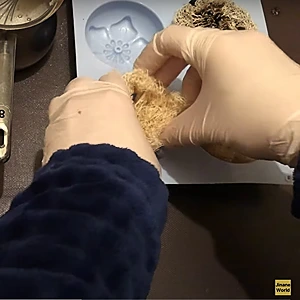
5- It is now time to prepare the silicone mold. Spray the loofah and silicone mold with alcohol spray to disinfect them.
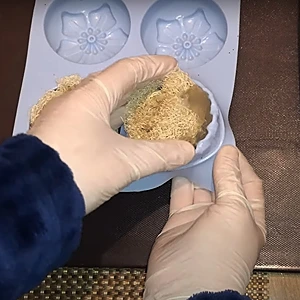
6- Place the loofah inside the silicone mold.
7- Before pouring the mix into the mold, add 2 grams of coconut essential oil and mix again.
8- Finally, pour the soap mixture into the mold.

9- Spray the completed product with alcohol to eliminate any bubbles that might form.
10- Allow 3 hours before you remove the oat soap from the mold.
11- Remove the oat soap from the mold.
12- Finally, wrap the soap with a cling film (wrapping Nylon) to protect the soap from forming condensation on its surface. You can start using the soap the next day.
How to Use The Oat Soap And Its Benefits
In the shower, use the soap and loofah to scrub your body well.
Benefits of the oat soap:
a- Gentle cleansing: Oat soap is known for its gentle cleansing properties, making it suitable for all skin types, including sensitive and dry skin. It can help remove impurities and dirt from the skin without stripping it of its natural oils.
b- Exfoliation: Oatmeal is a natural exfoliant, which means that oat soap can help remove dead skin cells and promote cell renewal. This can lead to smoother, softer, and brighter-looking skin.
c- Soothing: Oats are also known for their soothing properties, making oat soap an excellent choice for those with irritated or itchy skin. It can help calm inflammation and redness, and may also provide relief from conditions such as eczema and psoriasis.
d- Moisturizing: Oat soap can help to moisturize the skin and prevent dryness, as it contains natural oils that can nourish and hydrate the skin.
Overall, oat soap is a gentle, natural, and effective way to care for your skin.
You might like these articles :
- Homemade Matcha Soap Recipe For A Dazzling Skin
- Natural Botox Soap to Remove Fine Lines
- DIY Coffee Soap | Brew up Your Beauty Routine
Video How-To on My Channel | Jinane World
The steps explained in this article are in this video,