Why You’ll Love This DIY
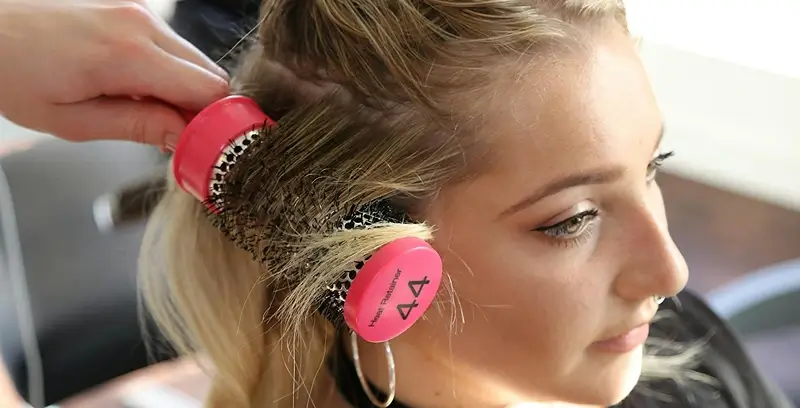
DIY Hair Protection from Heat Damage is essential for anyone who styles their hair with heat tools. Curling, straightening, or blow-drying can cause dryness, breakage, and a variety of other problems. This easy-to-make leave-in treatment provides a convenient solution to protect your hair while enhancing its health.
You’ll love this DIY because it starts with any store-bought hair conditioner and combines natural ingredients like carrier oils, peppermint hydrosol, and vegetable glycerin for protection and added nourishment. Enjoy beautiful hairstyling without compromising your hair’s vitality in just a few minutes.
Common Problems Caused by Heat Tools
Using heat tools can greatly enhance your hairstyling options, but they can also lead to various issues if not used with care. Here are some common problems associated with frequent heat styling:
a) Dryness: Excessive heat strips moisture from your hair, leaving it dry and lifeless.
b) Breakage: High temperatures weaken the hair structure, making it prone to breakage.
c) Frizz: Heat can cause the hair cuticle to lift, resulting in frizz and flyaways.
d) Split Ends: Frequent styling can lead to split ends, making hair appear rough and damaged.
e) Dullness: Overuse of heat tools can diminish your hair’s natural shine and vibrancy.
f) Loss of Elasticity: Heat can affect the hair’s elasticity, making it less flexible and more prone to damage.
g) Color Fading: If you have color-treated hair, heat can accelerate color fading, leading to dull tones.
h) Scalp Irritation: Prolonged exposure to heat can irritate the scalp, causing discomfort or sensitivity.
i) Thinning: Over time, excessive heat use may contribute to hair thinning or loss.
Being aware of these issues can motivate you to take the necessary precautions, such as using protective treatments, to keep your hair healthy and beautiful.
Gather the Ingredients
Choose high-quality ingredients to boost the effectiveness and safety of your DIY beauty products.
- Distilled Water
- Peppermint Hydrosol: You can use any hydrosol that is available to you. Alternatively, if you don’t have hydrosol on hand, you can substitute it with an equal amount of distilled water.
- Sweet Almond Oil
- Wheat Germ Oil
- Fractionated Coconut Oil
- Vegetable Glycerin
- Hair Conditioner: Use any store-bought conditioner, including the one you already have at home for your showers.
- Fragrance Oil
- Preservative (Optional)
Note on The Carrier Oils
In this recipe, we will use three carrier oils: sweet almond oil, fractionated coconut oil, and wheat germ oil. You can substitute any carrier oils you have on hand. While using all three oils enhances the blend, you can opt to include just one or two oils, as long as you maintain the total quantity of carrier oils specified in the recipe. More details on this will be provided later.
Gather the Gear
- Scale to weigh quantities
- Medium glass beaker
- Whisk
- Suitable bottle with spray nozzle to store your DIY Hair Protection from Heat Damage
Prior to use, ensure that both your utensils and containers are properly cleaned and disinfected. Wash them with warm soapy water, dry with a tissue, and then sanitize by spraying with 70% medical alcohol. Wipe them clean and let them air dry before use.
Let’s Make the DIY Hair Protection from Heat Damage
1- Begin by pouring 150 grams (5.29 ounces) of distilled water into a medium beaker.
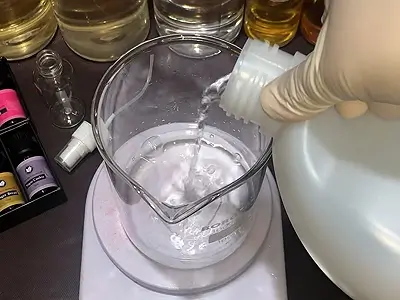
2- Add 50 grams (1.76 ounces) of peppermint hydrosol to the distilled water. As mentioned earlier, you can substitute any hydrosol, such as lavender, rose, or rosemary. If hydrosol is not available, simply use distilled water instead; in that case, use 200 grams (7.05 ounces) of distilled water.
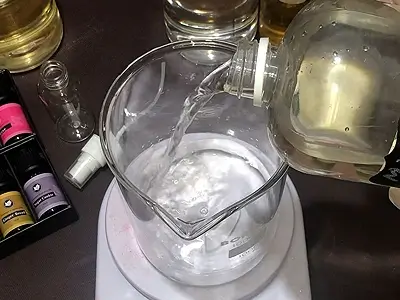
3- Add 20 grams (0.70 ounce) of conditioner to the water and hydrosol.
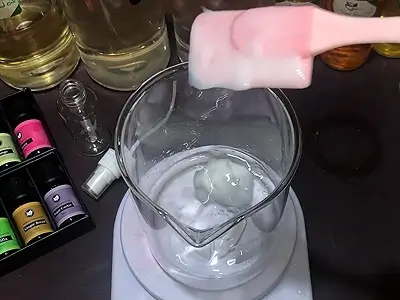
4- Use a whisk to stir the mixture vigorously, ensuring that the ingredients are well blended.
5- Add 3 grams (0.10 ounce) of fractionated coconut oil to the mixture.
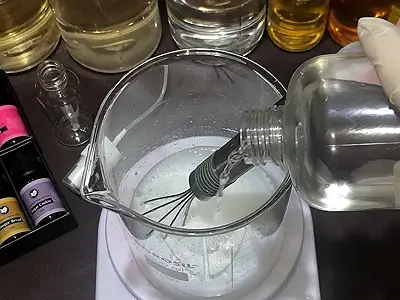
6- Add 3 grams (0.10 ounce) of wheat germ oil into the beaker.
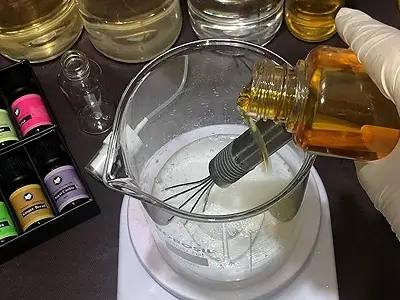
7- Add 3 grams (0.10 ounce) of sweet almond oil to the blend.
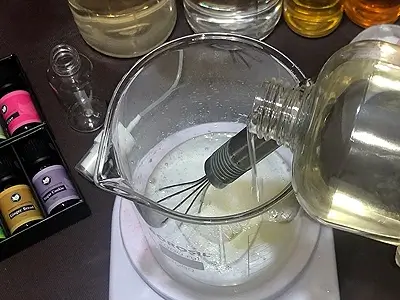
Note: In total, we are using 9 grams (0.31 ounces) of carrier oils. You can opt to use just one carrier oil by adding 9 grams (0.31 ounces) of that oil, or you can choose two oils, using 4.5 grams (0.15 ounces) of each. The key is to maintain a total of 9 grams (0.31 ounces) of carrier oils in the recipe. Keep in mind that using three oils can enhance the blend even more effectively.
8- Stir the mixture thoroughly again.
9- Pour in 5 grams (0.17 ounce) of vegetable glycerin.
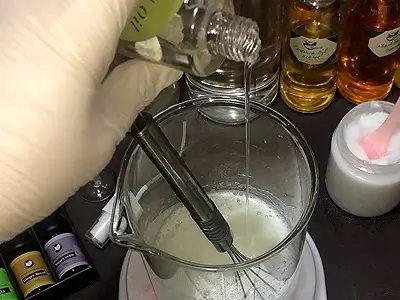
10- Add 6 to 15 drops of a fragrance oil that you like. You can use more than one fragrance oil, but try not to exceed a total of 15 drops.
11- Optional: If you wish to add a preservative to extend the shelf life of the product, use a standard dosage of 1% by weight. In this case, you would add 2 grams (0.07 ounces). Alternatively, follow the instructions provided with the preservative you purchase. With a preservative, the product shelf life can be extended to 6-8 months.
12- Give the mixture a final thorough stir.
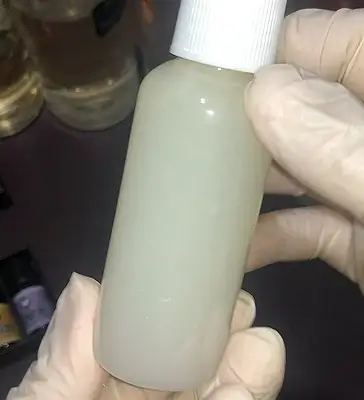
13- Pour the mixture into a suitable bottle with a spray nozzle, and you’re done!
Using It Right
It’s crucial to apply this leave-in protection before using any heat tools like straighteners, curling irons, or blow dryers. Be sure to use it before heading to the salon for heat styling as well. To get the most out of it, follow these steps:
a- Shampooing and Conditioning: Start by washing your hair with shampoo and your usual conditioner. Once finished, towel-dry your hair to remove excess moisture, being careful not to rub too harshly.
b- Apply the Spray: While your hair is still damp, spray the product evenly throughout your hair, focusing on the mid-lengths and ends. This ensures full protection before using any heat tools.
c- For a Wet Look: You can also use it as a leave-in to achieve a sleek, wet look. Simply spray onto damp hair and style as desired. Let your hair air dry for a smooth, defined finish.
The Sweet Rewards
This DIY hair protection spray offers several benefits, keeping your locks healthy and vibrant:
Prevents Heat Damage: Shields your hair from damage caused by heat tools like blow dryers, straighteners, and curling irons.
Moisturizes and Nourishes: The combination of carrier oils and glycerin locks in moisture, preventing dryness and breakage, while nourishing your hair from within.
Improves Hair Health: Regular use helps maintain the vitality of your hair, preventing split ends and reducing overall damage from styling.
Customizable for Your Hair Type: You can adjust the recipe by using different carrier oils that best suit your hair’s needs, ensuring optimal results for all hair types.
Adds Versatility: Can also be used as a leave-in treatment for a sleek, wet look, giving your hair a smooth and defined finish without styling tools.
Continue Your DIY Adventure
Browse through these articles on similar products to enrich your natural beauty care. Each one offers recipes and tips to enhance your crafting experience!
- DIY Hair Keratin Treatment for Frizz: Get Smooth, Manageable Hair Without the Salon
- DIY Leave-In Conditioner Spray Recipe: Achieve Smooth Hair with 4 Natural Ingredients
- Natural DIY Leave-in Conditioner: Simple Steps to Luxuriously Soft and Manageable Hair
- DIY Hair Pomade: Tame Frizz Naturally and Enhance Shine
- Crafting Your Own DIY Shampoo with Natural Ingredients
See How It’s Done on Jinane World YouTube
The steps to make the DIY Hair Protection from Heat Damage are demonstrated in this video starting at timestamp 06:52.
