Unlock the secret to luscious, vibrant hair with our comprehensive guide to an Effective DIY Hair Treatment: Oil Bath for Frizzy and Dry Hair. If you’ve been struggling with frizzy and dry hair, look no further. This nourishing oil bath is your go-to remedy for restoring brilliance and vitality to your locks.
For frizzy and dry hair, this oil bath is applied to both scalp and hair. It can also be used for fine hair, although it should exclusively be applied to the hair.
In this article, we’ll delve into the step-by-step process of creating this powerhouse elixir and reveal the natural ingredients that make it a game-changer for your hair care routine. Get ready to transform your tresses and reclaim the gorgeous, frizz-free hair you deserve.
Ingredients Needed
There is a good number of ingredients in this DIY Hair Treatment, but this is what makes it such a powerhouse for the health of the hair.
- Shea butter, natural and organic
- Raw (pure) beeswax, shredded
- Coconut oil
- Olive oil
- Argan oil, carrier
- Jojoba oil, carrier
- Arugula oil (also known as watercress oil, rocket seed oil, or rocca oil)
- Lavender oil, carrier
- Mica color powder
- Essential oil
- Vitamin E capsule for hair
Notes on Ingredients
Choose high-quality ingredients to boost the effectiveness and safety of your DIY beauty products.
When an essential oil is included, I use either concentrated or diluted essential oils. If using concentrated essential oils, use up to 0.5% by weight to ensure safety for all skin types. To use diluted essential oils, mix 1 gram (0.035 oz) of concentrated essential oil with 100 grams (3.5 oz) of sweet almond oil or jojoba oil.
If a recipe calls for fragrance oil, you can use diluted essential oil instead to benefit from both its scent and therapeutic effects. This provides a natural alternative to synthetic fragrance oils and offers additional benefits.
Tools Needed
- Bowl
- Tablespoon
- Wooden popsicle
- Glass container to store your Effective DIY Hair Treatment
Prior to use, ensure that both your utensils and containers are properly cleaned and disinfected. Wash them with warm soapy water, dry with a tissue, and then sanitize by spraying with 70% medical alcohol. Wipe them clean and let them air dry before use.
Steps: Effective DIY Hair Treatment
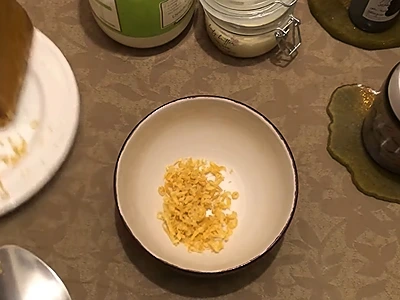
1- Start by putting one heaped tablespoon of shredded raw beeswax in the bowl.
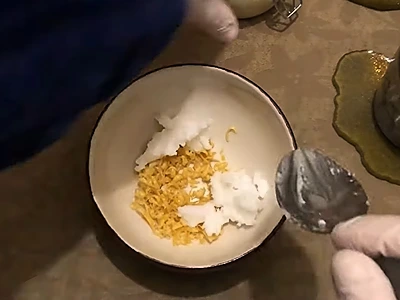
2- Add one heaped tablespoon of coconut oil.
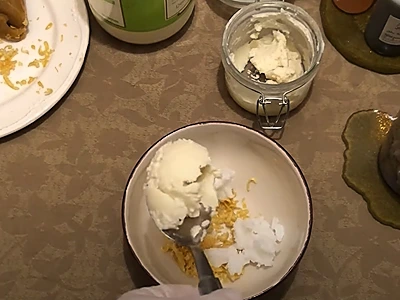
3- Add one heaped tablespoon of shea butter.
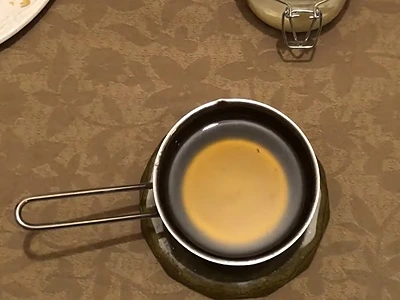
4- Melt the contents in a bain-marie (hot water bath). A bain-marie is done by placing the bowl in a larger pot of hot steaming water. This will gradually melt whatever is inside the bowl. As it melts, make sure to mix every now and then.
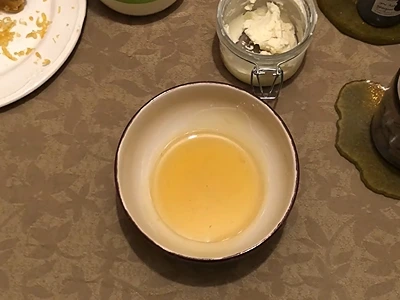
5- Add 5 tablespoons of olive oil.
6- Mix well. If the room temperature is cold, you might notice that the mix is starting to thicken slightly. This is normal, but requires that the bowl be placed in another hot water bath later on.
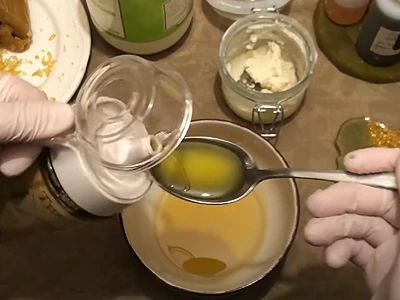
7- Add 2 tablespoons of argan oil.

8- Add 1 tablespoon of jojoba oil.
9- Add 1 tablespoon of arugula oil (also known as watercress oil, rocket seed oil, or rocca oil).

10- Add 1 tablespoon of lavender oil (carrier).
11- Mix the ingredients.
12- In cold temperatures, the mixture will have thickened. Place the bowl again in a hot water bath.
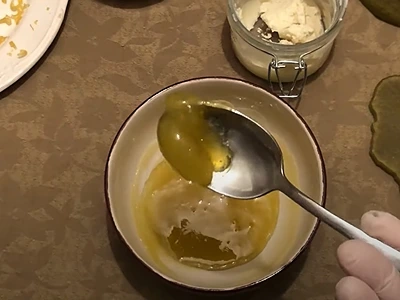
13- Optional – With the tip of a wooden popsicle, add a little mica color powder. Here, I chose green.
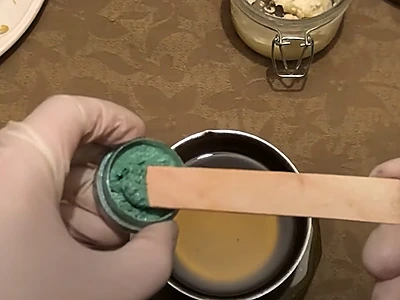
14- Mix well.
15- Add 5 drops of an essential oil that you prefer. Here, I used peach.
16- Keep stirring.
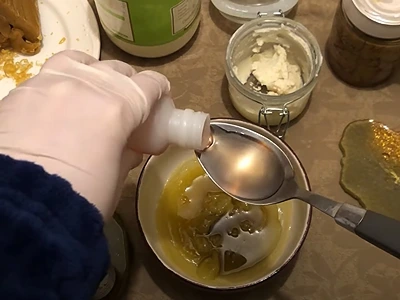
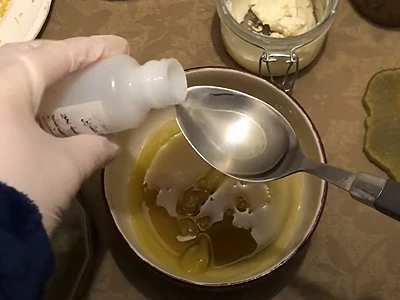
17- Cut and squeeze the contents of a Vitamin E capsule for hair.
18- Mix thoroughly.
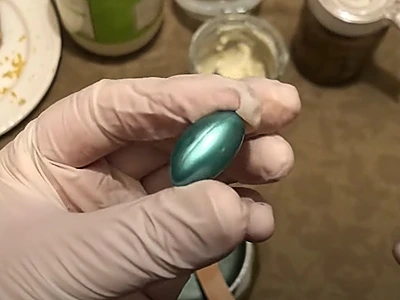
19- Pour the mix into a glass container.
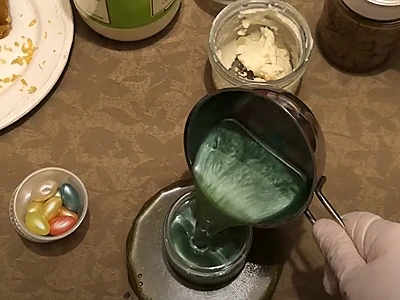
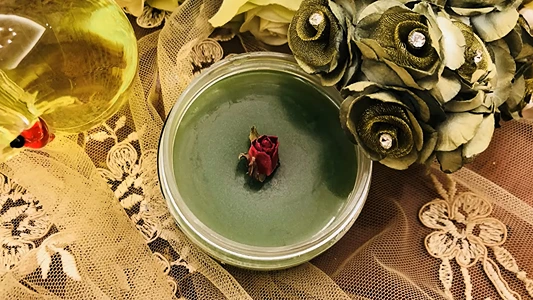
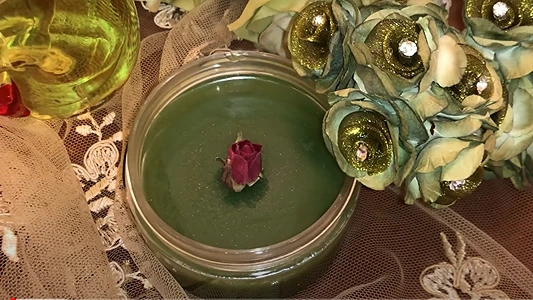
20- Allow it to cool down. Your Effective DIY Hair Treatment is now done!
How To Use: Effective DIY Hair Treatment
Using this nourishing oil bath is a simple yet indulgent experience that will leave your hair feeling revitalized and gorgeous. Follow these easy steps to make the most of this Effective DIY Hair Treatment:
a. Prepare: Start by picking up a small amount of the DIY hair treatment. Gently rub the treatment between your palms to warm and activate the natural ingredients.
b. Apply to the Scalp (if you have fine hair, do not apply it to the scalp): Begin by applying the treatment to your scalp. Using your fingertips, gently massage the treatment into your scalp using circular motions. This massage not only helps distribute the nourishing oils but also stimulates blood circulation, promoting healthy hair growth.
c. Work Through the Hair: After treating your scalp, move on to your hair. Apply the treatment to the lengths and ends of your hair, making sure to distribute it evenly. Use your fingers to rub the treatment into your hair strands, allowing the natural goodness to penetrate deeply.
d. Indulge in a Massage: Take a few extra moments to give yourself a soothing scalp and hair massage. The calming sensation of the treatment combined with the massage helps to relax your mind and enhance the overall experience.
e. Leave-In Time: For maximum benefits, leave the treatment on your hair for at least 30 minutes. You can also choose to leave it on overnight for an intensive treatment. Simply cover your hair with a shower cap or wrap it in a towel to prevent any transfer.
f. Rinse and Cleanse: After the desired leave-in time, wash your hair with a gentle, sulfate-free shampoo. You may need to shampoo twice to ensure that all the treatment is thoroughly removed.
g. Feel the Transformation: Once your hair is clean and dry, you’ll notice the immediate effects of the nourishing oil bath. Your hair will feel softer, smoother, and more manageable. Over time, regular use of this treatment will help combat frizz, dryness, and breakage, giving you the beautiful hair you’ve been longing for.
Incorporate this Effective DIY Hair Treatment into your hair care routine on a weekly basis to maintain the health and radiance of your locks.

Benefits
Banishes Frizz: Tired of dealing with unruly frizz? Our DIY Hair Treatment is a frizz-fighting powerhouse. The nourishing oils work together to tame even the most stubborn frizz.
Restores Moisture: Dry, lackluster locks are no match for the moisturizing prowess of this treatment. The natural oils deeply penetrate each strand, replenishing much-needed moisture and reviving your hair’s natural shine and vibrancy.
Strengthens and Prevents Breakage: Say goodbye to fragile, brittle hair. The nourishing blend of oils in this treatment helps strengthen the hair shaft, reducing breakage and promoting overall hair health. Enjoy stronger, more resilient strands that resist daily wear and tear.
Revitalizes the Scalp: Healthy hair starts with a healthy scalp. The treatment’s gentle massage during application not only delivers nutrients to your hair follicles but also invigorates the scalp, promoting improved circulation and supporting optimal hair growth.
Customizable for All Hair Types: Whether you have thick, coarse hair or fine, delicate strands, this DIY treatment is versatile and adaptable. Adjust the quantity to match your hair type and needs, ensuring you receive the perfect amount of nourishment without weighing down your hair. Just remember that, for fine hair, you should only apply the treatment to the hair, not the scalp.
Experience these remarkable benefits and unlock the full potential of your hair with this Effective DIY Hair Treatment.
Frequently Asked Questions
Is this treatment suitable for all hair types?
Yes, the Effective DIY Hair Treatment is formulated to benefit a wide range of hair types, from coarse to fine. You can customize the amount used to match your hair’s unique needs. For fine hair, just use a little on the hair itself, not the scalp.
How often should I use this treatment?
For optimal results, use the treatment once a week. However, if your hair requires extra care, you can safely use it twice weekly.
Can I leave the treatment on overnight?
Absolutely! Leaving the treatment on overnight provides an intensive nourishing experience. Cover your hair to prevent transfer and enjoy enhanced results.
Can I use this treatment if I have an oily scalp?
Yes, you can apply the treatment primarily to the lengths and ends of your hair, avoiding the scalp. This way, you can still benefit from the nourishing properties without making your scalp oily.
Will this treatment make my hair greasy?
When applied correctly and rinsed out thoroughly, the treatment should not leave your hair greasy. It will instead provide a healthy, radiant shine.
How long will it take to see results?
Many users notice an immediate improvement in their hair’s texture and manageability after the first use. Over time, with consistent use, you’ll experience enhanced benefits, including reduced frizz, improved moisture, and stronger strands.
Here are more articles on how to make natural haircare products:
- DIY Hair Thickening Cream: Boost Hair Volume Naturally
- Effective DIY Split End Treatment: 6 Natural Oils for Healthy Hair
- DIY Natural Serum for Split Ends with Egg Yolk: Revive and Shine Your Hair
- Care for Your Hair: Power-Packed DIY Shampoo for Hair Growth and Health
- DIY Aloe Vera Coconut Oil for Hair: Achieving Strong and Shiny Locks at Home With 2 Ingredients
Video How-To on My Channel | Jinane World
The steps to make the Effective DIY Hair Treatment are demonstrated in this video.