In this guide on How to Make Body Bronzer, we’ll show you a simple DIY recipe that creates a stunning, shimmering effect on your skin without the need for sun tanning. With just three easy ingredients, this bronzer can be prepared in a spray bottle for effortless application, allowing you to achieve a natural glow.
You have the option to add your favorite essential oil for fragrance or keep it unscented, which allows you to layer it with your preferred perfume. Simply apply your fragrance, let it dry, and then spray on the bronzer for an all-over radiant look. Get ready to shine with this easy-to-make body bronzer!
Items Needed
Choose high-quality ingredients to boost the effectiveness and safety of your DIY beauty products.
- Distilled Water
- Vegetable Glycerine
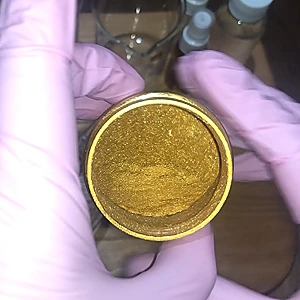
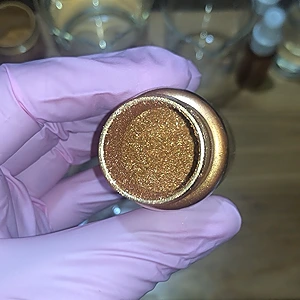
- Gold and Bronze Mica Color Powders. For fair skin, I recommend using gold mica, while bronze is more suitable for darker skin tones. It’s essential to choose mica colors of high quality that provide a lovely shine. If mica powders are unavailable, you can use an eyeshadow instead; just ensure that it has a shimmery finish.
- Essential Oil (Optional)
- Preservative (e.g. Phenoxyethanol)
Tools Needed
- Scale to weigh quantities
- Small bowl
- Glass mixing rod
- Suitable spray bottle to store your Body Bronzer
Prior to use, ensure that both your utensils and containers are properly cleaned and disinfected. Wash them with warm soapy water, dry with a tissue, and then sanitize by spraying with 70% medical alcohol. Wipe them clean and let them air dry before use.
Steps: How to Make Body Bronzer
1- Start by placing 10 grams (0.35 ounces) of vegetable glycerine in a small bowl.
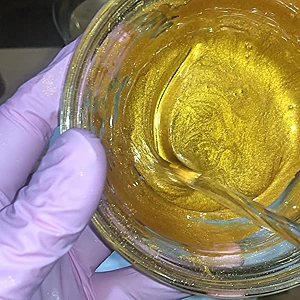
2- Add 2 grams (0.070 ounces) of your preferred mica color powder to the glycerine.
3- Mix the two ingredients thoroughly until the mica powder is completely blended with the glycerine. Keep in mind that mica does not dissolve in water, which is why we mix it with glycerine first.
4- Pour 50 milliliters (1.69 fluid ounces) of distilled water into the mixture and stir well. Following this sequence ensures that the mica is fully blended.
5- Now it’s time to add essential oil if you wish. Just a drop or two will suffice; there’s no need to add too much. Personally, I prefer to skip the essential oil in the bronzer and use my favorite perfume before applying it instead.
6- Add 0.5 grams (0.017 ounces) of preservative (here I use phenoxyethanol).
7- Slowly pour the bronzer into a spray bottle.
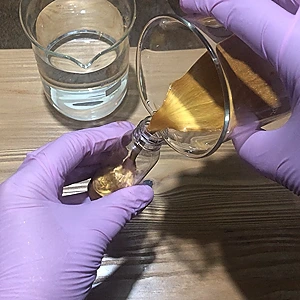
8- This is our final product.
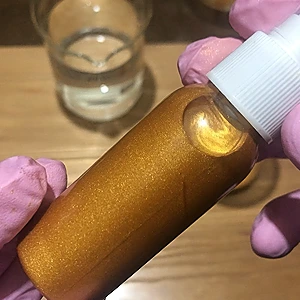
9- I prepared both the gold and bronze colors.
Hints and Tips
Storage: Once your body bronzer is ready, it’s important to store it properly to maintain its quality. Keep the bronzer in a cool, dark place to prevent any degradation of the ingredients. A spray bottle with a tight seal will help protect it from air exposure and contamination.
Safety: Before applying the bronzer to larger areas of your skin, it’s wise to do a patch test to ensure you don’t have any allergic reactions to the ingredients. Simply apply a small amount to a discreet area and wait 24 hours to check for any adverse reactions.
Variations: Feel free to experiment with different mica colors or essential oils to create a unique bronzer that suits your style.
How To Use The Body Bronzer
a. Preparation: Shake the body bronzer bottle well before each use to ensure the ingredients are evenly mixed.
b. Application: Hold the spray bottle approximately 6-8 inches away from your skin. Spray a small amount of the bronzer onto your desired areas, such as your arms, legs, and décolletage.
c. Blending: After spraying, gently tap the bronzer with your hand to blend it into your skin. This technique will give a lovely and attractive glimmer without being too strong.
d. Setting: Allow the bronzer to dry for a few minutes before dressing to avoid any transfer onto clothing.
e. Removal: At the end of the day, simply wash off the bronzer with your regular body wash and water.
Benefits
Customizable Color: You can easily adjust the shade of your bronzer by mixing different amounts of gold and bronze mica, allowing for a personalized glow that matches your skin tone.
Hydrating Ingredients: The glycerine and distilled water provide hydration, keeping your skin moisturized while achieving that sun-kissed look.
Natural Finish: Unlike commercial bronzers, this DIY version uses high-quality mica, ensuring a radiant and natural shimmer without harmful chemicals.
Fragrance Options: Adding essential oil gives you the flexibility to create a signature scent, making your body bronzer not just a beauty product but a fragrant experience.
Cost-Effective: Making your own body bronzer can save you money compared to purchasing commercial products, and you can avoid synthetic additives.
Check out these DIY perfume oil articles:
Video How-To on My Channel | Jinane World
This video demonstrates the steps explained in this article. Watch after 01m 20s.