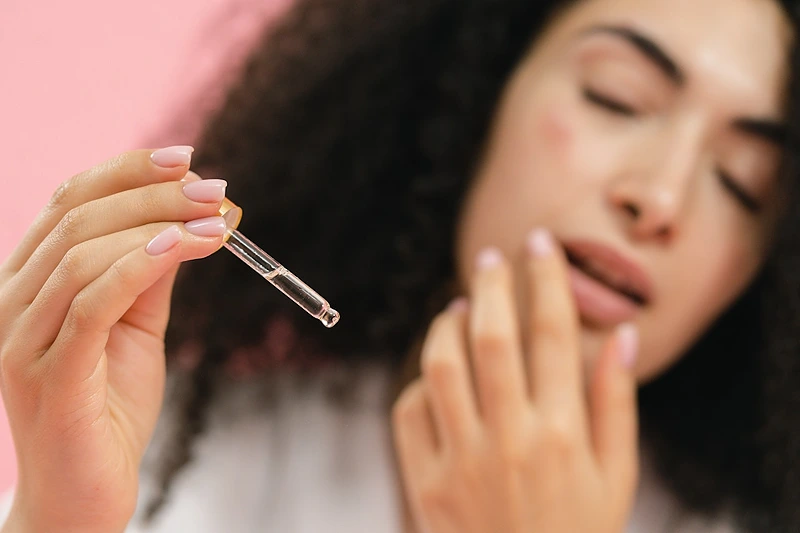
If you’re looking for a more cost-effective way to achieve plump, hydrated skin, making your own DIY hyaluronic acid serum might be worth considering.
Hyaluronic acid is a naturally occurring substance that keeps our skin hydrated and youthful-looking, but as we age, our body produces less of it. Commercial skincare products with hyaluronic acid can be pricey, but with a few simple ingredients, you can create your own serum at home.
In this article, we’ll guide you through the process of making your own DIY hyaluronic acid serum and explore the benefits of using it in your daily skincare routine.
Ingredients Needed
Choose high-quality ingredients to boost the effectiveness and safety of your DIY beauty products.
- Distilled Water. Alternative: rose water
- Hyaluronic Acid. It comes in white powder form. Don’t buy more than 5-10 grams (0.17-0.35 oz) initially, because it is not cheap and you really don’t need much of it.
- Vegetable Glycerin
- Preservative (Optional) such as phenonip or germall plus
Tools Needed
- Scale to measure quantities
- Glass beaker
- Glass mixing rod
- Aluminum foil
- Small glass bottle with an eyedropper for storing your DIY Hyaluronic Acid Serum
Prior to use, ensure that both your utensils and containers are properly cleaned and disinfected. Wash them with warm soapy water, dry with a tissue, and then sanitize by spraying with 70% medical alcohol. Wipe them clean and let them air dry before use.
Steps: DIY Hyaluronic Acid Serum
1- Pour 100 grams (3.53 oz) of distilled water into a glass beaker.
2- Add 1 gram (0.035 oz) of hyaluronic acid powder to the distilled water.
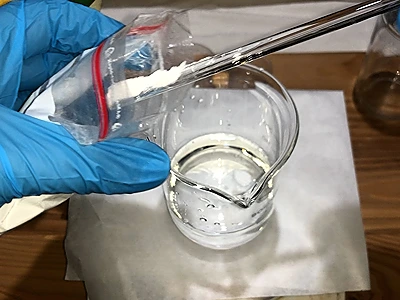
3- Use a glass mixing rod to stir the ingredients. The mixture begins to thicken.
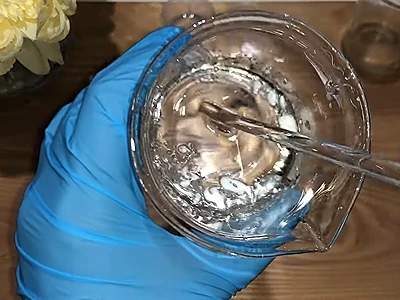
4- Pour in 5 grams (0.18 oz) of vegetable glycerin.
5- Stir the mixture. There is no need to dissolve all the hyaluronic acid powder; it will dissolve by itself.
6- Cover the top of the beaker with aluminum foil for approximately 1 hour.
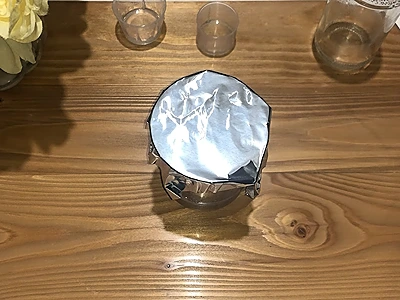
7- After about 1 hour, remove the aluminum cover. You will notice that the hyaluronic acid powder has fully dissolved.
8- To tell if your hyaluronic acid powder is high quality, the serum should be clear with a slightly thick consistency—similar to liquid Vitamin E but not as thick as aloe vera gel. A good serum will feel smooth and light, absorbing easily into the skin without stickiness.
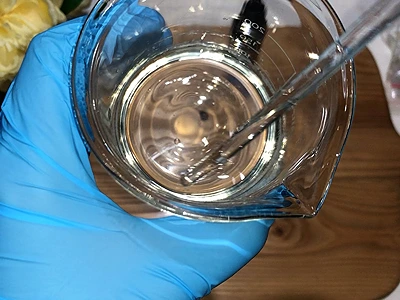
9- Add 1 gram (0.035 oz) of preservative to the serum, or follow the store’s recommended amount for the preservative you purchased. Adding a preservative can extend the shelf life of your serum up to 6 months.
Note: If you prefer to keep the serum fully natural and do not add a preservative, store it in the refrigerator and use it within 2 weeks. After this period, discard any unused serum and make a fresh batch.
10- Transfer the hyaluronic acid serum into a small bottle, and it’s ready to use!
How to Use Hyaluronic Acid Serum
The DIY hyaluronic acid serum can be utilized in two main ways: first, as an ingredient in natural skincare products like DIY creams and lotions, and second, it can be applied directly to the skin.
As an Ingredient in Creams or Lotions:
When including it in skincare formulations, use a 20% dosage. For instance, add 20 grams (approximately 0.7 oz) of hyaluronic acid serum to 100 grams (approximately 3.52 oz) of your cream or lotion for optimal hydration.
Direct Application on the Skin:
a. Cleanse Your Skin: Start with a clean base by using a gentle soap or cleanser suited to your skin type. This removes dirt, oil, and makeup, ensuring that the serum can penetrate effectively.
b. Apply on Damp Skin: After cleansing, gently pat your skin with a damp and warm towel, leaving some moisture behind. This step is crucial because hyaluronic acid draws water into the skin, helping to lock in hydration.
c. Dispense a Few Drops: Take 2-3 drops of the serum and apply it evenly across your face, using your fingertips. You can also extend the application to your neck and décolletage for additional hydration.
d. Massage Gently: Using upward circular motions, massage the serum into your skin for about 2 minutes. This technique aids absorption and stimulates blood circulation, but be cautious around the delicate eye area.
e. Wait for Absorption: Allow the serum to absorb for 3 minutes before proceeding to the next step.
f. Follow with Moisturizer: After the serum is absorbed, apply your favorite moisturizer. This step is vital as it seals in the moisture that the hyaluronic acid draws into your skin.
g. Use Daily: Incorporate the serum into your skincare routine twice a day—morning and night—for the best results. In the morning, follow up with sunscreen, as hyaluronic acid can enhance the effectiveness of other skincare ingredients.
DIY Hyaluronic Acid Serum Benefits
Hyaluronic acid serum has many benefits for the skin:
Intense Hydration: Hyaluronic acid can hold up to 1,000 times its weight in water, making it an incredibly powerful hydrating agent. Regular use will give your skin a plumper, more youthful appearance by helping it retain moisture.
Boosts Skin Elasticity: By maintaining hydration levels, the serum helps to improve skin elasticity, which can reduce the appearance of fine lines and wrinkles, giving the skin a firmer, smoother texture.
Promotes Faster Healing: Hyaluronic acid plays a role in tissue regeneration and wound healing. It can speed up the recovery process for minor skin irritations and enhance the skin’s natural protective barrier.
Balances Oil Production: For those with oily or combination skin, this serum can help regulate oil production. It hydrates without clogging pores or causing breakouts, making it ideal for acne-prone skin.
Enhances Other Products: When layered underneath other skincare products like moisturizers and oils, hyaluronic acid enhances their effectiveness by helping them absorb deeper into the skin.
Soothes Redness and Irritation: Thanks to its anti-inflammatory properties, hyaluronic acid serum can help calm and soothe irritated skin, making it a great option for people with sensitive or reactive skin.
Prevents Trans-Epidermal Water Loss (TEWL): By strengthening the skin’s barrier function, hyaluronic acid prevents moisture from escaping, keeping your skin hydrated for longer periods.
Improves Skin Texture: With regular use, your skin will feel smoother and softer, as hyaluronic acid helps to gently exfoliate dead skin cells and promote cell turnover.
More articles on DIY natural handmade body oils and serums:
- DIY Massage Oil for Couples: Create a Sensual and Relaxing Experience at Home!
- DIY Face Toner with Rose and Niacinamide (Vitamin B3): Clear and Luminous Skin Naturally
- DIY Frankincense Face Serum: 3 Ingredients for Natural Skin Firming and Radiance
- DIY Massage Oil for Joint and Muscle Relief: Effective Home Remedy
- DIY Body Spot Augmentation Serum: 3 Natural Oils for Visible Enhancement
Video How-To on My Channel | Jinane World
The steps to make the DIY hyaluronic acid serum are demonstrated in this video.
