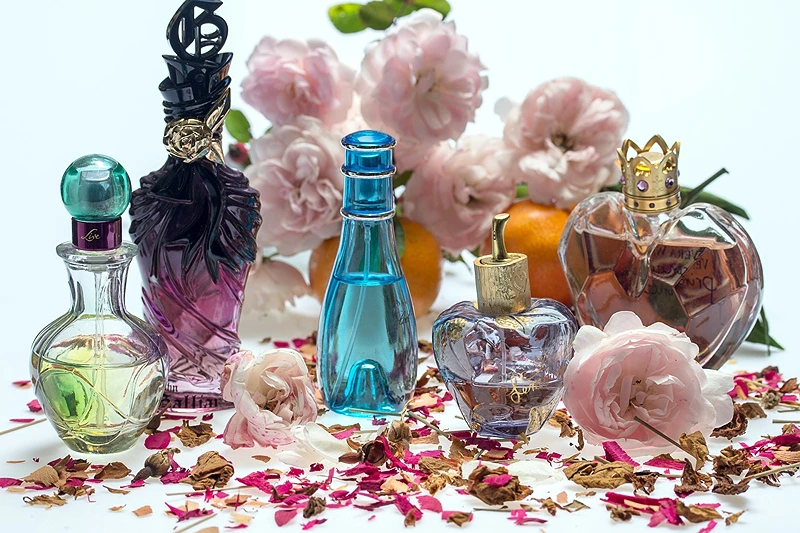
In this DIY perfume guide, we’ll explore the art of crafting your signature scent using just four exquisite ingredients. Making your own perfume not only provides satisfaction but also assures you of the quality of the ingredients used.
Whether you’re a beginner or a seasoned fragrance lover, DIY perfume making opens up endless possibilities for customizing your scent collection.
This creative endeavor can transform into a delightful hobby while saving you money on perfume purchases. So, gather your supplies and get ready to create a scent that’s uniquely yours!
Ingredients Needed
Choose high-quality ingredients to boost the effectiveness and safety of your DIY beauty products.
- Ethyl Alcohol 95%: Best to buy it from pharmacies. Make sure you don’t get the
methyl alcoholwhich is harmful. - Distilled Water
- Fragrance Oil
- Medical Glycerine: Acts as a fixative to make the scent last longer.
Tools Needed
- Scale to weigh quantities
- Glass beaker or bowl
- Glass mixing rod
- 100-milliliter (3.38-fl oz) perfume bottle to store your DIY Perfume
Steps: DIY Perfume
1- We will make a perfume for a 100-milliliter (3.38-fl oz) bottle.
2- Pour 30 grams (1.05 oz) of your preferred fragrance oil into a glass beaker or bowl. This is the maximum amount you may add for a DIY perfume quantity of 100 milliliters (3.38 fl oz).
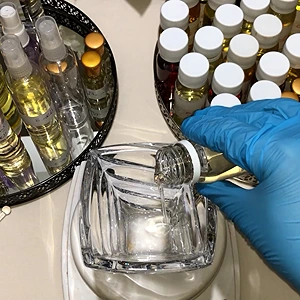
3- Add 3 grams (0.10 oz) of glycerine to the fragrance oil.
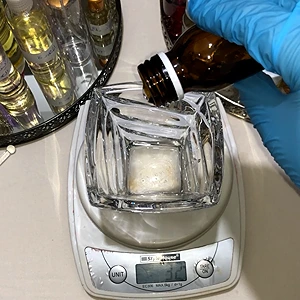
4- Stir the fragrance oil and glycerine for two minutes.
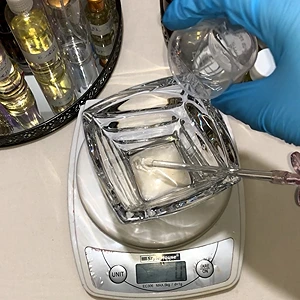
5- After mixing for two minutes, pour in 3 grams (0.10 oz) of distilled water and mix well again. The mixture will become cloudy.
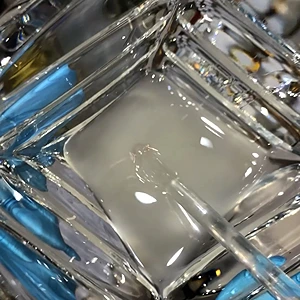
6- Add 44 grams (1.55 oz) of ethyl alcohol 95% and mix for two minutes. You will notice that the liquid becomes clear almost immediately.
Note: Remember that for a 100-ml (3.38-fl oz) perfume bottle, the fragrance oil should not exceed 30 grams. For perfume (as opposed to eau de parfum or eau de toilette), we recommend using 25-30 grams of fragrance oil. Exceeding this amount can prevent proper mixing with the ethyl alcohol.
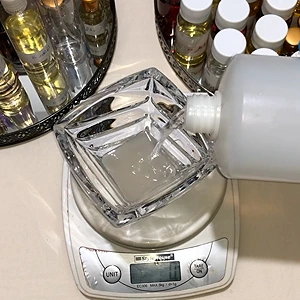
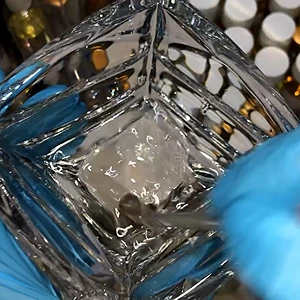
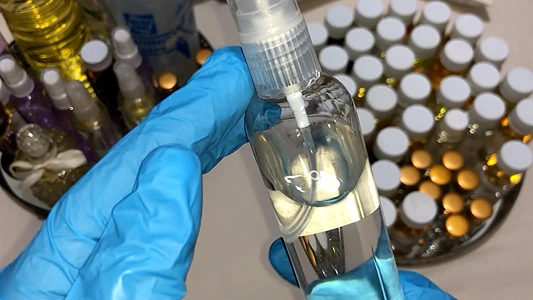
7- Slowly pour your finished perfume into a 100-ml (3.38-fl oz) bottle.
8- Wrap the perfume bottle in a cloth and place it in the refrigerator for three days.
9- Once three days have passed, remove the perfume bottle from the refrigerator and place it in a closed cabinet for another three days. This aging phase is crucial; the longer you age the perfume, the more intense and stable the fragrance becomes.
10- The color of the perfume will reflect the color of the fragrance oil you used. In my case, I chose a fragrance oil with a clear hue, which is why the perfume is clear. If your fragrance oil is colored, that will be reflected in your final perfume.
11- The DIY Perfume is now ready to use!
How to Use
Shake Before Use: Gently shake the bottle before each application to ensure the ingredients are well mixed.
Apply to Pulse Points: Spray or dab the perfume on your pulse points, such as wrists, behind the ears, and the base of your throat. These areas emit heat, helping to diffuse the fragrance throughout the day.
Avoid Rubbing: After applying, avoid rubbing your wrists together. This can break down the fragrance and alter its scent profile.
Reapply as Needed: Depending on your preference and the fragrance strength, reapply throughout the day to refresh the scent.
Storage: Store your perfume in a cool, dark place away from direct sunlight to preserve its quality and fragrance.
Enjoy your signature scent!
Benefits
Customization: Create a unique scent tailored to your personal preferences, experimenting with different fragrance oils to find your perfect blend.
Control Over Ingredients: You can ensure the use of high-quality, natural ingredients, such as plant-based ethyl alcohol and fragrance oils, making it safer for sensitive skin.
Cost-Effective: DIY perfumes allow you to replicate high-end fragrances at a fraction of the cost, giving you more control over your budget.
Creative Satisfaction: Crafting your own perfume offers a fulfilling and enjoyable hobby, allowing for personal expression through scent.
Here are more articles that might be of interest:
Video How-To on My Channel | Jinane World
You can see the steps explained in this article in this video.
