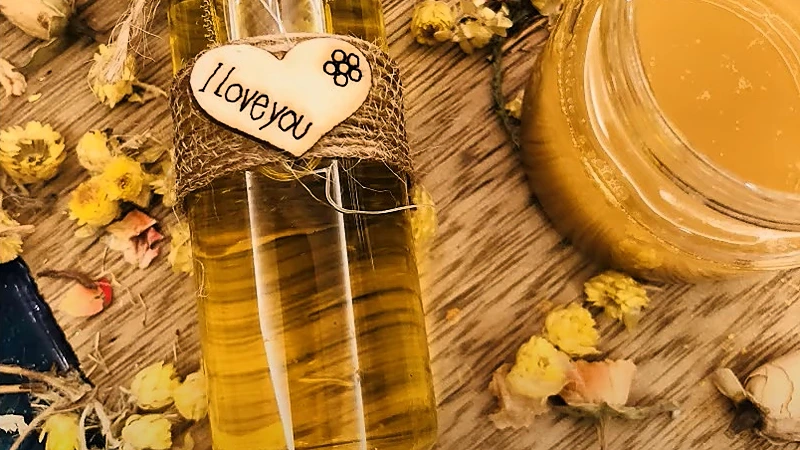
In this article, we present an alternative and highly effective DIY split end treatment featuring the powerful goodness of six natural oils. Bid farewell to those split ends that have been holding back the potential of your hair and say hello to a revitalized and radiant mane.
Whether you have straight, wavy, curly, or coily hair, this treatment caters to all hair types. It’s time to embrace the beauty of your locks with the confidence of knowing you have a potent DIY split end remedy right at your fingertips. So let’s delve into the wonders of our Effective DIY Split End Treatment: 6 Natural Oils for Healthy Hair and take your hair care routine to the next level.
Ingredients Needed
Choose high-quality ingredients to boost the effectiveness and safety of your DIY beauty products.
- Olive oil
- Sweet almond oil
- Jojoba oil
- Garlic oil
- Sesame oil
- Castor oil
All the above are carrier oils.
Tools Needed
- Bowl
- Tablespoon
- Small whisk
- Glass bottle to store your DIY Split End Treatment with 6 Natural Oils
Prior to use, ensure that both your utensils and containers are properly cleaned and disinfected. Wash them with warm soapy water, dry with a tissue, and then sanitize by spraying with 70% medical alcohol. Wipe them clean and let them air dry before use.
Steps: DIY Split End Treatment
1- Start by adding 1 tablespoon of olive oil in a bowl.
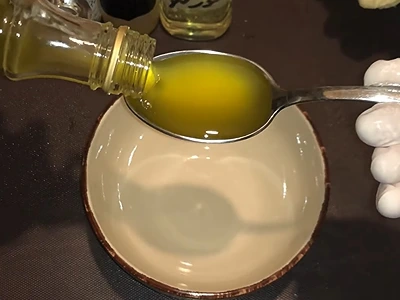
2- Add 1 tablespoon of sweet almond oil.
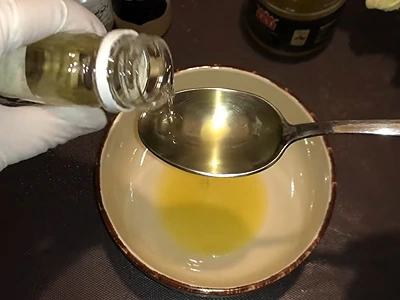
3- Add 1 tablespoon of jojoba oil.
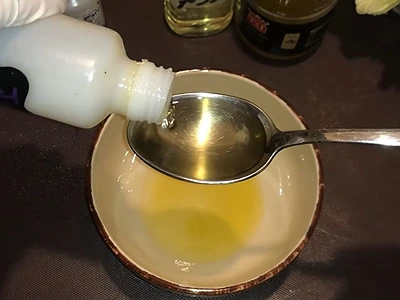
4- Add 1 tablespoon of garlic oil.
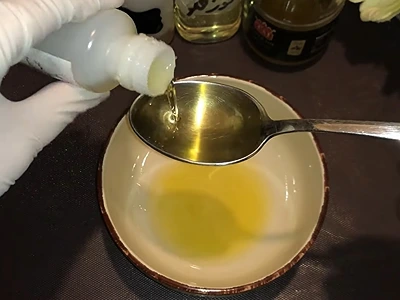
5- Add 1 tablespoon of sesame oil.
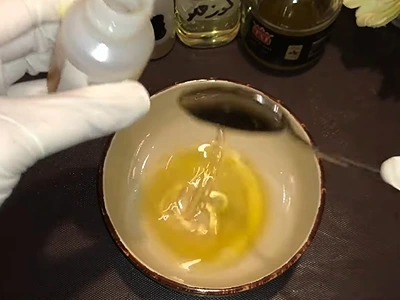
6- Final oil to add is 1 tablespoon of castor oil.
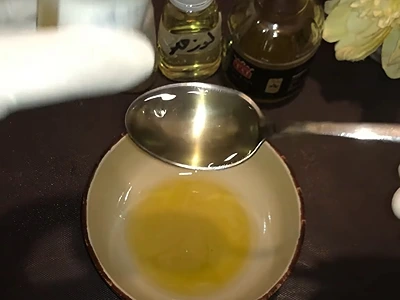
7- With a small whisk, stir the oils thoroughly for 2 minutes.
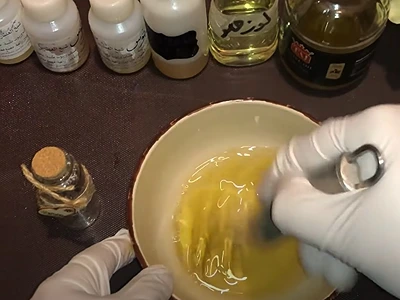
8- Pour the serum into a glass bottle and seal it. And you’re done!
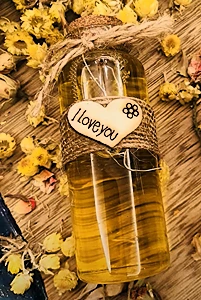
How To Use: DIY Split End Treatment
Follow these steps to treat your hair to this nourishing treatment:
a. Warm the Oil Blend:
To enhance the treatment’s efficacy, gently warm the oil blend. You can do this by placing the mixing bowl in a larger bowl of hot water for a few minutes. Ensure the oil is comfortably warm to the touch but not too hot to avoid scalp discomfort.
b. Apply the Oil Blend:
Before applying the oil, ensure your hair is dry and free from any styling products. Section your hair to make the application easier. Dip your fingertips into the warm oil blend and gently massage it into your hair, starting from the mid-lengths and working your way down to the ends. Focus on areas with visible split ends for extra care.
c. Wrap Your Hair:
Once you’ve applied the oil throughout your hair, gather your hair into a loose bun or braid it to secure it. Cover your hair with a shower cap or wrap a warm towel around it. The warmth will help the oils penetrate deeply into your hair shafts.
d. Let It Work Its Magic:
Leave the oil blend on your hair for one to three hours to allow the nourishing properties to take effect.
e. Rinse and Wash:
After the desired duration, it’s time to rinse out the oil. Shampoo your hair thoroughly, making sure to wash away all the oil residue. You might need to shampoo twice to ensure your hair is clean. Follow up with your regular conditioner if needed.
f. Enjoy the Results:
Now, behold the magic! Feel the difference in your hair’s texture as it becomes smoother, softer, and visibly healthier.
g. Usage Frequency:
For optimal results, use this DIY split end treatment once or twice a week. Consistent application will promote long-lasting benefits, giving you the beautiful, healthy hair you deserve.
Benefits: DIY Split End Treatment
Revitalized and Repaired Hair: Our DIY split end treatment is enriched with a powerful blend of natural oils that deeply nourish and repair damaged hair. The nutrients penetrate the hair shafts, promoting hair repair from within, and leaving your strands revitalized and restored.
Say Goodbye to Split Ends: The potent combination of natural oils works wonders in reducing and preventing split ends. Regular use of the treatment seals the hair cuticles, preventing further splitting and ensuring your hair stays healthier for longer.
Enhanced Hair Strength: The nourishing properties of the six natural oils fortify the hair, making it more resilient to breakage and damage. With stronger hair, you’ll experience less breakage and fewer split ends, resulting in a fuller and thicker appearance.
Smoother and Softer Hair: This DIY treatment imparts intense moisture to your hair, promoting a smooth and silky texture. Bid farewell to dry and rough ends as your hair becomes noticeably softer to the touch.
Natural Shine and Luster: Experience a natural, radiant shine as the oils infuse your hair with essential vitamins and fatty acids. Say hello to glossy, lustrous locks that exude a healthy and vibrant sheen.
Bonus Benefit:
This DIY split end treatment is free from harmful chemicals, making it a safe and eco-friendly alternative to commercial hair treatments. Embrace the beauty of your hair without compromising on its health or the environment.
Frequently Asked Questions: DIY Split End Treatment
1. How often should I use this DIY split end treatment?
For normal treatment, use it once a week. For intensive treatment, do it twice weekly. Consistent weekly application allows the natural oils to work their magic, promoting long-lasting benefits and healthier hair over time.
2. Can I leave the oil blend on overnight for an intensive treatment?
We recommend to leave the oil blend on your hair for three hours maximum.
3. I have fine hair. Will this treatment weigh down my hair?
Not at all! The oil blend is formulated to be light, making it suitable for all hair types. If you have fine hair, simply use a smaller amount of the oil blend during application.
4. Can I customize the blend by using fewer oils?
While the six-oil blend offers optimal benefits, you can customize the treatment to suit your preferences. However, keep in mind that each oil contributes unique nourishing properties to the treatment.
5. Will this treatment help with hair growth as well?
While the primary focus of this treatment is to repair and prevent split ends, the nourishing properties of the natural oils can also promote a healthy scalp environment, which may indirectly support hair growth. To promote hair growth, check out this article.
Here are more articles on how to care for your hair:
- DIY Natural Serum for Split Ends with Egg Yolk: Revive and Shine Your Hair
- Care for Your Hair: Power-Packed DIY Shampoo for Hair Growth and Health
- DIY Aloe Vera Coconut Oil for Hair: Achieving Strong and Shiny Locks at Home With 2 Ingredients
- Empower Your Curls: How to Make a DIY Cream for Curly Hair at Home
- Get Glossy and Gorgeous Hair with DIY Hair Mist: Try Our Simple Recipe Now
Video How-To on My Channel | Jinane World
The steps to make the DIY Split End Treatment with 6 Natural Oils are demonstrated after the timestamp 04m 06s of this video.
