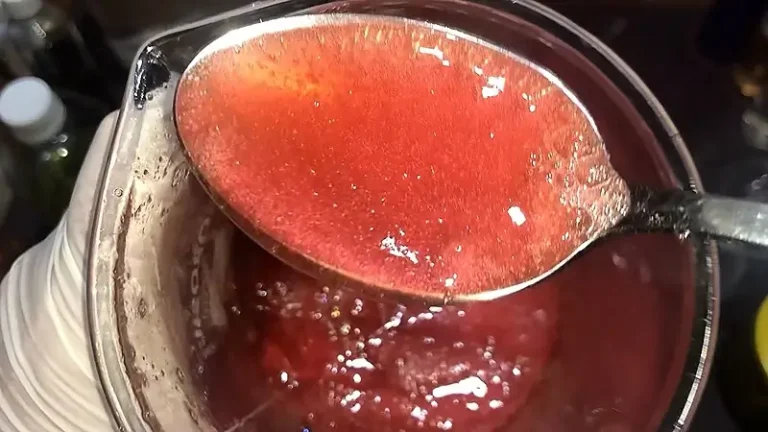
Empower Your Curls: How to Make a DIY Cream for Curly Hair at Home

Author: Jinane Doughan
- Professional makeup artist with a degree from the French Fashion Institute ESMOD Dubai
- Specializes in natural skincare and haircare
- Accredited Master Trainer, offering workshops at a well-known academy with 16 branches
- Provides in-depth video courses on natural skincare and haircare through her private platform
- Shares expertise on her YouTube channel, Jinane World, with over 700 educational videos and 140K+ subscribers
Thank You!
Display ads support this website and its DIY content. I want to thank you for your patience with any inconvenience this may cause. I hope you discover valuable insights and joy as you explore!
Disclaimer
This article is for educational purposes only and is not medical advice. Always perform a patch test before using any natural skincare or haircare products.
If you’re looking for an effective way to care for your curly hair using natural ingredients, making your own DIY cream for curly hair is a great option. Unlike some commercial products, homemade creams are made with gentle, nourishing ingredients that are kind to your hair and scalp.
In this article, we’ll share an easy-to-follow recipe for a DIY cream for curly hair. Get ready to embrace your natural curls with this simple and effective DIY solution!
Ingredients Needed
Choose high-quality ingredients to boost the effectiveness and safety of your DIY beauty products.
- Cocoa Butter
- Shea Butter
- Beeswax: It is excellent for the curly and frizzy hair that is difficult to style.
- Sweet Almond Oil
- Fractionated Coconut Oil
- Wheat Germ Oil
- Arugula Oil (Also known as watercress oil, rocket seed oil, or rocca oil)
- Tea Tree Essential Oil (Concentrated)
- Mica Color Powder (We’ll use orange mica color here)
- Peach Fragrance Oil (You can use any fragrance)
Tools Needed
- Scale to measure quantities
- Medium bowl or stainless steel cup
- Teaspoon
- Small silicone spatula for mixing ingredients
- Suitable container for storing your DIY Cream for Curly Hair
Steps: DIY Cream for Curly Hair
Spoons Explained!
In some articles, we use spoon measurements for non-liquid ingredients. These terms apply to both tablespoons and teaspoons:
- One Spoon: Ingredient filled and leveled in a measuring spoon.
- Rounded Spoon: Ingredient slightly piled above the spoon’s edge.
- Heaped Spoon: Ingredient scooped as high as possible on the spoon.
- Slightly Heaped Spoon: A bit more than a rounded spoon but not overly heaped.
1- Begin by placing 10 grams (0.35 oz) of cocoa butter in a bowl.
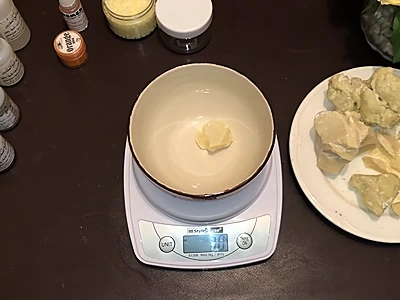
2- Add 30 grams (1.06 oz) of shea butter to the cocoa butter.
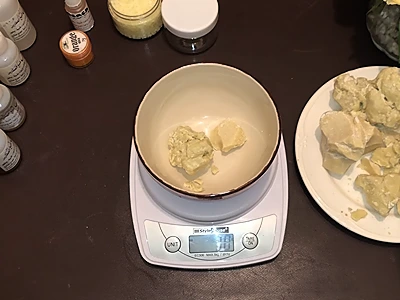
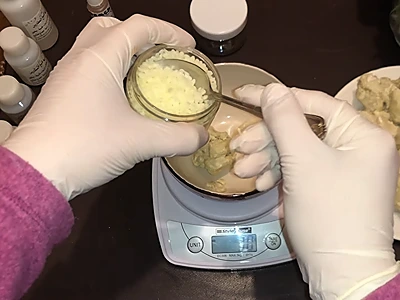
3- Add 2 rounded teaspoons of beeswax, or approx. 10 grams (0.35 oz), to the contents of the bowl.
4- Pour in 60 grams (2.12 oz) of sweet almond oil.
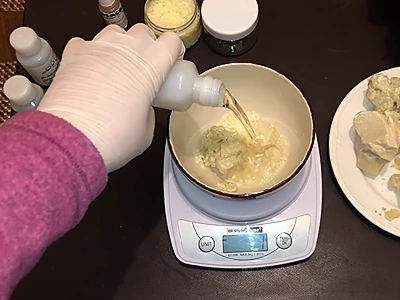
5- Gently heat and melt the ingredients using a bain-marie (hot water bath). To set up a bain-marie, place the bowl in a larger pot of hot, steaming water. This method will gradually heat and melt the contents without direct heat. Stir the mixture while it melts, and avoid letting it boil.
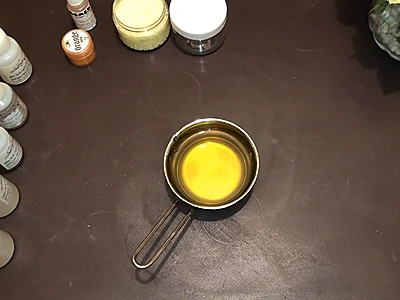
6- Add 1/2 teaspoon, or about 2.5 grams (0.088 oz), of fractionated coconut oil to the mixture.
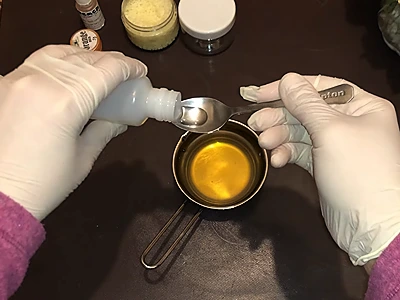
7- Pour in 1/2 teaspoon, or approx. 2.5 grams (0.088 oz), of wheat germ oil.
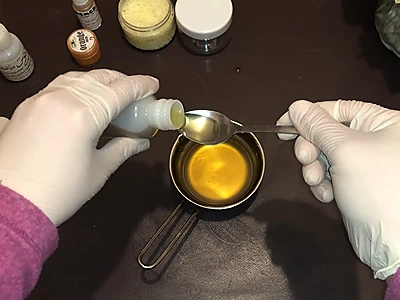
8- Add 1/2 teaspoon, or about 2.5 grams (0.088 oz), of arugula oil to the ingredients.
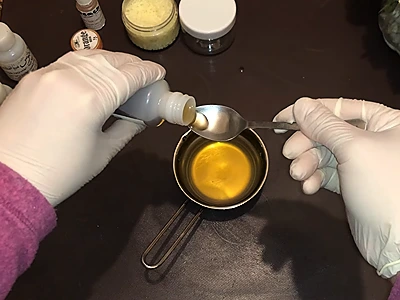
9- Add 3 drops of tea tree essential oil.
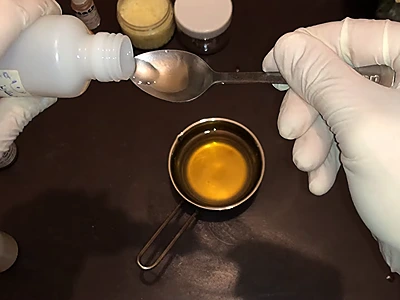
10- Stir the ingredients thoroughly to ensure they are well combined.
11- Add a touch of mica color powder for aesthetics and mix well.
12- Add 10 drops of your preferred fragrance oil and stir again.
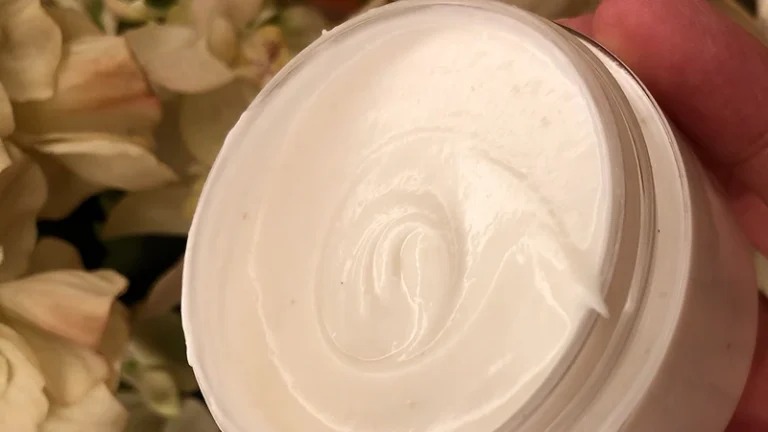
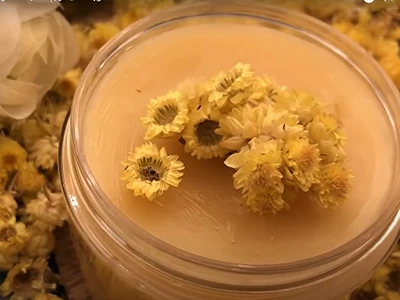
13- Pour the mixture into a suitable container for storage, and wait for the contents to cool and harden. Your DIY cream for curly hair is done!
Using The DIY Cream for Curly Hair
a. Make sure your hair is damp and clean before you apply the cream. You can shampoo and condition your hair and then gently towel-dry it.
b. Take a small amount of hair cream and rub it between your palms.
c. Starting from the ends of your hair, apply the cream and slowly work your way towards the roots. Make sure you distribute the cream evenly.
d. Lastly, keep in mind that the amount of hair cream you should use depends on hair length and thickness. This is why it’s a good idea to start with a small amount and add more if necessary.
Benefits: DIY Cream for Curly Hair
Here are some of the benefits of using the DIY Cream for Curly Hair:
Protects your hair: This hair cream can help protect your hair from environmental elements such as humidity and heat. Using this product can help prevent damage and breakage overall.
Defines your hair: Hair cream for curly hair can help enhance your natural curls further by creating a more polished look.
Moisturizes your hair: This product is designed to help nourish and moisturize your curly hair. In turn, this can help improve hair texture and reduce frizz.
Is a versatile product: You can use hair cream for curly hair as a versatile styling product to help with braid-outs, twist-outs, and more.
More articles on DIY natural and handmade haircare products:
- Revitalize Your Hair with DIY Rosemary Hair Growth Serum
- Refresh Your Hair with DIY Rosemary Hair Toner
- DIY Fenugreek and Black Seed Serum: The Secret to Longer, Healthier Hair
- Get Glossy and Gorgeous Hair with DIY Hair Mist: Try Our Simple Recipe Now
Video How-To on My Channel | Jinane World
The steps to make the DIY cream for curly hair are demonstrated in this video.

