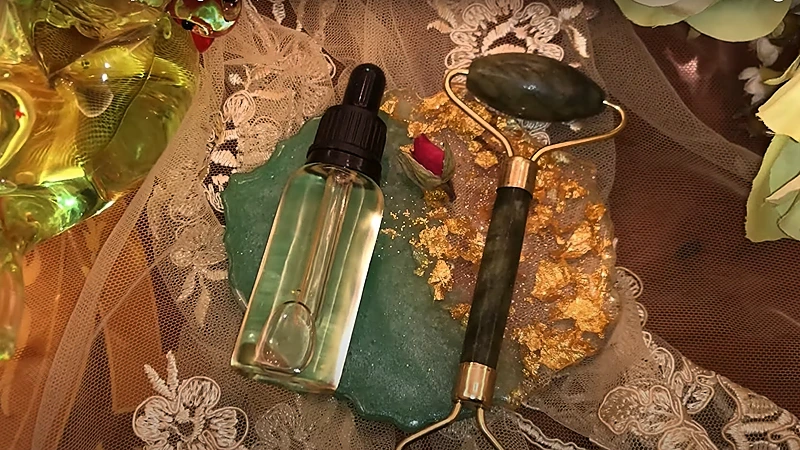
Looking for a natural, affordable, and effective way to prime your skin before applying makeup? Look no further than this DIY oil primer recipe! Made with pumpkin oil, glycerine, lemon oil, and aloe vera oil, this primer will leave your skin smooth, hydrated, and ready for flawless makeup application.
In this article, we’ll guide you through the simple steps to make your own DIY oil primer. But first, let’s explain a bit what an oil primer is.
It is a type of makeup primer that is used to prep the skin before applying foundation or other makeup products. It is typically made with a combination of natural oils, which work together to create a smooth, hydrated, and even base for makeup application. The main purpose of an oil primer is to help makeup adhere better to the skin and last longer throughout the day, while also providing additional benefits such as nourishment, hydration, and skin protection.
Ingredients Needed
- Pumpkin Oil
- Medical Glycerine – You can find it in pharmacies
- Lemon Oil: If you have sensitive skin, avoid using lemon oil in the DIY oil primer. Instead, opt for sweet almond oil or chamomile oil. Lemon oil is suitable for other skin types, including oily, dry, normal, and combination.
- Aloe Vera Oil
- Essential Oil (we will use lavender)
Notes on Ingredients
Choose high-quality ingredients to boost the effectiveness and safety of your DIY beauty products.
When an essential oil is included, I use either concentrated or diluted essential oils. If using concentrated essential oils, use up to 0.5% by weight to ensure safety for all skin types. To use diluted essential oils, mix 1 gram (0.035 oz) of concentrated essential oil with 100 grams (3.5 oz) of sweet almond oil or jojoba oil.
If a recipe calls for fragrance oil, you can use diluted essential oil instead to benefit from both its scent and therapeutic effects. This provides a natural alternative to synthetic fragrance oils and offers additional benefits.
Tools Needed
- Bowl
- Tablespoons
- Empty bottle for the final product
Steps: DIY Oil Primer
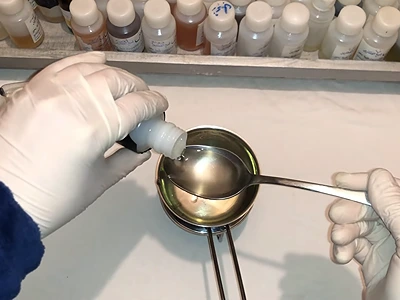
1- Add 1 tablespoon (15 milliliters) of pumpkin oil to a bowl.
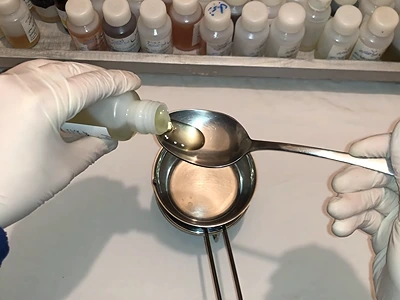
2- Add 1 tablespoon of lemon oil.
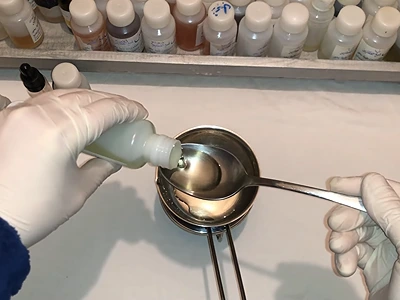
3- Add 1 tablespoon of glycerine.
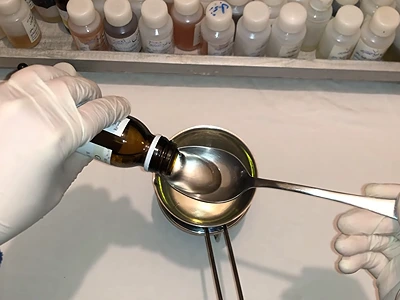
4- Add 1 tablespoon of aloe vera oil.
Note: If you want to make more quantity of the DIY oil primer, add the oils in equal measures. For example, if you put 2 tablespoons of pumpkin oil, you should also add 2 tablespoons of lemon oil, and so on.
5- Add 5 drops of your chosen essential oil.
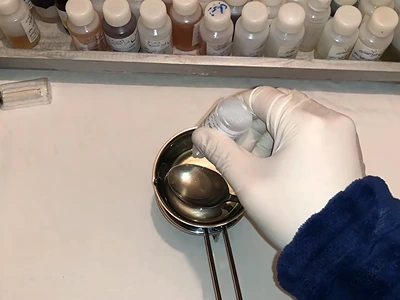
6- Mix the ingredients together for 2-3 minutes.
7- Pour the contents of the small bowl into an empty plastic serum bottle or your chosen container for storage purposes.
8- Done!
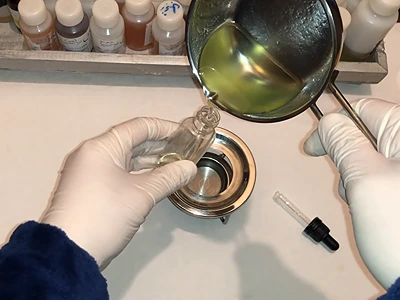
Pour the finished primer into a small bottle 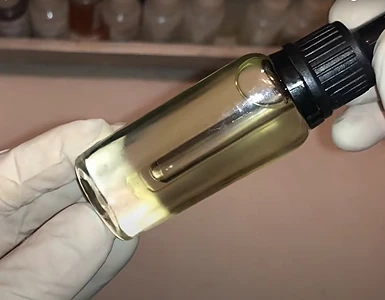
Finished product
Using The DIY Oil Primer
First, make sure your face is dry and clean. You can use a cleanser to help remove any dirt or oil.
Next, apply some moisturizer to your face and let it absorb for a couple of minutes.
Now it’s time to apply the oil primer. Apply a small amount on your face using your fingers (you can also use a makeup brush) and use a roller to help spread the primer across your skin. It’s a good idea to focus on areas where you want to smooth out fine lines or pores.
Wait a few minutes for your skin to absorb the oil primer before applying any makeup. After your skin has fully absorbed the primer, you can start applying your makeup.
Benefits of The DIY Oil Primer
This skincare product has many benefits such as:
Contains all-natural ingredients: By making an oil primer at home, you have full control over the ingredients that go in it. This ensures that it will be free of any chemicals or other harmful elements to your skin.
Is fully customizable: Because you’re making this product at home, you can tailor it to your skin’s needs. For instance, if you have dry skin, you can add more moisturizing ingredients.
Moisturizes your skin: This product has plenty of ingredients that can help keep your skin hydrated. This can help improve your skin’s overall appearance and health.
Enhances makeup application: An oil primer can create a smooth base for makeup application. This can help reduce the appearance of blemishes, pores, and fine lines. In the end, your makeup will look more flawless and stay in place longer.
More articles on DIY natural makeup products:
- 3 Ingredients To Make A Natural Eyebrow Gel
- How To Make Lipstick At Home The Easy Way
- Gentle and Effective DIY Natural Makeup Remover
- Natural Makeup Contour: DIY Techniques Using Organic Products
Video How-To on My Channel | Jinane World
The steps to make the DIY oil primer are demonstrated in this video.