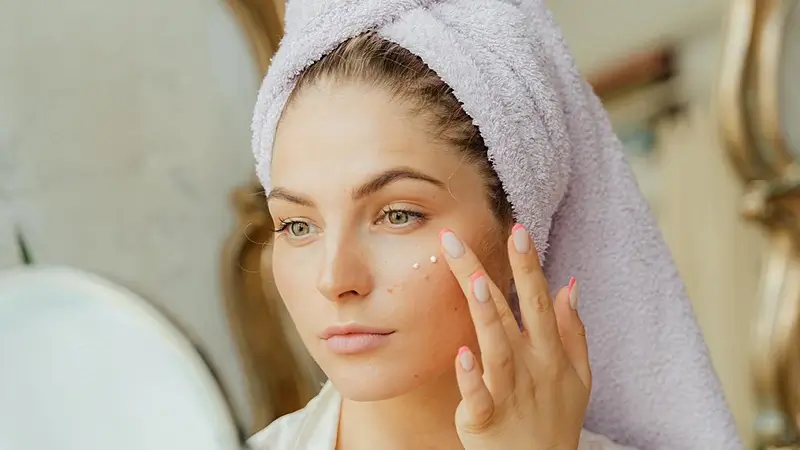
Are you in your 40s and beyond? Then let’s introduce our DIY night cream for 40+. Formulated with powerhouse ingredients like Niacinamide (Vitamin B3) and Frankincense, this cream is designed to nourish and rejuvenate mature skin in a few days.
Say farewell to dullness and welcome a radiant complexion with our simple yet effective homemade solution. Join us as we unveil the secrets behind this age-defying potion and embrace timeless radiance effortlessly.
Ingredients Needed
- Aloe vera gel, natural
- Frankincense carrier oil
- Frankincense essential oil
- Niacinamide powder (Vitamin B3)
Notes on Ingredients
Choose high-quality ingredients to boost the effectiveness and safety of your DIY beauty products.
When an essential oil is included, I use either concentrated or diluted essential oils. If using concentrated essential oils, use up to 0.5% by weight to ensure safety for all skin types. To use diluted essential oils, mix 1 gram (0.035 oz) of concentrated essential oil with 100 grams (3.5 oz) of sweet almond oil or jojoba oil.
If a recipe calls for fragrance oil, you can use diluted essential oil instead to benefit from both its scent and therapeutic effects. This provides a natural alternative to synthetic fragrance oils and offers additional benefits.
Tools Needed
- Scale to weigh quantities
- Bowl
- Small glass beaker
- Small silicone spatula
- Glass mixing rod
- Electric hand mixer
- pH acidity test kit
- Suitable bottle to store your DIY Night Cream for 40+
Prior to use, ensure that both your utensils and containers are properly cleaned and disinfected. Wash them with warm soapy water, dry with a tissue, and then sanitize by spraying with 70% medical alcohol. Wipe them clean and let them air dry before use.
Article continues below…
Featured Recipes
Glow from the inside out! Elevate your skincare with our unique DIY single recipes! Each formula is designed with special ingredients to target specific needs, whether it’s boosting collagen, reducing wrinkles, or diminishing dark circles. These recipes aren’t on our blog; even if some titles seem similar, they use different ingredients.
10% discount for 3 or more recipes!
Steps: DIY Night Cream for 40+
1- Begin by putting 100 grams (3.52 oz) of natural aloe vera gel in a bowl.
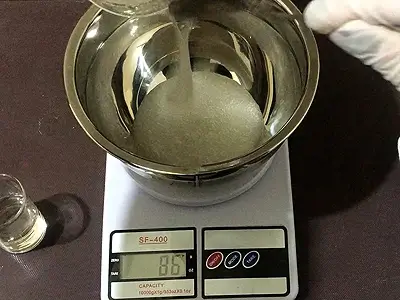
2- Add 3 grams (0.10 oz) of niacinamide powder (vitamin B3).
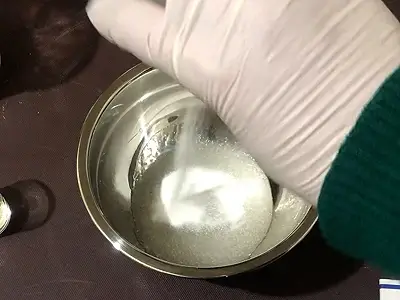
3- Mix thoroughly with a silicone spatula. The niacinamide powder is soluble in water, and since the aloe vera gel is water-based, the niacinamide will dissolve well within the gel.
4- After a thorough mixing to dissolve the niacinamide, allow the mixture to settle for approximately five minutes. Then resume stirring the mixture with the spatula to ensure that the niacinamide has completely dissolved into the aloe vera gel. This step ensures even distribution of the ingredient throughout the mixture, maximizing its effectiveness in the night cream.
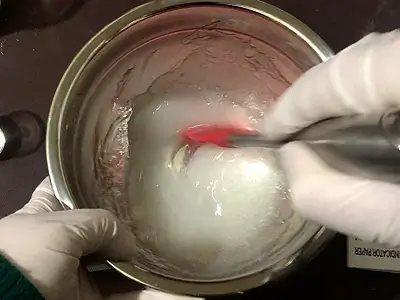
5- Add 25 grams (0.88 oz) of frankincense carrier oil.
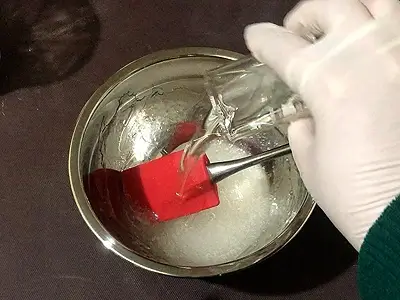
6- Stir rigorously the contents using the spatula. Stirring should continue until the mixture acquires a creamy or lotion-like consistency. To save time, you can use an electric hand mixer to complete this process.
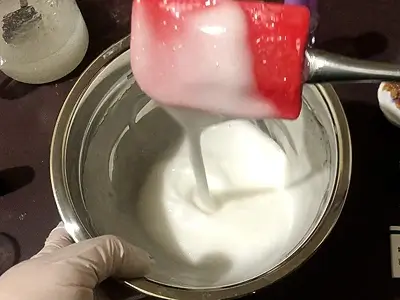
7- Add five drops of frankincense essential oil.
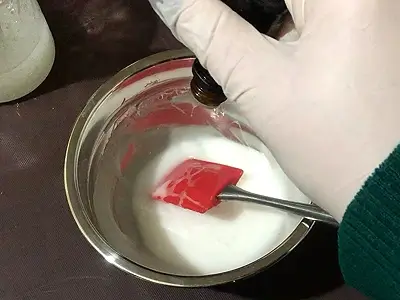
8- Mix thoroughly with the spatula.
pH Acidity Test
The DIY Night Cream for 40+ is now complete. But before using it, it is imperative to check that its pH acidity level is within the safe range. If you skip this important step, and the pH acidity level of the cream is high, it might cause allergic reaction on the skin. So, let’s do that.
9- In a small beaker, put 2 grams (0.07 oz) of the night cream.
10- Add 8 grams (0.28 oz) of distilled water.
11- Mix thoroughly with a glass mixing rod.
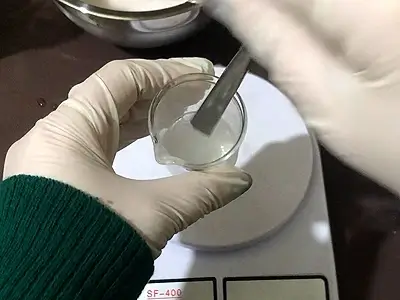
12- Take a paper from the pH acidity test kit, and dip it in the solution just prepared.
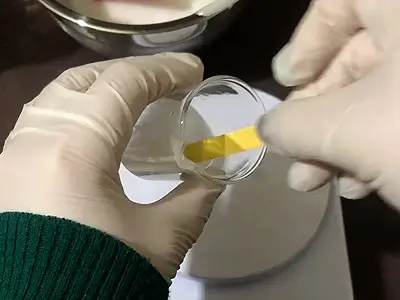
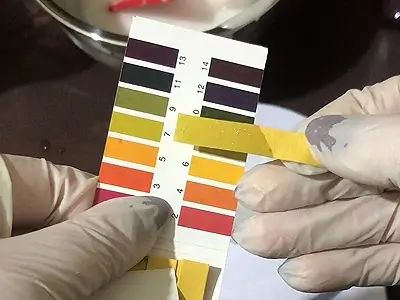
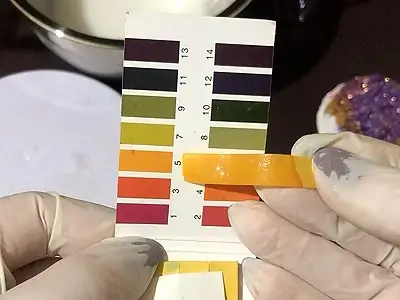
13- The soaked part of the paper will change color, and the pH acidity level of the solution is indicated by this color. Compare the color against the range of colors in the pH kit, and note the number against the matching color.
In my case, the color is light green and the corresponding pH level is 7. The recommended range for the night cream is 4.5 to 5.5. So, I have to lower it.
14- To lower the pH level, mix equal parts of citric acid and distilled water, e.g. 10 grams (0.35 oz) of citric acid and 10 grams (0.35 oz) of distilled water.
15- Add 3-5 drops of the citric acid solution to the whole quantity of the DIY Night Cream in the bowl. In the image below, I use about 1/4 teaspoon.
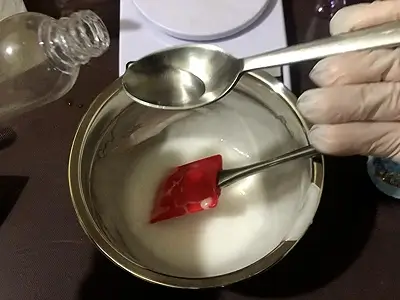
16- Mix thoroughly.
17- Repeat the pH test by following the steps 9 to 13 above.
In my case, the pH reading is now 5 which is good.
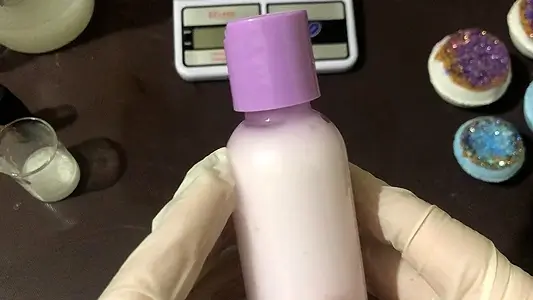
18- Once you are satisfied with the pH test, proceed to pour the night cream into a suitable bottle for storage.
Note: The aloe vera gel contains its own preservative. The shelf life of the night cream is derived from that of the aloe vera gel. Normally, it should be six months.
How to Use: DIY Night Cream for 40+
To use the DIY Night Cream for 40+ effectively, follow these simple steps:
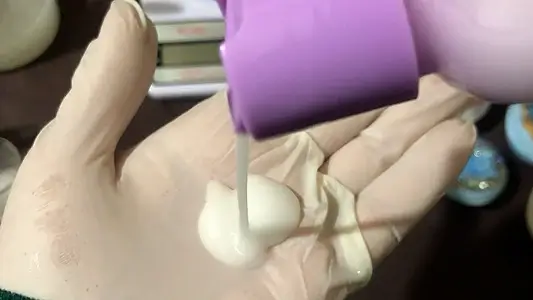
a. Dispense Drops: Begin by dispensing one drop of the night cream onto your fingertip.
b. Spot Application: Apply the drop to a specific spot on your face, such as the forehead, cheeks, chin, or under the eyes.
c. Repeat: Repeat this process, dispensing one drop at a time and applying it to different areas of your face. Ensure even coverage by spreading the drops across all desired areas.
d. Gentle Massage: Once drops are applied, gently massage the cream into your skin using upward circular motions. This helps the cream to absorb and ensures thorough coverage.
e. Allow Absorption: Allow the cream to absorb into your skin for about 30 minutes before bedtime.
f. Overnight Treatment: Leave the cream on overnight to deeply nourish and rejuvenate your skin while you sleep.
g. Consistency: For optimal results, use the night cream in this manner consistently every night. You should begin to notice improvements in your skin’s radiance and texture within about three days of regular use.
By applying the night cream in drops and targeting specific areas, you can effectively address individual concerns and maximize the benefits of the potent ingredients.
Benefits
Using this radiant DIY night cream offers a multitude of benefits for mature skin:
Nourishment: The rich blend of Niacinamide (Vitamin B3) and Frankincense provides deep nourishment, replenishing essential nutrients lost during the day.
Hydration: The cream’s hydrating formula helps to restore moisture levels, combating dryness and leaving skin feeling soft and supple.
Rejuvenation: Powerful antioxidants in Frankincense work to rejuvenate tired skin cells, promoting a youthful and revitalized appearance.
Firming: Niacinamide aids in boosting collagen production, helping to improve skin elasticity and firmness over time.
Brightening: Regular use of this cream can help to fade dark spots and even out skin tone, revealing a brighter and more radiant complexion.
Anti-Aging: The combination of potent ingredients helps to reduce the appearance of fine lines and wrinkles, promoting a smoother and more youthful-looking complexion.
Gentle: Formulated with natural ingredients, this DIY night cream is gentle on the skin, making it suitable for sensitive skin types.
Here are more articles you might be interested in:
- Simple Sophistication: DIY Light Body Lotion with Aloe Vera Butter
- DIY Cream for Pregnancy Marks: Natural Solution for Radiant Skin
- DIY Clay Mask with Aloe: Best Kept Secret for Your Skin
- DIY Scented Skin Lotion: Refresh with Exotic Mango Tango
- DIY Scented Body Butter: Refresh Your Skin with Tropical Papaya
Video How-To on My Channel | Jinane World
The steps to make the DIY Night Cream for 40+ are demonstrated in this video.
