Take a step towards radiant skin with our DIY Cream for Pregnancy Marks. In this guide, explore a natural solution that enhances your glow and effectively diminishes pregnancy marks.
We reveal a straightforward, at-home remedy harnessing the power of natural ingredients for relief and rejuvenation. Join us in embracing the simplicity of achieving radiant skin through our DIY approach.
Ingredients Needed
Choose high-quality ingredients to boost the effectiveness and safety of your DIY beauty products.
- Cocoa butter
- Coconut oil
- Vaseline or natural jelly: You can opt for Vaseline pure petroleum jelly available in pharmacies. Alternatively, for a more natural option, consider making your own jelly at home, following the instructions provided in this article.
- Olive oil
- Sweet almond oil
Tools Needed
- Scale to weigh quantities
- Bowl
- Tablespoon
- Small silicone spatula
- Small glass jar with lid to store your DIY Cream for Pregnancy Marks
Prior to use, ensure that both your utensils and containers are properly cleaned and disinfected. Wash them with warm soapy water, dry with a tissue, and then sanitize by spraying with 70% medical alcohol. Wipe them clean and let them air dry before use.
Article continues below…
Featured Recipes
Glow from the inside out! Elevate your skincare with our unique DIY single recipes! Each formula is designed with special ingredients to target specific needs, whether it’s boosting collagen, reducing wrinkles, or diminishing dark circles. These recipes aren’t on our blog; even if some titles seem similar, they use different ingredients.
10% discount for 3 or more recipes!


Steps: DIY Cream for Pregnancy Marks
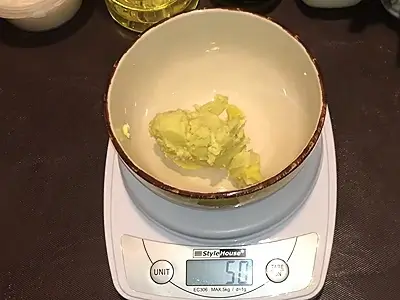
1- Begin with 50 grams (1.76 oz) of cocoa butter in a bowl.
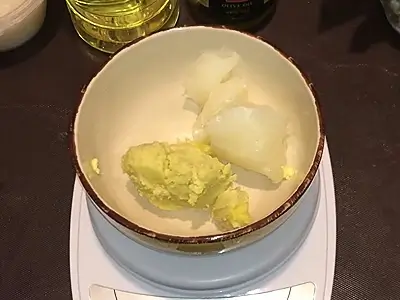
2- Add 50 grams (1.76 oz) of Vaseline pure petroleum jelly or natural jelly.
3- Heat and melt the contents of the bowl in a bain-marie (hot water bath). A bain-marie is done by placing the bowl in a larger pot of hot steaming water. Use a medium stove temperature. This will gradually heat and melt the contents. Avoid boiling.
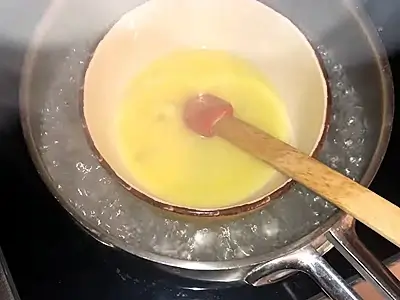
4- When the ingredients have melted, remove the bain-marie pot off the stove, keeping the bowl in the hot water.
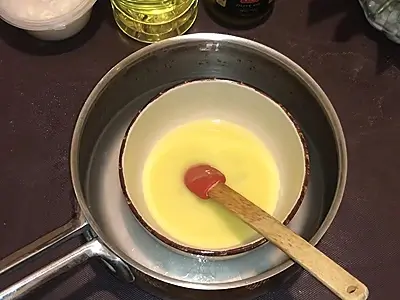
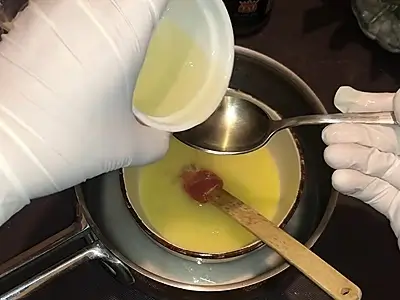
5- Add 4 tablespoons of sweet almond oil.
6- Add 2 tablespoons of coconut oil. If the coconut oil is semi-solid due to cold temperature, melt it separately in a bain-marie.
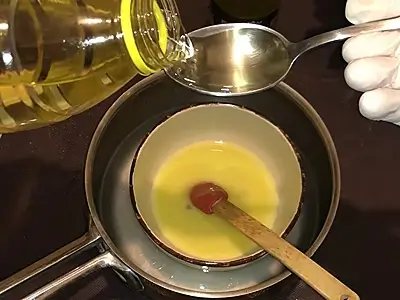
7- Add 2 tablespoons of olive oil.

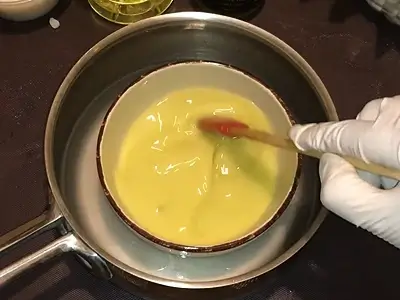
8- Mix thoroughly the ingredients using a small silicone spatula.
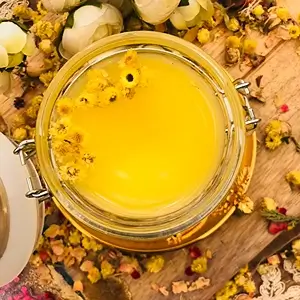
9- Pour the cream mixture in a sanitized small glass jar with lid.
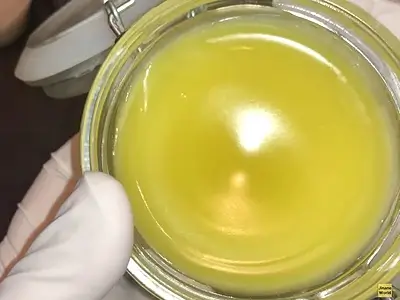
10- Allow the DIY Cream for Pregnancy Marks to cool and solidify. And you’re done!
How to Use: DIY Cream for Pregnancy Marks
Here’s a step-by-step guide on how to use the DIY Cream for Pregnancy Marks:
a. Application Method: Gently rub the cream onto areas with pregnancy stretch marks and white lines.
b. Frequency: Apply the cream once daily for optimal results.
c. Duration: Leave the cream on the skin for 2-4 hours to allow absorption.
d. Alternative Night Routine: Alternatively, you can apply the cream before bedtime and leave it overnight.
e. Washing: After the recommended time (2-4 hours or overnight), wash the treated areas thoroughly.
f. Storage: For optimal freshness, and because we added coconut oil, store the cream in the fridge.
Incorporate this routine into your daily or nightly skincare regimen for a natural and effective approach to reducing pregnancy stretch marks.
Benefits
Discover the remarkable benefits of our DIY Cream for Pregnancy Marks:
Natural Healing Power: Whether using Vaseline Pure Petroleum Jelly or creating your own natural jelly as guided in our previous article, enjoy the comprehensive benefits of a solution that supports natural recovery.
Fades Stretch Marks: Regular application aids in reducing the appearance of pregnancy stretch marks and white lines.
Deep Moisturization: The cream provides deep hydration, leaving your skin supple and nourished.
Radiant Skin: Experience a radiant transformation as the cream works to improve skin texture and tone.
Convenient Application: Simple daily or nightly application makes it easy to incorporate into your skincare routine.
Gentle and Safe: Formulated with care, this DIY Cream for Pregnancy Marks is gentle on the skin, suitable for all skin types.
Revel in the beauty of natural solutions as you embrace a journey towards radiant and blemish-free skin.
Tips and Hints
For an alternative and quicker preparation method, consider the following:
- Mix equal parts of olive oil and coconut oil, enough for one application.
- Heat / melt the combination using a bain-marie.
- Allow it to cool before application.
- Should any excess mixture solidify the next day, simply reheat it in a bain-marie for a seamless application experience.
This efficient blend ensures a convenient and speedy solution for your pregnancy marks skincare routine.
Here are more articles you might be interested in:
- DIY Clay Mask with Aloe: Best Kept Secret for Your Skin
- DIY Scented Skin Lotion: Refresh with Exotic Mango Tango
- DIY Scented Body Butter: Refresh Your Skin with Tropical Papaya
- Easy DIY Hand Cream with Rose Extract: Soft, Scented, and Soothing Care
- DIY Face Mask with Blue Nila and Frankincense: Glow Boost with Natural Elegance
Video How-To on My Channel | Jinane World
The steps to make this DIY Cream for Pregnancy Marks are demonstrated in this video.