
After using a DIY rosemary hair growth serum to promote hair growth and nourish your scalp, the next step in your haircare routine is to use a toner to further rejuvenate and revitalize your locks.
A DIY rosemary hair toner not only helps balance the pH levels of your scalp, soothe irritation, and remove buildup from hair products, but it also promotes hair growth and nourishes your hair and scalp. This natural and effective solution works to keep your hair looking and feeling healthy, vibrant, and full of life. Plus, it’s easy to make with just a few simple ingredients.
In this article, we’ll show you how to make your own DIY rosemary hair toner and explain the benefits of using this natural solution for your hair. Say goodbye to dull, lifeless hair and hello to vibrant, healthy locks with this refreshing and revitalizing toner.
Ingredients Needed
Choose high-quality ingredients to boost the effectiveness and safety of your DIY beauty products.
- Rosemary Hydrosol: If it is not available, you can use rose water or distilled water. I do prefer the rosemary hydrosol, however both of these alternatives work too.
- Rosemary Essential Oil (Concentrated)
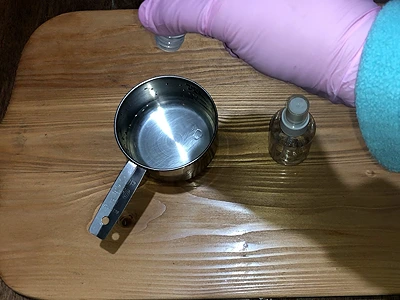
Tools Needed
- Measuring cup
- Glass mixing rod
- Spray bottle suitable for toner
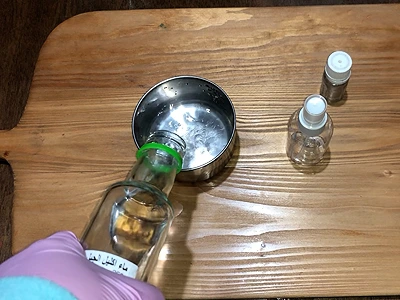
Prior to use, ensure that both your utensils and containers are properly cleaned and disinfected. Wash them with warm soapy water, dry with a tissue, and then sanitize by spraying with 70% medical alcohol. Wipe them clean and let them air dry before use.
Steps: DIY Rosemary Hair Toner
Making your own DIY rosemary hair toner is quick and easy! With a couple of ingredients and in just minutes, you can create a nourishing toner that promotes hair growth. Let’s dive into the steps to prepare your rosemary hair toner!
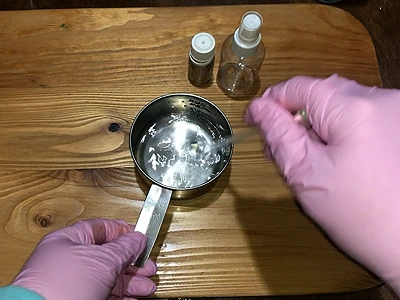
1- Using a measuring cup, pour in 1/4 cup of rosemary hydrosol.
2- Add 3 drops of the rosemary essential oil.
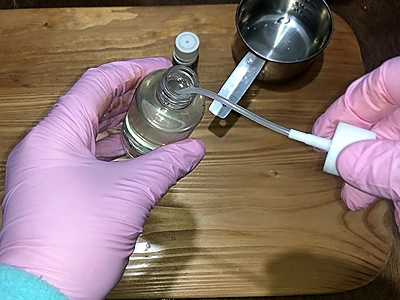
3- Mix the ingredients thoroughly with a glass mixing rod.
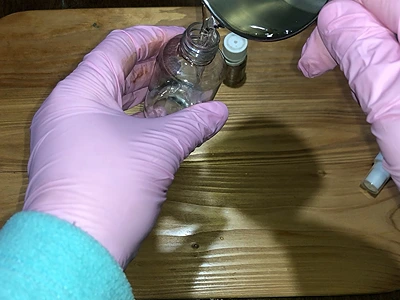
4- Slowly pour the toner into a spray bottle. And it is done!
How to Use DIY Rosemary Hair Toner
a. After Using the Rosemary Serum: For best results, use the DIY rosemary hair toner in the morning after applying an overnight DIY Rosemary Serum. The serum works to deeply nourish and stimulate hair growth while you sleep, so the toner serves as a refreshing follow-up to revitalize your hair and scalp.
b. Wash and Dry: In the morning, wash your hair to remove any remaining serum. Use a gentle shampoo and then towel-dry your hair, leaving it slightly damp.
c. Apply the Toner: Once your hair is clean and towel-dried, spritz the rosemary toner directly onto your scalp and hair. Focus on the roots and any areas where you experience buildup or dryness. You can also apply it along the lengths of your hair for added shine and moisture.
d. Massage for Better Absorption: Gently massage the toner into your scalp using circular motions. This not only helps distribute the product evenly but also boosts circulation, further promoting hair growth and scalp health.
e. No Rinse Needed: Leave the toner in your hair as a leave-in treatment. It will continue working throughout the day, helping to balance your scalp’s pH and nourish your hair without weighing it down.
f. Daily Refresh: You can use this toner daily, even on dry hair, as a quick and easy way to refresh your scalp and add a subtle shine to your locks between washes.
Benefits
Promotes hair growth: Rosemary is known for its ability to stimulate hair growth and prevent hair loss, making it an effective natural solution for those looking to improve the health of their hair.
Balances scalp pH: The toner helps balance the pH level of the scalp, which can reduce oiliness, irritation, and dandruff, promoting a healthier scalp.
Removes product buildup: The toner can help remove product buildup and impurities from the hair and scalp, leading to shinier, healthier-looking hair.
Nourishes hair and scalp: Rosemary is rich in antioxidants, vitamins, and minerals that can help nourish and moisturize the hair and scalp, leading to softer, smoother hair.
Strengthens hair: The toner helps to strengthen hair strands, reducing breakage and damage and leading to stronger, healthier hair.
Overall, using a DIY rosemary hair toner can help improve the health and appearance of your hair, leading to fuller, stronger, and more beautiful locks.
Here are more articles on DIY hair care:
- DIY Hair Keratin Treatment for Frizz: Get Smooth, Manageable Hair Without the Salon
- DIY Leave-In Conditioner Spray Recipe: Achieve Smooth Hair with 4 Natural Ingredients
- Crafting Your Own DIY Shampoo with Natural Ingredients
- DIY Hair Toner with Fenugreek: Nourish, Lengthen, and Thicken Naturally
Video How-To on My Channel | Jinane World
The steps to make the DIY rosemary hair toner are demonstrated in this video, after the timestamp 4m15s