Welcome to our comprehensive guide on DIY Lip and Cheek Tint! If you’re looking to enhance your natural beauty with a touch of rosy radiance, you’ve come to the right place.
In this article, we’ll walk you through the process of creating your own lip and cheek tint using simple, readily available ingredients. By embracing a natural approach, you can achieve a healthy, glowing complexion that accentuates your features.
Get ready to unlock the secrets of DIY beauty and discover how to create a lip and cheek tint that will leave you looking effortlessly radiant. So, let’s dive in and explore the world of DIY Lip and Cheek Tint!
Ingredients Needed
Choose high-quality ingredients to boost the effectiveness and safety of your DIY beauty products.
- Distilled water
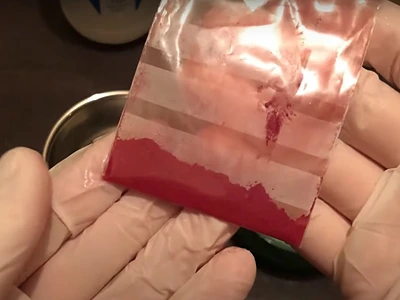
- Aker fassi, or raw Moroccan crone rose. We are using aker fassi because of its vibrant red color. If you don’t have it available, you can use beetroot powder instead.
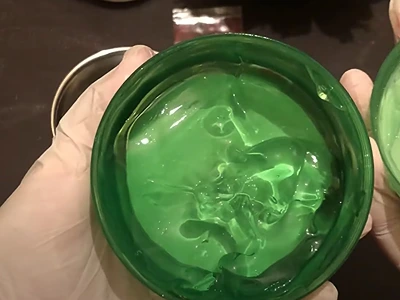
- Aloe vera gel
Tools Needed
- Stainless steel bowl
- Teaspoon
- Wooden popsicle
- Small funnel
- Small bottle to store the tint
Steps: DIY Lip and Cheek Tint
1- Start by adding a quarter cup (60 milliliters) of distilled water in the bowl.
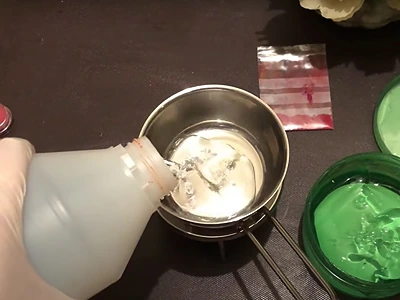
2- Add 1 teaspoon (5 milliliters) of aloe vera gel.
3- Mix well.
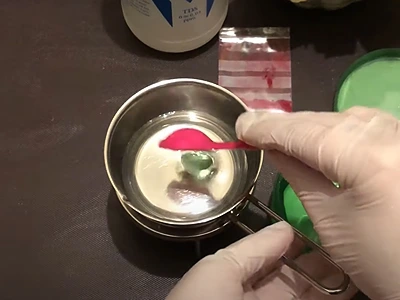
4- With the tip of a wooden popsicle, add a little of Aker Fassi color powder (or of the beetroot powder). The Aker Fassi powder colors the mix quickly and gives it an intense red color.

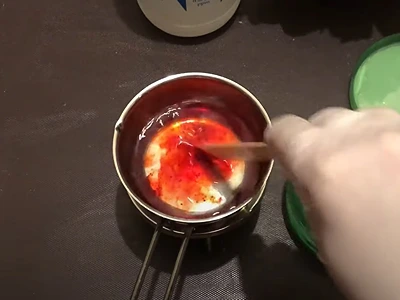
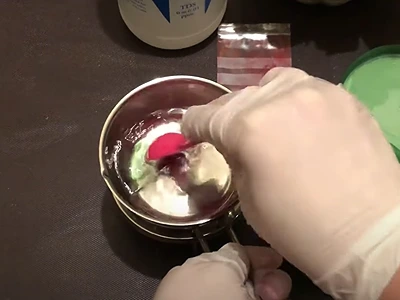
5- Mix again.
6- If you prefer a stronger color, add a little more, then mix well.
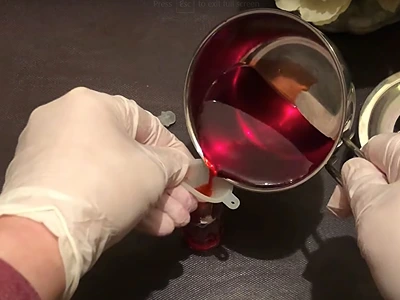
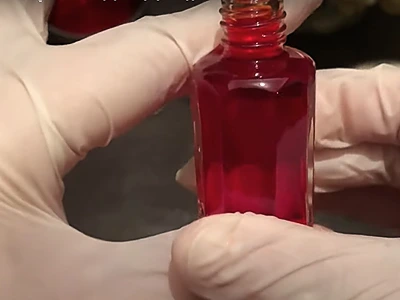
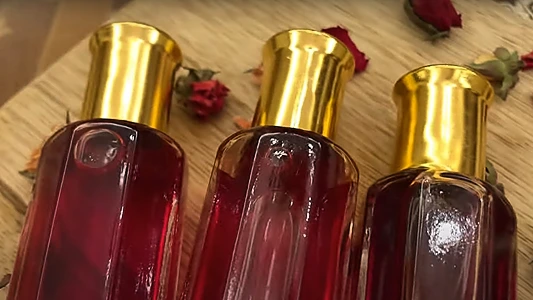
7- Using a small funnel, pour the tint into a small bottle.
How to Use the DIY Lip and Cheek Tint
Using your homemade lip and cheek tint is a breeze. Follow these simple steps to achieve a rosy radiance on your lips and cheeks:
Preparation: Before application, ensure your lips and cheeks are clean and moisturized. This will help the tint glide on smoothly and evenly.
Application for Lips: Dip a clean finger or a lip brush into the tint. Start by dabbing a small amount onto the center of your lower lip. Gently blend the tint outwards towards the corners of your lips. Build up the color gradually to achieve your desired intensity. Apply the tint to your upper lip as well.
Application for Cheeks: For the cheeks, use your fingertips or a blush brush to apply a small amount of tint onto the apples of your cheeks. Blend it outward towards your temples in gentle circular motions. Adjust the amount of tint according to your preference, adding more for a bolder look or less for a subtle flush.
Blend and Build: To create a seamless, natural look, blend the tint into your skin using soft, blending motions. This will help to achieve a radiant, healthy flush on both your lips and cheeks. If you desire a more intense color, wait for the first layer to dry and then apply another layer, gradually building up the pigment.
Finishing Touches: After application, take a moment to ensure the tint is evenly distributed and well blended. If desired, you can apply a light layer of lip balm or clear lip gloss over the tinted lips for added hydration and shine.
With these simple steps, you can embrace a rosy radiance naturally using your very own DIY lip and cheek tint. Experiment with different application techniques and adjust the amount of tint to suit your personal style and preference.
Remember, since this is a DIY product, it’s always recommended to perform a patch test before using it extensively. This will help ensure you don’t have any adverse reactions to the ingredients.
Benefits: DIY Lip and Cheek Tint
Here are the benefits of using the DIY lip and cheek tint:
Natural and Customizable: By creating your own lip and cheek tint, you have full control over the ingredients used. You can opt for natural, and skin-friendly components. Plus, you can customize the shade and intensity of the tint to suit your preferences.
Healthy and Nourishing: Homemade lip and cheek tints often incorporate natural ingredients that can provide additional benefits to your skin. Ingredients like Aloe Vera gel or beetroot powder can offer moisturizing, soothing, and nourishing properties, helping to keep your lips and cheeks hydrated and healthy.
Effortless Radiance: DIY lip and cheek tints can provide a beautiful, natural-looking flush of color to your lips and cheeks. They can enhance your features and add a youthful, radiant glow to your complexion. The tint blends seamlessly with your skin, providing a fresh and subtle look.
Cost-Effective: Making your own lip and cheek tint can be a cost-effective alternative to purchasing commercial products.
Creative and Personalized: DIY lip and cheek tints allow you to unleash your creativity and experiment with different shades and combinations. You can adjust the color intensity, mix ingredients, and tailor the tint to your unique preferences. It’s a fun and empowering way to express your individual style.
Enjoy the benefits of your homemade lip and cheek tint and embrace the rosy radiance that comes naturally!
Here are more articles on how to make your own natural makeup products:
- DIY Easy and Natural Lip Balm: Enhance Lips with Natural Beauty
- Blusher and Lipstick DIY: Aloe Vera Butter and Mica Powder Magic
- DIY Natural Makeup Concealer: Say Goodbye to Chemicals!
- How to Make a DIY Oil Primer for Perfect Makeup Application
- Natural Makeup Contour: DIY Techniques Using Organic Products
Video How-To on My Channel | Jinane World
The steps to make the DIY Lip and Cheek Tint are demonstrated after 08m08s in this video.