Are your hands in need of a little tender loving care? Look no further! Discover the wonders of DIY Natural Jelly for Hands and experience the magic of soft, supple skin like never before. Say goodbye to dryness, roughness, and discomfort, and say hello to a hand care routine that will leave you feeling pampered and rejuvenated.
In this exciting guide, we’ll unveil the secrets behind creating your own all-natural jelly using simple ingredients. Get ready to embark on a delightful journey of hand care bliss, where luxurious hydration and nourishment await.
Ingredients Needed
- Natural beeswax that is shredded
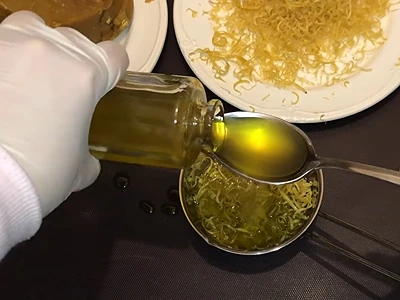
- Olive oil
- Sweet almond oil
- Sesame oil
- Mica color powder
- Essential oil
Notes on Ingredients
Choose high-quality ingredients to boost the effectiveness and safety of your DIY beauty products.
When an essential oil is included, I use either concentrated or diluted essential oils. If using concentrated essential oils, use up to 0.5% by weight to ensure safety for all skin types. To use diluted essential oils, mix 1 gram (0.035 oz) of concentrated essential oil with 100 grams (3.5 oz) of sweet almond oil or jojoba oil.
If a recipe calls for fragrance oil, you can use diluted essential oil instead to benefit from both its scent and therapeutic effects. This provides a natural alternative to synthetic fragrance oils and offers additional benefits.
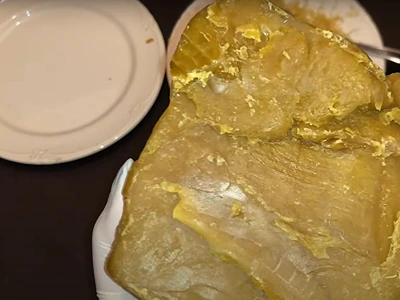
Natural beeswax 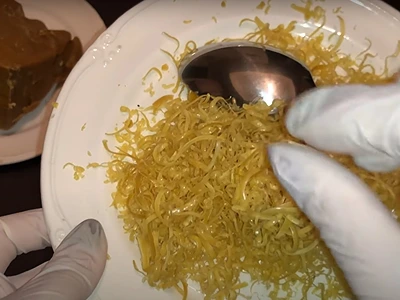
Shredded beeswax
Tools Needed
- Stainless steel bowl
- tablespoon
- Wooden popsicles
- Container to store the jelly
Prior to use, ensure that both your utensils and containers are properly cleaned and disinfected. Wash them with warm soapy water, dry with a tissue, and then sanitize by spraying with 70% medical alcohol. Wipe them clean and let them air dry before use.
Steps: DIY Natural Jelly for Hands
1- Start by adding 2 full tablespoons of shredded beeswax.

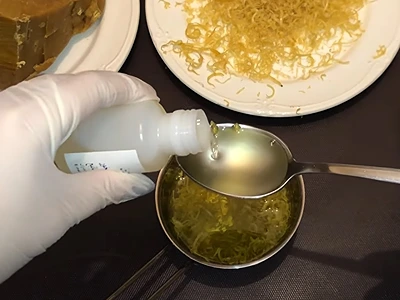
2- Add 10 tablespoons of olive oil.
3- Add 1 tablespoon of sesame oil.
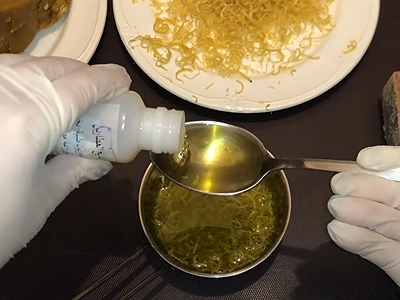
4- Add 1 tablespoon of sweet almond oil.
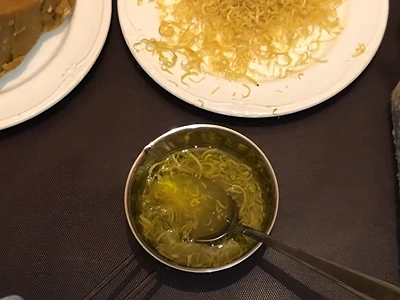
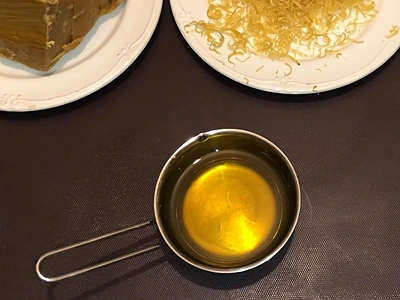
5- Mix the contents with a spoon.
6- Now, we will melt the contents in a hot water bath (bain-marie). A bain-marie is done by placing the bowl in a larger pot of hot steaming water. This will gradually melt whatever is inside the bowl without causing it to burn. As the contents of the bowl melt, make sure to mix every now and then.
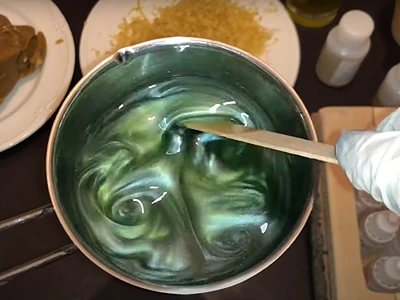
7- With the tip of a wooden popsicle, add a little of mica color powder. Choose the color you like.
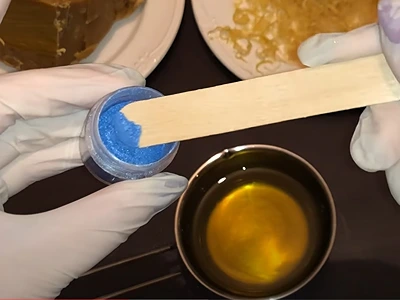
8- Mix well.
9- To give the DIY natural jelly for hands a nice scent, add 10 drops of your preferred essential oil. I am adding here patchouli essential oil.
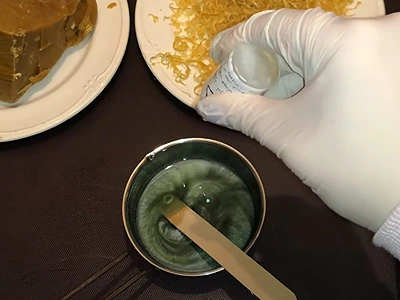
10- Mix well.
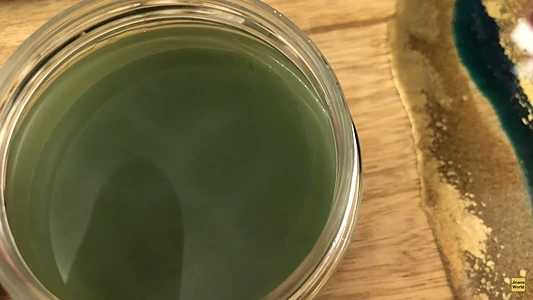
11- Pour the mix into a container.
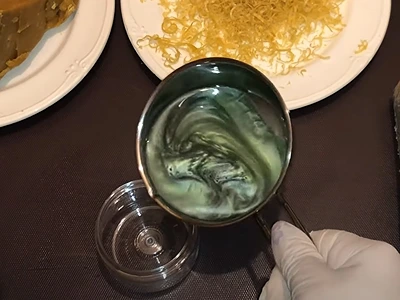
Pour the mix into a container 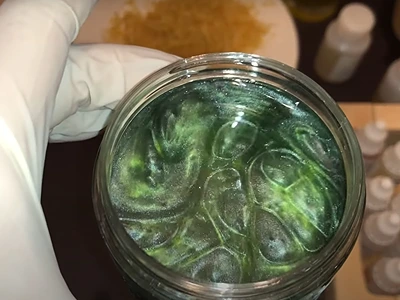
Leave it to cool down
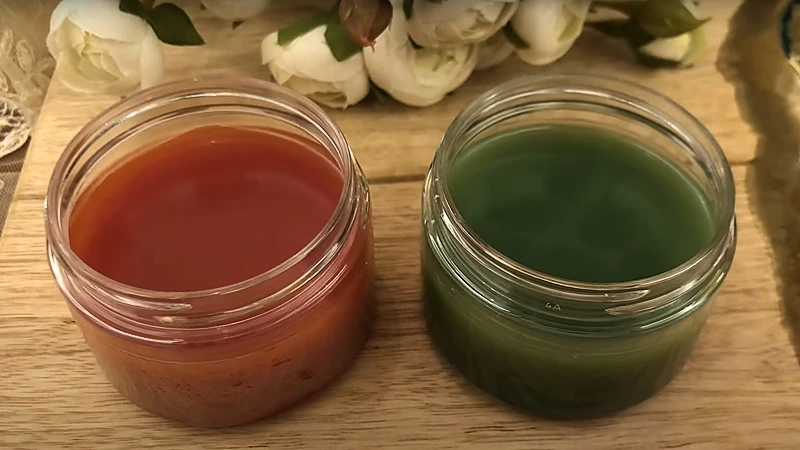
12- After it has cooled down, this is the final product, ready for use. It has great texture and can be easily picked up with the tip of your finger.
How To Use: DIY Natural Jelly for Hands
To use DIY Natural Jelly for Hands and unlock the secret to soft, supple skin, follow these simple steps:
a. Begin by ensuring your hands are clean and dry.
b. Take a small amount of the DIY Natural Jelly in your palm. Remember, a little goes a long way.
c. Rub your hands together gently, allowing the warmth of your hands to melt the jelly into a smooth, silky texture.
d. Massage the jelly into your hands, focusing on dry areas or areas that require extra care, such as cuticles or rough patches.
e. Continue massaging for a few minutes, allowing the natural oils and nourishing ingredients to penetrate your skin.
f. Use the DIY Natural Jelly for Hands as often as desired, especially after washing your hands or whenever your skin needs a hydration boost.
With consistent use, you’ll notice the magic of the DIY Natural Jelly as it moisturizes, softens, and revitalizes your hands, leaving them feeling irresistibly smooth and pampered.
Benefits: DIY Natural Jelly for Hands
Using DIY Natural Jelly for Hands offers a range of incredible benefits for your skin. Here are some of the advantages you can expect:
Intense Hydration: The natural oils and ingredients in the jelly deeply moisturize your hands, providing long-lasting hydration. Say goodbye to dry, rough skin and hello to a nourished, supple feel.
Softens and Smooths: The luxurious texture of the jelly glides effortlessly over your hands, working to soften rough patches and smooth out any imperfections. Experience the joy of touchably smooth skin.
Nourishes and Revitalizes: Packed with natural goodness, the DIY Natural Jelly provides essential nutrients to your skin, promoting its overall health and vitality. Experience the rejuvenating effects of this nourishing hand treatment.
Protects and Repairs: The jelly acts as a protective barrier, shielding your hands from harsh environmental factors and preventing moisture loss. It also aids in repairing any damage caused by daily wear and tear.
Versatile and Customizable: With the option to add different oils or fragrances to suit your preferences, the DIY Natural Jelly allows you to personalize your hand care routine. Create a unique blend that enhances your experience and delights your senses.
Cost-Effective Solution: Making your own natural jelly at home is not only a fun and creative process but also a cost-effective alternative to commercial hand care products. You can enjoy the benefits of a high-quality hand treatment without breaking the bank.
Here are more articles on DIY body butters and creams:
- DIY Foaming Bath Butter: Elevate Your Natural Skincare Game for Glowing Results
- DIY Natural Jelly for Soft Feet: Unlock Softness with Only 2 Ingredients
- DIY Cream for Mild Eczema: Revitalize Your Skin Naturally with 3 Ingredients Only
- DIY Beetroot Body Butter: Nourish and Rejuvenate Your Skin Naturally
- Experience the Magic of a DIY Turmeric Mask: Transform Your Skin with Golden Bliss
Video How-To on My Channel | Jinane World
The steps for how to make DIY Natural Jelly for Hands are demonstrated in this video.