If you’re looking to simplify your makeup routine and move away from heavily processed products, making your own natural makeup concealer is a surprisingly easy place to start. A well-formulated DIY concealer can help even out skin tone and soften the appearance of blemishes while giving you full control over what goes onto your skin.
Concealers are designed to create a smoother base by camouflaging dark circles, redness, and small imperfections, and they come in many textures depending on coverage and preference. When made at home, they can be customized to suit your skin type and tone, without relying on unnecessary fillers or synthetic additives.
In this guide, you’ll learn how to make a simple, effective natural makeup concealer using just four ingredients: zinc oxide, yellow clay, beeswax, and almond oil. The recipe is beginner-friendly, affordable, and easy to adjust, making it a practical option for anyone interested in cleaner, more intentional beauty choices.
This step-by-step guide is part of our Makeup collection.
Ingredients Needed
Choose high-quality ingredients to boost the effectiveness and safety of your DIY beauty products.
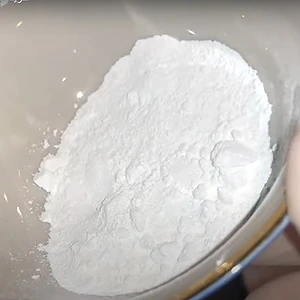
- Zinc Oxide: A naturally occurring mineral often used in skincare for sun protection and healing properties.
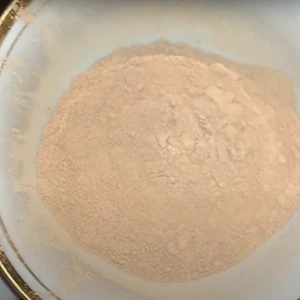
- Yellow Clay: A type of natural clay rich in minerals, gentle on the skin, and used to detoxify and absorb excess oil.
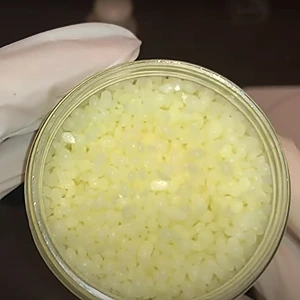
- Beeswax: A natural wax produced by bees, often used to provide a protective barrier on the skin while locking in moisture.
- Sweet Almond Oil: A natural oil derived from almonds, known for its skin-softening and nourishing properties.
Tools Needed
- Scale to measure quantities
- Small bowl
- Whisk
- Small container(s) to store your DIY Natural Makeup Concealer
Prior to use, ensure that both your utensils and containers are properly cleaned and disinfected. Wash them with warm soapy water, dry with a tissue, and then sanitize by spraying with 70% medical alcohol. Wipe them clean and let them air dry before use.
If you enjoy making your own makeup products, you might also like this DIY natural eyeliner recipe, which uses similar skin-friendly ingredients.
Steps: DIY Natural Makeup Concealer
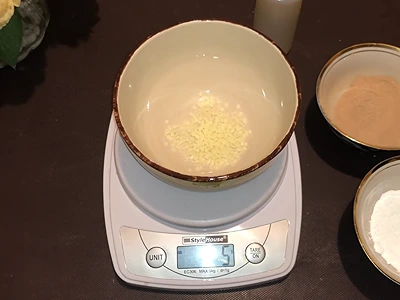
1- Begin by placing 5 grams (0.18 oz) of beeswax in a small bowl.
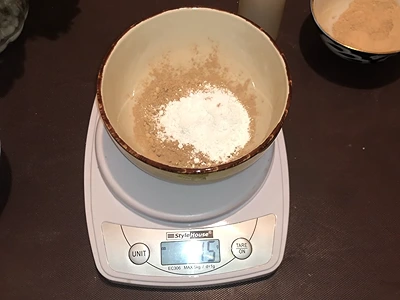
2- Add 15 grams (0.53 oz) of yellow clay to the beeswax.

3- Add 15 grams (0.53 oz) of zinc oxide to the beeswax and yellow clay.
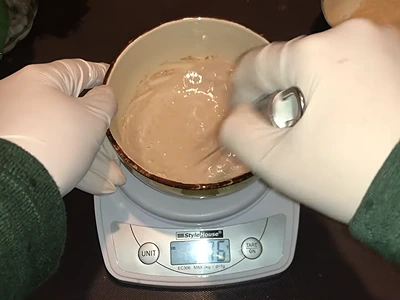
4- Pour in 35 grams (1.23 oz) of sweet almond oil.
5- Mix the ingredients thoroughly with a whisk for 10-15 seconds.
6- Gently heat and melt the ingredients using a bain-marie (hot water bath). To set up a bain-marie, place the bowl in a larger pot of hot, steaming water. This method will gradually heat and melt the contents without direct heat. Stir the mixture while it melts, and avoid letting it boil.
7- Empty the contents of the bowl into a container of your choosing.
8- Allow the mixture to cool completely, and you’re all done!
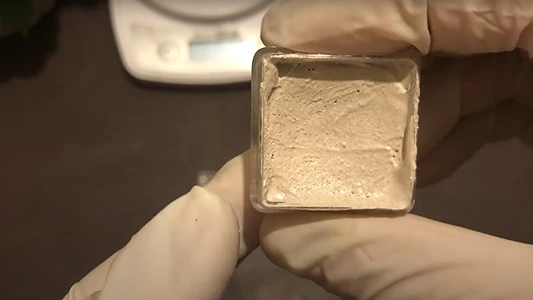
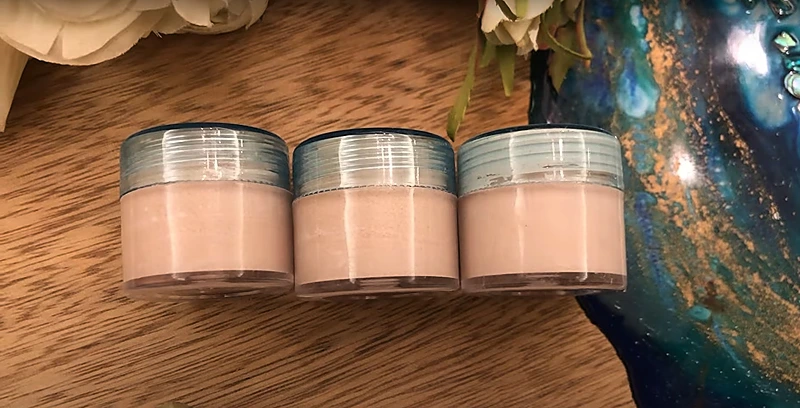
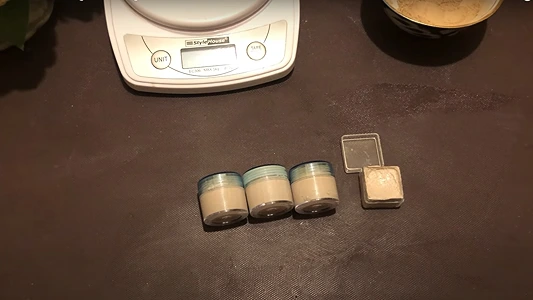
9- The quantities of ingredients used in this recipe will yield approximately 70 grams (2.47 oz) of concealer. This amount can fill three 20-gram (0.70 oz) containers and one small 10-gram (0.35 oz) container, as shown in the image below. If you wish to make a smaller quantity, simply reduce the ingredients proportionally.
To complete a simple natural makeup routine, this DIY lip oil is another easy project that pairs well with a homemade concealer.
How to Use DIY Natural Makeup Concealer
a. Prep Your Skin: Start by cleansing your face to remove any dirt and oil. Follow with a lightweight moisturizer to hydrate your skin, and don’t forget to apply sunscreen if you’ll be outdoors. Properly prepping your skin ensures smoother application and longer-lasting results.
b. Application: Using your fingertips or a makeup brush, gently dab a small amount of the concealer onto areas you wish to cover, such as blemishes, under-eye circles, or redness. Build the coverage by adding thin layers, as needed.
c. Blend: Carefully blend the concealer using a makeup sponge or your fingers for a seamless, natural finish. Ensure the edges are well-blended into your skin for an even look.
d. Set Your Makeup: If desired, finish by setting your concealer with a light dusting of translucent powder to lock it in place for longer wear.
Benefits
The DIY concealer can provide the following benefits:
Has natural ingredients: Compared to the many consumer products you’ll find in the market, the DIY natural makeup concealer is all-natural. The ingredients are gentle on the skin, which can reduce breakouts, irritation, and other skin issues.
Is cost-effective: Making your own concealer at home will surely save you money in the long run. This is because the ingredients you’ll use are cheap and easily found in health food stores or online. Overall, the DIY natural makeup concealer is much more cost-effective than any packaged product found in the market.
Is fully customizable: You can customize your DIY concealer in many ways to suit your skin’s needs.
Has hydration properties: The DIY natural makeup concealer can help nourish and moisturize your skin. This can help improve your skin’s overall appearance and health in the long run.
Frequently Asked Questions
1. Can I use this DIY concealer on sensitive skin?
Yes. This recipe uses gentle ingredients like yellow clay, beeswax, and sweet almond oil, which are generally well tolerated. A patch test is still recommended, especially for sensitive skin.
2. How long does homemade concealer last?
When stored in a clean, dry container and kept away from heat, it can last around 6 months.
3. How do I adjust the coverage or shade naturally?
Coverage can be adjusted by slightly increasing or reducing the amount of zinc oxide and clay. Since this recipe uses natural minerals rather than pigments, it blends best with light to medium skin tones.
4. Is this concealer suitable for acne-prone skin?
Yes. Yellow clay helps absorb excess oil, and zinc oxide is known for its calming and protective properties, making this concealer suitable for acne-prone skin.
More articles on DIY natural makeup products:
- How to Make a DIY Oil Primer for Perfect Makeup Application
- Natural Makeup Contour: DIY Techniques Using Organic Products
- Gentle and Effective DIY Natural Makeup Remover
- How To Make Lipstick At Home The Easy Way
- 3 Ingredients To Make A Natural Eyebrow Gel
Video How-To on My Channel | Jinane World
The steps to make the DIY natural makeup concealer are demonstrated in this video.