Contouring is a popular makeup technique used to define and enhance facial features. However, many store-bought contouring products can be expensive and may contain harsh chemicals. If you’re looking for a more affordable and do-it-yourself alternative, DIY natural makeup contouring is the way to go.
In this article, we’ll provide you with an easy and effective DIY makeup contouring technique using simple ingredients, so you can sculpt your face to perfection while keeping it healthy and glowing.
Why Use Contouring
Contouring is a makeup technique that involves using shading and highlighting to enhance and define facial features. It’s a popular trend that many people use to create a more defined look.
By using darker shades in certain areas and lighter shades in others, you can create the illusion of a slimmer face, higher cheekbones, and a more defined jawline.
One of the primary benefits of contouring is that it can help balance out facial features and make them appear more symmetrical. Additionally, contouring can create a more youthful appearance by adding depth and dimension to your complexion.
It’s a versatile technique that can be used to enhance your natural features and give you a confidence boost.
Ingredients Needed
Choose high-quality ingredients to boost the effectiveness and safety of your DIY beauty products.
- Vaseline, or use the All-Natural Jelly that you can make at home for a healthier alternative
- Natural Beeswax
- Aloe Vera Gel
- Eyeshadow Palette with Neutral Skin Tone Shades (this may be replaced by a compact powder)
- Natural Unsweetened Cocoa Powder
Natural Ingredient Guidance:
If you replace Vaseline with the All-Natural Jelly, then all the ingredients are natural and skin-friendly except the Eyeshadow Palette. Generally, most commercial eyeshadows contain synthetic ingredients and may not be considered natural.
If you prefer a fully natural makeup contour, there are natural and mineral makeup brands that offer eyeshadow palettes with natural ingredients that you can choose instead.
Items Needed
- Small bowl
- Teaspoon
- Wooden popsicle stick
- Small whisk
- Small container to store your Natural Makeup Contour
Prior to use, ensure that both your utensils and containers are properly cleaned and disinfected. Wash them with warm soapy water, dry with a tissue, and then sanitize by spraying with 70% medical alcohol. Wipe them clean and let them air dry before use.
Steps To Make Natural Makeup Contour
1- In a small bowl, place 3/4 teaspoon of Vaseline or All-Natural Jelly.
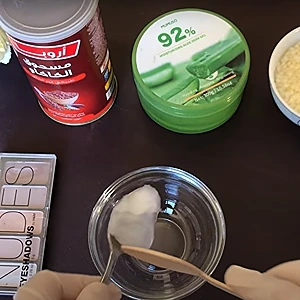
2- Add 1 gram (0.035 oz) of natural beeswax to the Vaseline or all-natural jelly.
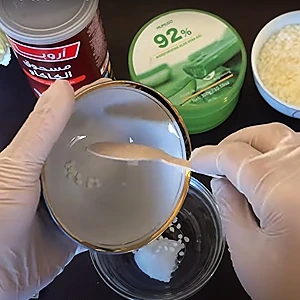
3- Scrape approximately 1/4 teaspoon of your chosen shade from the eyeshadow palette. Add the scraped eyeshadow powder to the mixture.
Note: Select a shade that suits your skin tone—lighter shades are ideal for fair skin, while darker shades complement deeper complexions.
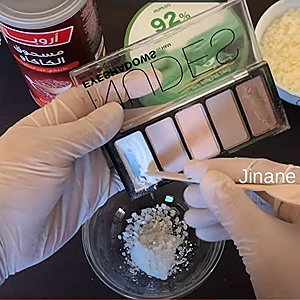
4- Finally, add 1/4 teaspoon of natural unsweetened cocoa powder to the ingredients.
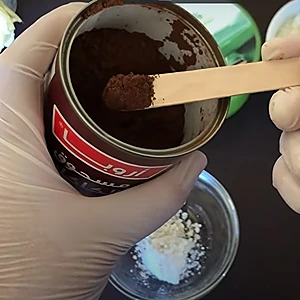
5- It is now time to melt the ingredients: Gently heat and melt the ingredients using a bain-marie (hot water bath). To set up a bain-marie, place the bowl in a larger pot of hot, steaming water. This method will gradually heat and melt the contents without direct heat. Stir the mixture while it melts, and avoid letting it boil.
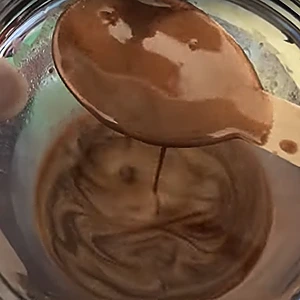
6- Once melted, evaluate whether the color suits your skin tone. If it doesn’t, you can adjust the shade using cocoa powder or scraped eyeshadow powder to achieve your desired color.
7- Add 1/4 teaspoon (or less) of aloe vera gel to the mixture.
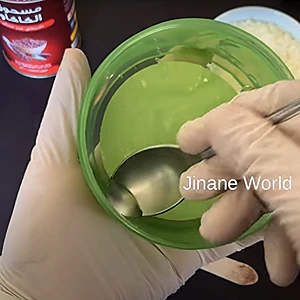
8- Use a small whisk to mix the ingredients thoroughly.
9- Pour the contour mixture into a small container.
10- Allow the mixture to cool.
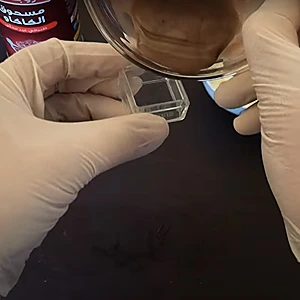
11- Once the contour cools, you may start using it!
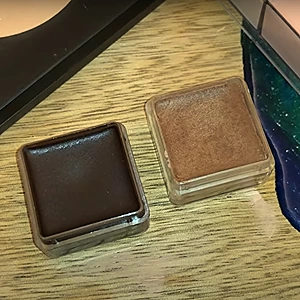
I Made 2 Shades of Natural Makeup Contour
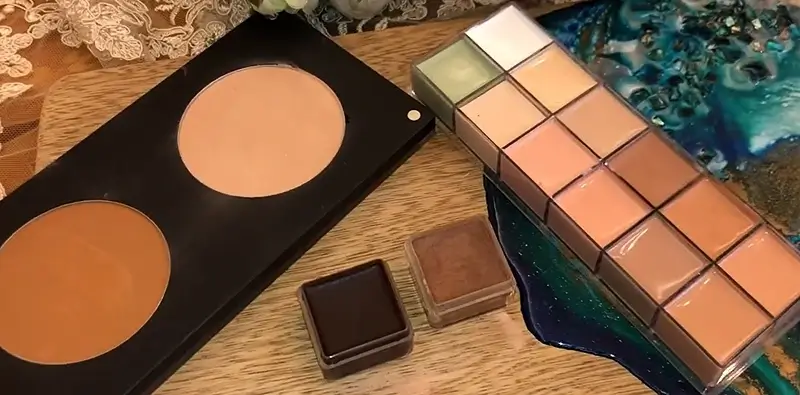
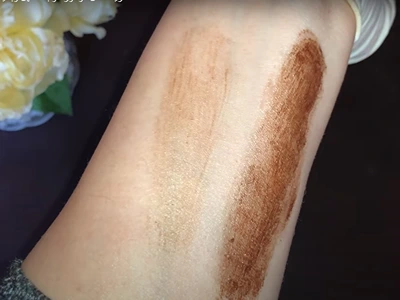
I made two distinct shades of the natural makeup contour to cater to different skin tones (refer to the image below).
The dark shade is perfect for those with deeper complexions, enhancing their natural features beautifully. Conversely, the light shade is designed for lighter skin tones, providing a subtle definition that complements their natural beauty.
How to Use Natural Makeup Contour
a. Prep Your Skin: Start with a clean face. Apply a moisturizer or cream to hydrate your skin.
b. Apply the Contour: Using a makeup brush or your fingers, apply the contour mixture to areas you want to define—typically the hollows of your cheeks, jawline, sides of your nose, and hairline on your forehead.
c. Blend: Blend the contour with a clean brush or sponge for a seamless look. You can also use the Eyeshadow Palette with Neutral Skin Tone Shades to enhance the contour, applying lighter shades to highlight and darker shades to define further.
d. Set Your Makeup: If desired, finish with a light dusting of a natural powder to set your makeup in place.
Benefits
Natural Ingredients: Using organic products reduces exposure to harsh chemicals, making it safer for your skin—see Natural Ingredient Guidance in the “Ingredients Needed” section above.
Customizable Shades: By adjusting the amount of cocoa powder, you can create the perfect contour shade that matches your skin tone.
Moisturizing Properties: Ingredients like Aloe Vera Gel and Beeswax provide hydration and nourishment, promoting healthier skin.
Versatile Application: This DIY contour technique allows you to enhance your natural features without the heaviness of traditional makeup.
More articles in the Makeup category that you might like:
- Gentle and Effective DIY Natural Makeup Remover
- How To Make Lipstick At Home The Easy Way
- 3 Ingredients To Make A Natural Eyebrow Gel
Video How-To on My Channel | Jinane World
You can see the steps of making the natural makeup contour in this video.
