Creating your own DIY bath salts for cleansing and relaxation is a simple and fun project. With just a few ingredients, you can craft colorful and fragrant bath salts that will enhance your bathing experience. This easy guide ensures that anyone can make these at home.
In this guide, we’ll walk you through an easy recipe to make your bath salts at home. Follow these straightforward steps, and you’ll have your personalized bath salts ready in no time. Making bath salts has never been this simple and enjoyable!
Ingredients Needed
Choose high-quality ingredients to boost the effectiveness and safety of your DIY beauty products.
- Epsom salt. It is a natural mineral compound made of magnesium and sulfate, often used in baths. It’s known for its ability to soothe sore muscles, relieve stress, and cleanse the skin.
- Mica color powders. Choose several colors. In this tutorial, I make the bath salts in seven colors, but you can use fewer if desired.
- Fragrance oils
Tools Needed
- Scale to measure quantities
- Seven small bowls
- Wooden popsicle sticks
- Tall glass containers or jars suitable to store your DIY Bath Salts for Cleansing and Relaxation
Prior to use, ensure that both your utensils and containers are properly cleaned and disinfected. Wash them with warm soapy water, dry with a tissue, and then sanitize by spraying with 70% medical alcohol. Wipe them clean and let them air dry before use.
Steps: DIY Bath Salts for Cleansing and Relaxation
Making these bath salts is very easy and requires just a few simple steps. Anyone can do it at home with minimal effort and basic ingredients.
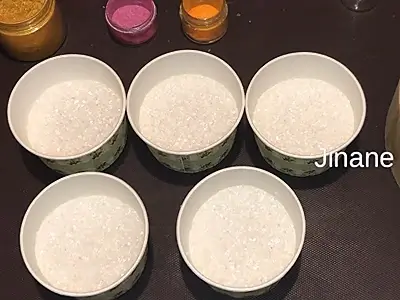
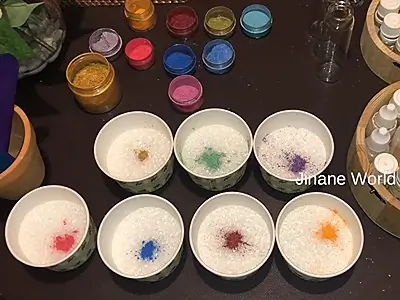
1- Begin by placing 50 grams (1.76 oz) of Epsom salt into each of seven small bowls.
2- Now, for the colorful part, add different mica powders to the bowls. Using the tip of a wooden popsicle stick, add a small quantity of one mica color to each bowl. The mica colors I use here are:
- Fuchsia
- Blue
- Gold
- Green
- Purple
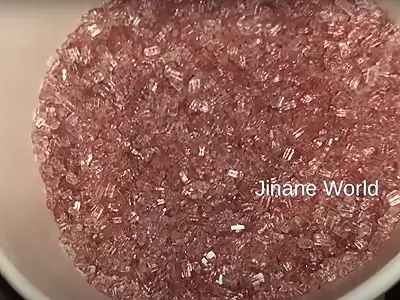
- Dark red
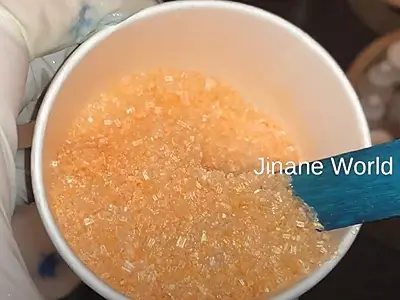
- Orange
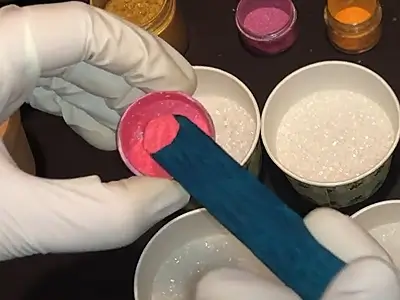
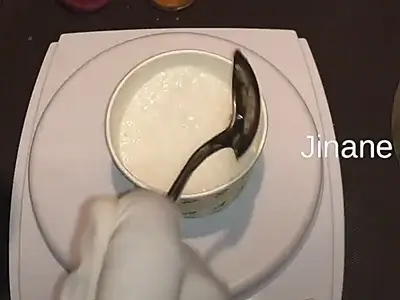
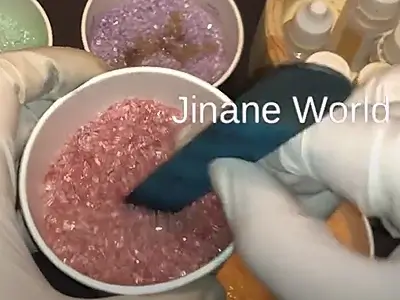
3- Mix thoroughly the salt and the color in each bowl using clean wooden popsicle sticks.
4- For the fragrance oils, I prefer to match each fragrance to a color, though it is not necessary. Below are ideas to match them:
- Fuchsia: Strawberry fragrance oil
- Blue: Beach-invoking scent like coconut oil
- Gold: Amber fragrance oil
- Green: Sandalwood or cedarwood scent
- Purple: Lavender fragrance
- Dark red: Rose scent
- Orange: Orange fragrance oil
5- To each bowl, add 7 to 10 drops of the matching fragrance oil or another fragrance of your choice.
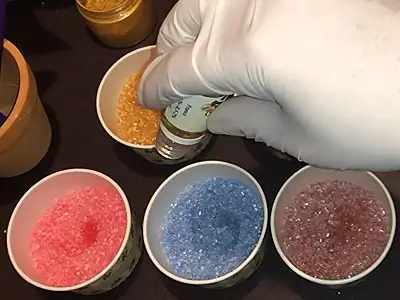
6- Mix the bath salts in each bowl rigorously using clean wooden popsicle sticks. Stir for at least 15 seconds to ensure the fragrance oil is well incorporated into the bath salts.
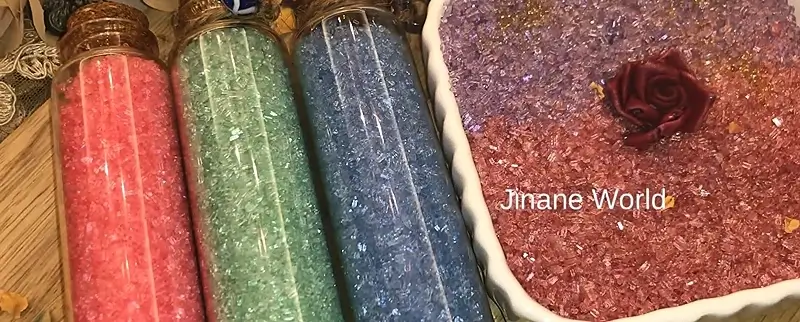
7- The DIY Bath Salts for Cleansing and Relaxation are now ready. You can choose how to store them: Use tall glass containers with cork caps or jars. You can store one color separately in its own container, or create layers with two different colors.
The two containers on the right side of the image below are uncovered and for photography purposes.

Notes
a) Ensure each container is well capped and sealed after placing the bath salts. This will prevent the fragrance oil from dissipating over time.
b) When using the bath salts, be careful not to introduce water droplets into the container.
c) A few drops of vitamin E can be added to help preserve the quality of the bath salts over time.
How to Use: DIY Bath Salts for Cleansing and Relaxation
Here’s how you can use the DIY Bath Salts for Cleansing and Relaxation:
a. Draw Your Bath: Fill your bathtub with warm water to your desired level.
b. Add Bath Salts: Scoop a handful of your homemade bath salts and sprinkle them into the running water. Stir the water gently to help the salts dissolve.
c. Enjoy Soaking: Step into the bath and soak for at least 15-20 minutes to fully experience the relaxing benefits of the bath salts.
d. Rinse Off (Optional): After soaking, you can rinse off with clean water if desired, although it’s not necessary.
e. Once Weekly: Use the DIY Bath Salts once a week.
f. Store Properly: Ensure the container of bath salts is tightly sealed to preserve their fragrance and quality for future use.
Using these steps ensures you get the most out of your DIY bath salts for a luxurious and therapeutic bathing experience.
Benefits
Here are the benefits of the DIY Bath Salts for Cleansing and Relaxation:
Muscle Relaxation: Epsom salt, rich in magnesium, helps relax muscles and alleviate tension after a long day.
Stress Relief: Soaking in Epsom salt baths can promote relaxation, reduce stress levels, and enhance overall well-being.
Skin Cleansing: Epsom salt acts as a gentle exfoliant, helping to remove dead skin cells and impurities, leaving the skin smooth and refreshed.
Reduced Inflammation: The anti-inflammatory properties of Epsom salt can help soothe sore muscles and joints, making it ideal for post-workout recovery or easing minor aches.
Improved Sleep: Using Epsom salt baths before bedtime may promote better sleep quality by relaxing the body and mind.
Detoxification: Epsom salt baths are believed to assist the body in detoxifying by flushing out toxins and heavy metals through the skin.
These benefits highlight why Epsom salt is a popular choice for DIY bath salts, offering both therapeutic and skincare benefits.
Here are more articles you might like:
- DIY Orange Cold Process Soap: How to Make Natural, Skin-Brightening Soap at Home
- Quick and Easy DIY Musk Soap Recipe for Your Daily Pampering
- Effervescent DIY Bath Salt Recipe: Craft Your Own Sparkling Spa Treats
- Arabian Treasure DIY Herbal Soap: Moroccan Black Soap with 12 Herbs
- DIY Detox Bath Salts for Feet and Body: Unlock Tranquility
Video How-To on My Channel | Jinane World
The steps to make the DIY Bath Salts for Cleansing and Relaxation are demonstrated in this video.