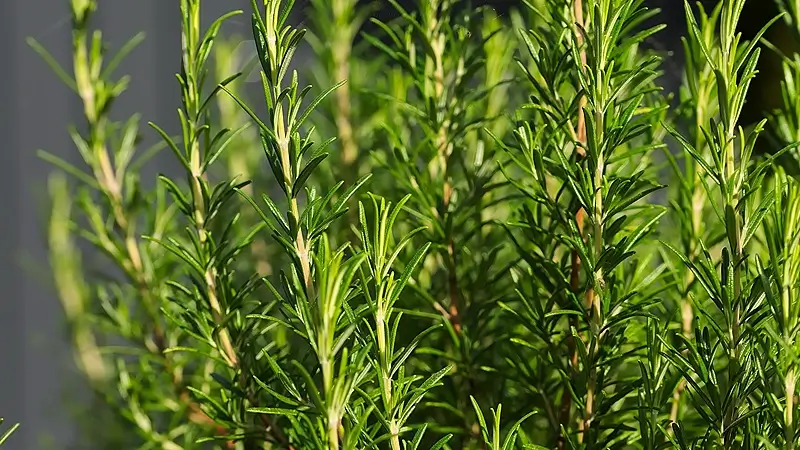
Welcome to our guide on how to make your own DIY Rosemary Carrier Oil—a true nature’s gift for well-being. Rosemary, with its aromatic allure and therapeutic properties, has been cherished for centuries.
In this step-by-step tutorial, we’ll show you how to craft this versatile oil, perfect for enhancing your skincare routine, and promoting a healthy scalp. Embrace the goodness of rosemary and discover its myriad benefits in this transformative journey.
Ingredients Needed
Choose high-quality ingredients to boost the effectiveness and safety of your DIY beauty products.
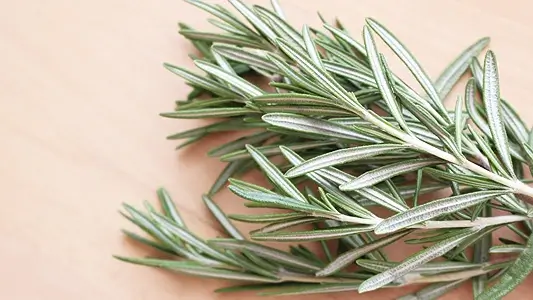
- Dried rosemary herb leaves: These aromatic and flavorful rosemary leaves are the star ingredient of your DIY rosemary carrier oil. They bring the herb’s unique scent and beneficial properties to the oil.
- Sunflower oil: Sunflower oil serves as the carrier base for your rosemary infusion. It’s a light, non-greasy oil that’s rich in vitamins and antioxidants, making it an excellent choice for skincare and hair care products.
Tools Needed
- Glass container of 240-milliliter capacity (8.1 US fl oz) to store your DIY Rosemary Carrier Oil
- Tablespoon
- Sieve
Prior to use, ensure that both your utensils and containers are properly cleaned and disinfected. Wash them with warm soapy water, dry with a tissue, and then sanitize by spraying with 70% medical alcohol. Wipe them clean and let them air dry before use.
Steps: DIY Rosemary Carrier Oil
Spoons Explained!
In some articles, we use spoon measurements for non-liquid ingredients. These terms apply to both tablespoons and teaspoons:
- One Spoon: Ingredient filled and leveled in a measuring spoon.
- Rounded Spoon: Ingredient slightly piled above the spoon’s edge.
- Heaped Spoon: Ingredient scooped as high as possible on the spoon.
- Slightly Heaped Spoon: A bit more than a rounded spoon but not overly heaped.
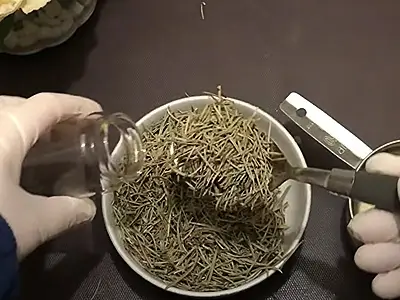
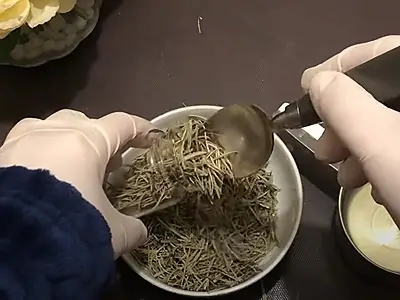
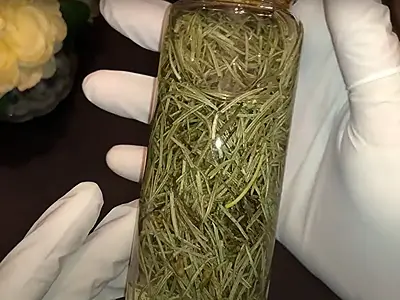
1- Start by putting 3 heaped tablespoons of dried rosemary herb leaves in the glass container.
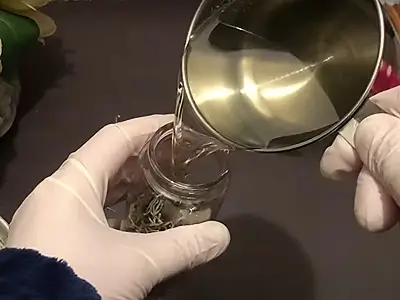
2- Add 1 cup (236 milliliters or 8 US fl oz) of sunflower oil.
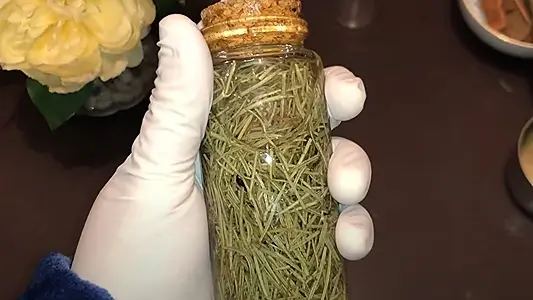
3- Seal the container, and store it in a cabinet away from light, for a minimum period of 30 days, preferably 40 days. This is the infusion period that allows the botanical ingredients of the rosemary leaves to impart their properties to the oil over time.
It is important to shake the container twice a week to ensure that the rosemary leaves are evenly distributed throughout the oil and to facilitate the extraction of their beneficial compounds. This gentle agitation helps maximize the infusion process, allowing the oil to absorb the essence and properties of the rosemary leaves more effectively.
4- After the infusion period, strain out the rosemary leaves using a sieve and collect the carrier oil in a glass container. The oil is now ready for use. Alternatively, you can choose to leave the rosemary leaves in the oil for added infusion.
How To Use: DIY Rosemary Carrier Oil
Here’s how to use rosemary carrier oil for various purposes:
For Hair and Scalp:
a) Hair Growth and Strengthening:
- Pour a small amount of rosemary carrier oil into your palm.
- Gently massage the oil into your scalp using your fingertips.
- Work the oil through your hair from roots to tips.
- Leave it on for at least 30 minutes or overnight for deeper penetration.
- Shampoo and condition your hair as usual.
b) Dandruff and Scalp Health:
- Mix rosemary carrier oil with a few drops of tea tree oil for an extra boost.
- Apply the mixture to your scalp, massaging it in gently.
- Leave it on for 20-30 minutes.
- Rinse and shampoo your hair.
For Skin:
a) Moisturization and Soothing:
- After showering or bathing, while the skin is still damp, apply a small amount of rosemary carrier oil to your body.
- Massage it in gently, paying attention to dry or rough areas.
- Allow it to absorb into your skin.
b) Anti-Inflammatory Application:
- For localized areas of inflammation or discomfort, apply a small amount of rosemary carrier oil.
- Massage it into the affected area.
- Repeat as needed.
For Aromatherapy:
a) Inhalation:
- Add a few drops of rosemary carrier oil to a diffuser.
- Inhale the aromatic mist for relaxation and mental clarity.
b) Topical Application:
- For a calming effect, apply a small amount of rosemary carrier oil to your temples, wrists, or the back of your neck.
- Gently massage it into the skin.
Always perform a patch test before using rosemary carrier oil extensively on your skin to ensure you don’t have any adverse reactions. It’s also essential to use it in moderation, as a little goes a long way. Enjoy the benefits of this versatile oil while practicing safe and mindful application.
Benefits
Here are the top benefits of DIY Rosemary Carrier Oil, including its benefits for the scalp, hair, and the body:
For the Scalp and Hair:
- Promotes Hair Growth: Rosemary carrier oil stimulates hair follicles, supporting stronger and healthier hair growth and helping to combat hair loss.
- Improves Scalp Health: It soothes itchiness, reduces dandruff, and maintains a clean and balanced scalp.
For the Skin and Body:
- Nourishes the Skin: Rich in antioxidants, rosemary carrier oil moisturizes and nurtures the skin, soothing dry or irritated areas and promoting a healthy complexion.
- Anti-Inflammatory Properties: It has anti-inflammatory properties that can be beneficial for reducing redness, swelling, and discomfort when applied to the skin.
- Muscle Relaxation: When used in massage, rosemary carrier oil helps relax muscles and alleviate tension, providing a soothing and rejuvenating experience.
- Aromatherapy Benefits: Its pleasant aroma contributes to a sense of relaxation, mental clarity, and well-being when applied or inhaled, making it suitable for aromatherapy.
These benefits highlight the versatility of rosemary carrier oil for both skincare and hair care, as well as its potential to promote relaxation and overall well-being when used on the body.
Here are more articles on DIY natural and handmade body oils and serums:
- Make Your Own DIY Lavender Carrier Oil: Enhance Your Wellbeing
- DIY Lemon Peel Carrier Oil: Energize Your Handmade Beauty
- Effective DIY Serum for Eye Wrinkles: Your Natural Age-Defying Solution
- DIY Natural Serum for Oily Skin: Aloe Vera and Tea Tree Power Blend
- Simple DIY Jasmine Carrier Oil: Unveil Your Pathway to Beautiful Skin
Video How-To on My Channel | Jinane World
The steps to make your own DIY Rosemary Carrier Oil are demonstrated between the timestamps 0m58s and 3m46s of this video.