Introducing a natural solution for skincare enthusiasts seeking to combat oily skin, acne, and fine lines: DIY Cold Process Turmeric Soap. Harnessing the power of simple yet potent ingredients like turmeric, olive oil, coconut oil, and palm oil, this homemade soap recipe is designed to rejuvenate your complexion.
Turmeric, a star ingredient in this formulation, is renowned for its anti-inflammatory and antioxidant properties, making it a promising ally in the battle against skin imperfections. Discover how to create this skin-loving soap and unlock the secrets to a clearer, more radiant complexion.
Ingredients Needed
Choose high-quality ingredients to boost the effectiveness and safety of your DIY beauty products.
- Olive oil
- Vegetable palm oil. Look for certified sustainable palm oil. It is responsible for maintaining the soap’s solid form during use. It ensures that the soap bar remains firm and long-lasting, allowing you to enjoy its benefits over an extended period.
- Coconut oil. It plays a crucial role in creating a rich and luxurious lather when using the soap. Its natural properties contribute to a creamy and foamy texture that enhances the cleansing experience.
- Distilled water
- Sodium hydroxide (also called caustic soda or lye)
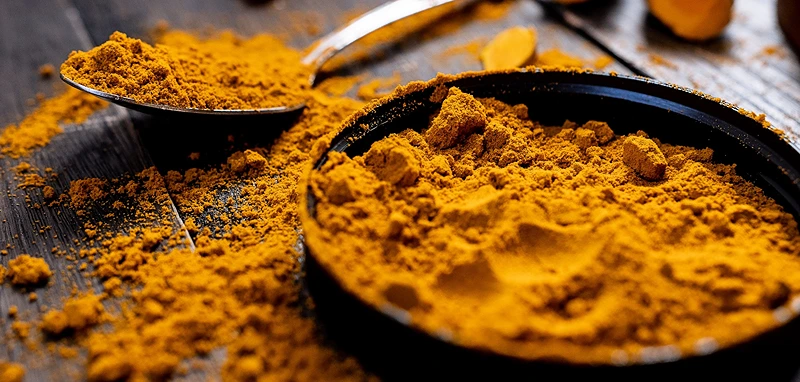
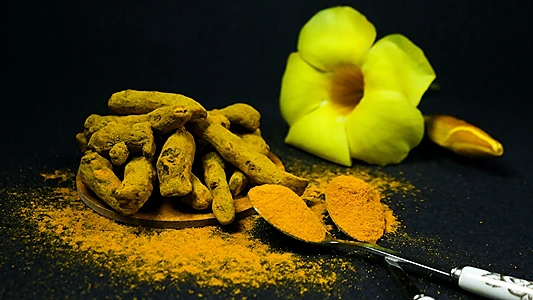
- Pure turmeric powder, intended specifically for skincare
Tools Needed
- Safety items: Latex gloves, safety goggles, face mask
- Scale to weigh quantities
- Large Beaker
- Small beaker
- Plastic container
- Large silicone spatula
- Knife
- Electric hand mixer
- Rectangular silicone mold to hold 800 grams (28.2 oz) of soap mix
Prior to use, ensure that both your utensils and containers are properly cleaned and disinfected. Wash them with warm soapy water, dry with a tissue, and then sanitize by spraying with 70% medical alcohol. Wipe them clean and let them air dry before use.
Safety Precautions
We are using the cold process soap making technique in this guide. This requires mandatory safety measures that you should take during the process:
- No part of your skin should be exposed at any time during the process (a long-sleeved shirt and an apron are good ideas here)
- Don’t let any children or pets come near your soap making work table
- Your soap making table should be in a ventilated area at all times (an open window is a good idea )
- Latex gloves, safety goggles, and face masks should be worn at all times
- Only use silicone, plastic, and stainless steel tools
- All utensils and tools used for cold process soap making should be dedicated solely to this purpose and not used for food preparation.
Steps: DIY Cold Process Turmeric Soap
1- Ensure that you are applying the necessary safety precautions mentioned above before starting.
Prepare Sodium Hydroxide Solution
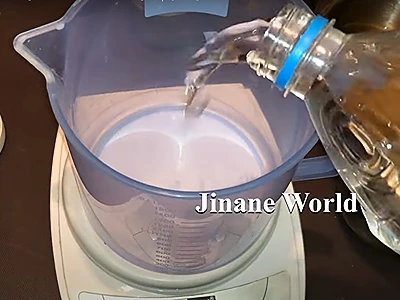
2- Start by pouring 150 grams (5.29 oz) of distilled water into a large beaker.
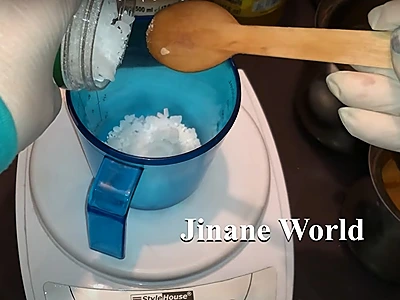
3- In a separate small beaker, put 75 grams (2.64 oz) of sodium hydroxide.
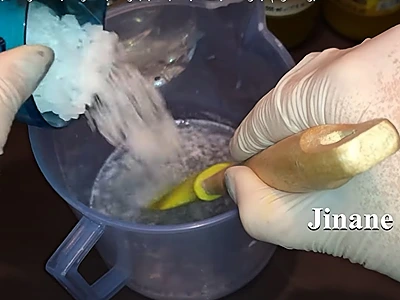
4- Slowly empty the beaker containing the sodium hydroxide into the beaker containing the distilled water:
- Start with a small amount and mix with a glass mixing rod; continue until you add all of the sodium hydroxide.
- It is important not to do this in the opposite way: it’s dangerous to pour the distilled water on top of the sodium hydroxide!
5- After the sodium hydroxide has dissolved fully, let the contents cool down. Ensure the beaker containing the sodium hydroxide solution is safely out of reach of children and pets.
Prepare the Mixture of Oils
If the palm oil and coconut oil are in a semi-solid state, melt each in a bain-marie (hot water bath). A bain-marie is done by placing the container of the semi-solid oil in a larger pot of hot steaming water. This will gradually melt the oil.
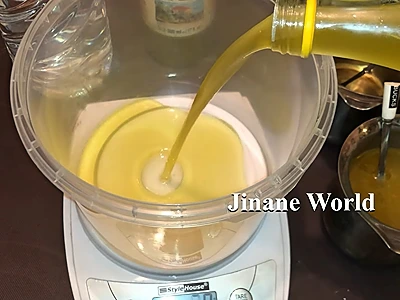
6- In a separate plastic container, pour 250 grams (8.81 oz) of olive oil.
7- Add 125 grams (4.41 oz) of vegetable palm oil to the olive oil.
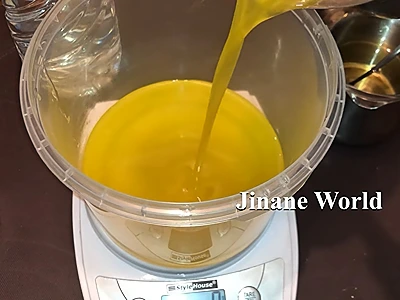
8- Add 125 grams (4.41 oz) of coconut oil to the olive oil and palm oil.
Making the Soap
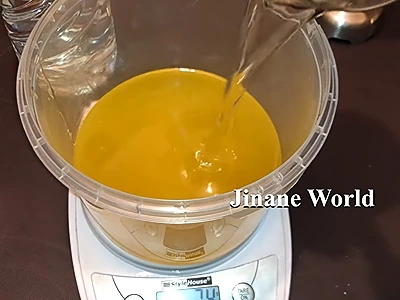
Ensure that the sodium hydroxide solution that has been prepared and put aside, is at room temperature.
9- Pour slowly the solution of the sodium hydroxide into the mixture of the three oils while stirring with a silicone spatula. Do not pour the oils over the sodium hydroxide solution.
10- Mix thoroughly.
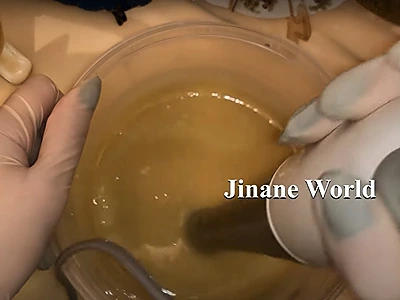
11- Using an electric hand mixer, whip the contents for 5-10 seconds, then stop the electric mixer and stir with the silicone spatula or with the mixer shaft itself for a few seconds.
Continue alternating between the electric mixer and manual stirring, till you see the soap mix thicken: a viscous, thick layer covers the lower part of the shaft of the electric mixer. When you achieve this thickening, this means that the saponification (the process of making the soap) is complete.
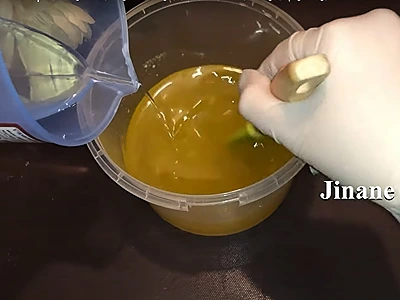
12- Add 10 grams (0.35 oz) of turmeric powder.

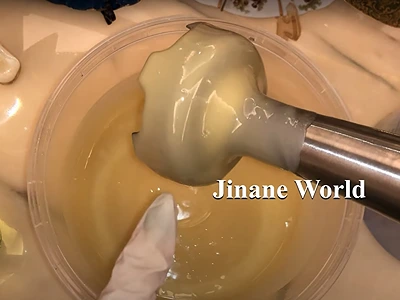
13- Stir first with the silicone spatula, until the turmeric powder is well mixed.
14- Give the mixture one final whip-up with the electric mixer. Don’t let the mixture thicken excessively, as this will make it difficult to pour into the soap mold.
15- Pour the soap mix into the rectangular mold.
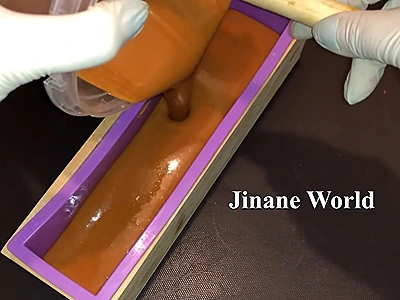
16- Holding the filled mold with both hands, tap it a few times against the work table to get rid of any bubbles.
17- Cover the mold with a cloth and allow the soap to cool down and harden for 12-24 hours or more, depending on the room temperature.
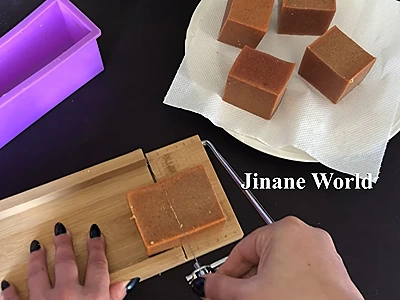
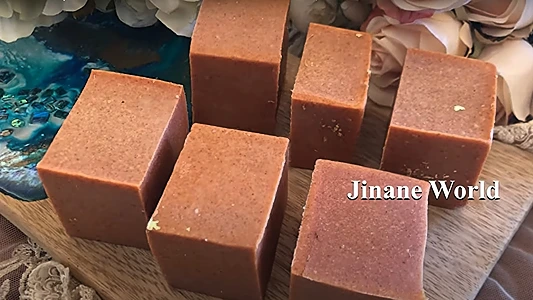
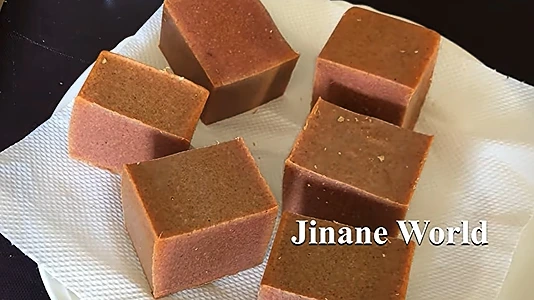
18- After the soap has completely hardened, carefully remove it from the mold, and cut it with a knife into appropriate bar size. As a guideline, a soap bar weighing 100-120 grams (3.5-4.2 oz) is a good size. The quantities of ingredients used above will yield six soap bars.
19- Important: Now, you must leave the soap bars to cure for a minimum duration of 6 weeks. This will allow the sodium hydroxide to dissipate completely. Only then can you use the soap or package it for gifting.
How to Use: DIY Cold Process Turmeric Soap
Using your DIY Cold Process Turmeric Soap for oily skin, acne, and fine lines is a straightforward process. Follow these steps for best results:
1- Wet Your Face: Start by splashing your face with lukewarm water. This helps open up your pores and prepares your skin for cleansing.
2- Lather the Soap: Take the turmeric soap and lather it between your hands. You can also rub it directly onto your wet skin if preferred.
3- Gently Apply: Apply the lathered soap to your face, using gentle circular motions. Be cautious around the eye area, as turmeric can be slightly abrasive.
4- Massage In: Spend a minute or so massaging the soap into your skin. This allows the turmeric and other beneficial ingredients to work their magic.
5- Rinse Thoroughly: Rinse your face thoroughly with lukewarm water until all the soap is removed. Make sure there’s no residue left on your skin.
6- Pat Dry: Gently pat your face dry with a clean, soft towel. Avoid rubbing, as your skin may be more sensitive after cleansing.
7- Moisturize: Apply a moisturizer suitable for your skin type. This helps to lock in hydration and maintain the skin’s balance.
8- Sun Protection: If you’re using the soap in the morning, follow up with a broad-spectrum sunscreen with SPF 30 or higher to protect your skin from UV rays.
9- Consistency is Key: For best results, use your DIY Cold Process Turmeric Soap once or twice daily, depending on your skin’s sensitivity. Over time, you should notice improvements in oiliness, acne, and fine lines.
Remember, individual skin types vary, so it’s essential to monitor how your skin reacts to the soap and adjust the frequency of use accordingly. If you experience any irritation or discomfort, discontinue use and consult a dermatologist.
Benefits
Here are the top benefits of using the DIY Cold Process Turmeric Soap:
Acne Control: Turmeric possesses powerful anti-inflammatory and antimicrobial properties, making it effective in combating acne. Regular use of this soap can help reduce the appearance of acne breakouts, minimize redness, and promote clearer skin.
Oil Balancing: Oily skin can lead to clogged pores and breakouts. The soap’s natural ingredients, including coconut oil, help regulate oil production, keeping your skin balanced and less prone to excess shine.
Anti-Aging Properties: Turmeric is rich in antioxidants, which help protect the skin from free radicals and prevent premature aging. This soap can reduce the appearance of fine lines and wrinkles, promoting a more youthful complexion.
Brightening Effect: Turmeric has skin-brightening properties that can help fade pigmentation and dark spots over time. Regular use can lead to a more even and radiant skin tone.
Natural Ingredients: Unlike many commercial soaps filled with harsh chemicals, DIY Cold Process Turmeric Soap contains natural and certified oils like olive oil and vegetable palm oil, making it a gentler option for your skin without compromising on effectiveness.
Frequently Asked Questions
Here are some frequently asked questions (FAQs) about the DIY Cold Process Turmeric Soap:
Is it safe to use turmeric on the skin?
Yes, turmeric is generally safe for topical use. It has been used for centuries in skincare due to its anti-inflammatory and antibacterial properties. However, some individuals may be sensitive to it, so it’s essential to perform a patch test before using it on your face.
Can this soap help with all types of acne?
DIY Turmeric Soap can be beneficial for various types of acne, including whiteheads, blackheads, and inflammatory acne. It can help reduce inflammation and control excess oil production.
How often should I use the turmeric soap?
The frequency of use depends on your skin’s sensitivity. Most people can use it once or twice daily. Start with once a day and gradually increase if your skin tolerates it well.
Can I use this soap if I have sensitive skin?
Turmeric can be abrasive for some individuals with sensitive skin. If you have sensitive skin, consider using the soap less frequently. Always perform a patch test first.
How long does it take to see results?
Results may vary from person to person. Some people may notice improvements in their skin’s texture and appearance within a few weeks, while others may take longer. Consistency in use is key to seeing results.
Can I use this soap along with other skincare products?
Yes, you can incorporate DIY Turmeric Soap into your existing skincare routine. However, be mindful of over-exfoliation or using products with similar active ingredients, as this may lead to skin irritation. Always follow up with a moisturizer and sunscreen during the day.
Remember that individual reactions may vary, so it’s essential to monitor how your skin responds and make adjustments accordingly. If you have specific skin concerns or conditions, consult with a dermatologist before adding any new product to your skincare regimen.
Here are more articles on how to make your own natural soaps:
- The Formidable DIY Rosemary Hair Soap: A Solid Shampoo for Growth and Nourishment
- DIY Cold Process Green Tea Soap for Oily Skin: Green Beauty Unveiled
- Create Stunning DIY Glycerine Soap for Gift Ideas That Inspire Joy
- DIY Cold Process Lavender Soap: Crafting Soothing Self-Care
- Create Dazzling DIY Glycerine Soap for Gifts: Lively and Unique!
Video How-To on My Channel | Jinane World
The steps to make the DIY Cold Process Turmeric Soap are demonstrated in this video.