If you’re looking for a natural and eco-friendly alternative to commercial soaps, making your own DIY cold process coconut oil soap is a great option. This soap is made with only three ingredients: pure coconut oil, distilled water, and sodium hydroxide.
By making it yourself, you can be sure that it contains no harsh chemicals, artificial fragrances, or preservatives.
In this article, we’ll show you an easy recipe to make your own cold process coconut oil soap at home. Not only is it better for your skin and the environment, but it also makes a great gift for your family and friends. Let’s get started!
Important Safety Measures
Before we list the ingredients and tools you’ll need, we need to go over some safety measures. This is because we’re using the cold process soapmaking technique in this guide. That said, here are the mandatory safety measures you should take during the process:
- No part of your skin should be exposed at any time during the process (a long-sleeved shirt and an apron are good ideas here)
- Don’t let any children or pets come near your soapmaking work table
- Your soapmaking table should be in a ventilated area at all times (an open window is a good idea )
- Latex gloves, safety goggles, and face masks should be worn at all times
- Only use silicone, plastic, and stainless steel tools
Ingredients Needed
Choose high-quality ingredients to boost the effectiveness and safety of your DIY beauty products.
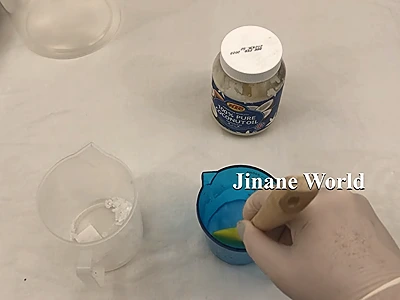
- Pure coconut oil
- Distilled water
- Sodium hydroxide (also called caustic soda or lye)
Tools Needed
- Face mask (mandatory)
- Latex gloves (mandatory)
- Safety goggles (mandatory)
- Electric hand mixer
- Scale to help measure quantities
- Plastic or stainless steel containers
- Silicone spatula
- Silicone soap mold
Prior to use, ensure that both your utensils and containers are properly cleaned and disinfected. Wash them with warm soapy water, dry with a tissue, and then sanitize by spraying with 70% medical alcohol. Wipe them clean and let them air dry before use.
Note: Once you use the electric mixer, the containers and utensils for soapmaking, you should not use them for anything else. Keep them only for soapmaking.
Steps: DIY Cold Process Coconut Oil Soap
1- Ensure that you apply the necessary safety measures before starting.
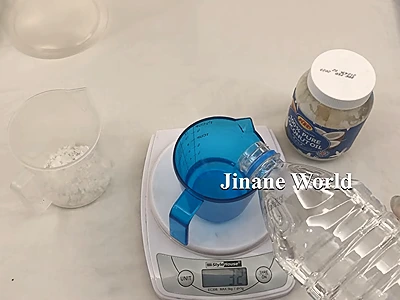
2- Place 21 grams (0.74 oz) of sodium hydroxide in a container.
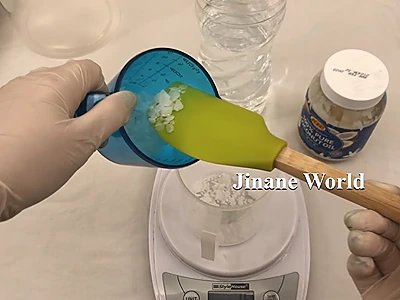
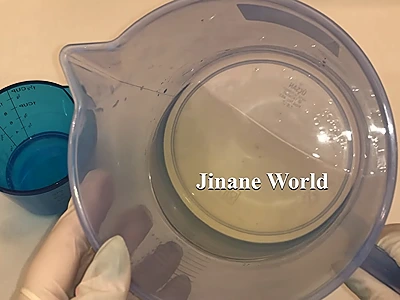
3- Pour 50 grams (1.76 oz) of distilled water into another container.
4- Slowly pour the sodium hydroxide into the distilled water:
- Start with a small amount and mix; continue until you add all of the sodium hydroxide.
- It is important not to do this in the opposite way: it’s dangerous to pour the distilled water on top of the sodium hydroxide!
5- Wait until the temperature of the sodium hydroxide solution reaches room temperature. While waiting, ensure that you keep the container out of reach of children and pets.
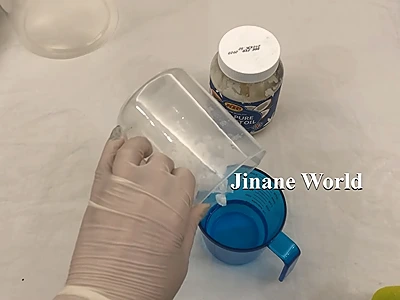
6- Add 150 grams (5.29 oz) of coconut oil to a separate container.
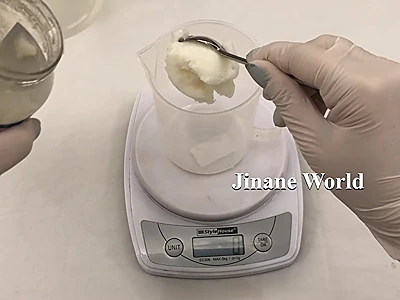
7- Melt the coconut oil in a hot water bath (bain-marie): just place the container in a larger pot of hot steaming water. The idea is to melt the contents slowly with indirect heat.
8- Slowly pour the sodium hydroxide solution into the coconut oil while stirring continuously. Don’t pour in the opposite way.
After pouring all the sodium hydroxide solution, continue mixing for 10-20 seconds.

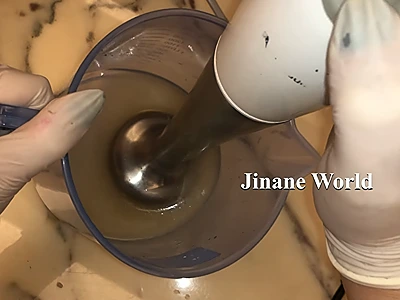
9- Whip the mixture with an electric hand mixer until it thickens: A thick, viscous layer will cover the bottom of the electric mixer shaft.
Don’t let the mixture thicken too much, as this will make it difficult to pour into the soap mold.
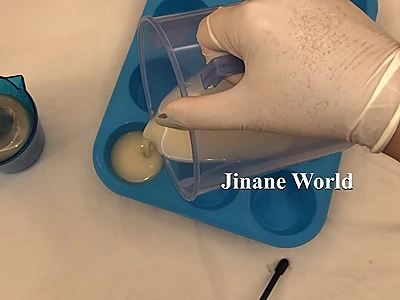
10- Pour the mixture into the soap mold. With the quantities of the ingredients we used, this should yield 2-3 soap bars.
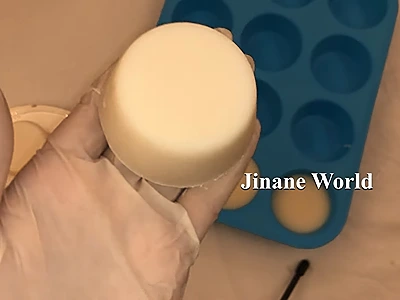
11- Wait 24 hours for the soap to harden before you remove the bars from the mold.
After you remove the bars from the mold, you have to allow a curing period of 4-6 weeks. During the curing period, the sodium hydroxide will fully dissipate – only then you can use the soap.
And there you have your natural DIY cold process coconut oil soap!
Benefits: DIY Cold Process Coconut Oil Soap
Moisturizes your skin: Coconut soap can hydrate and nourish your skin, making it feel soft and supple.
Tackles many skin conditions: You can use coconut soap to combat skin issues such as eczema, psoriasis, and dermatitis.
Exfoliates your skin: Coconut soap can exfoliate your skin by eliminating dead cells and encouraging cell regeneration.
Is very environmentally friendly: Because coconut soap is made with natural and organic ingredients, it’s a greener alternative to other soaps.
More articles on DIY natural handmade soaps in this sub-category.
Video How-To on My Channel | Jinane World
The steps to make the DIY cold process coconut oil soap are demonstrated in this video.