
In this article, we unveil the power of a simple DIY face mask for wrinkles, crafted from two potent ingredients: aloe vera and egg.
Wrinkles, a common concern as we age, often call for costly treatments. However, this homemade remedy offers a budget-friendly alternative with remarkable results. Discover how this easy-to-make face mask can revitalize your skin, leaving you with a youthful and radiant complexion.
Ingredients Needed
Choose high-quality ingredients to boost the effectiveness and safety of your DIY beauty products.
- Natural aloe vera gel
- Egg
Tools Needed
- Small bowl
- Small plate
- Tablespoon
- Small whisk
Prior to use, ensure that both your utensils and containers are properly cleaned and disinfected. Wash them with warm soapy water, dry with a tissue, and then sanitize by spraying with 70% medical alcohol. Wipe them clean and let them air dry before use.
Steps: DIY Face Mask for Wrinkles
Spoons Explained!
In some articles, we use spoon measurements for non-liquid ingredients. These terms apply to both tablespoons and teaspoons:
- One Spoon: Ingredient filled and leveled in a measuring spoon.
- Rounded Spoon: Ingredient slightly piled above the spoon’s edge.
- Heaped Spoon: Ingredient scooped as high as possible on the spoon.
- Slightly Heaped Spoon: A bit more than a rounded spoon but not overly heaped.
This is another easy-to-make DIY face mask. It is effective in combating wrinkles and fine lines.
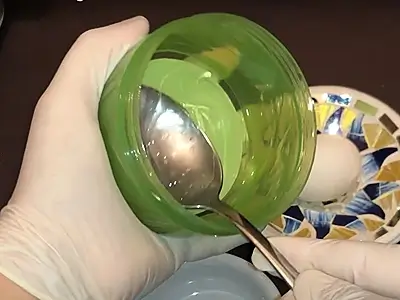
1- Begin by putting one rounded tablespoon of natural aloe vera gel in a small bowl.
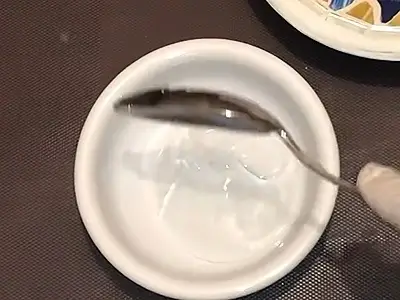
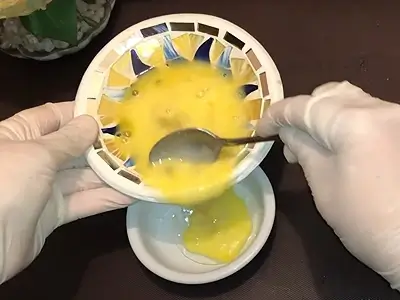
2- Break one egg into a small plate. Beat the egg thoroughly until it becomes a smooth consistency.
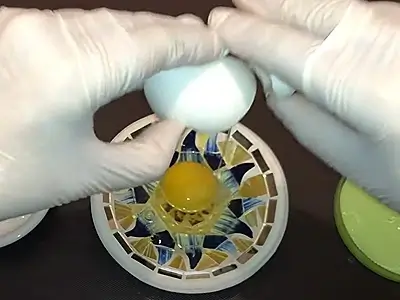
3- Add half of the beaten egg mixture over the aloe vera gel.
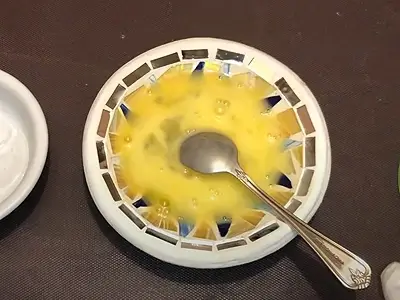
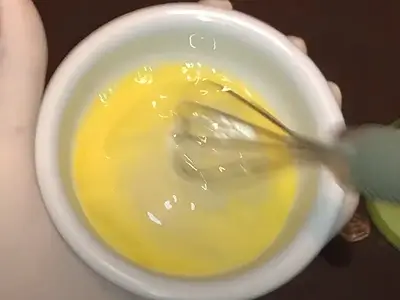
4- Stir the two ingredients thoroughly with a small whisk.
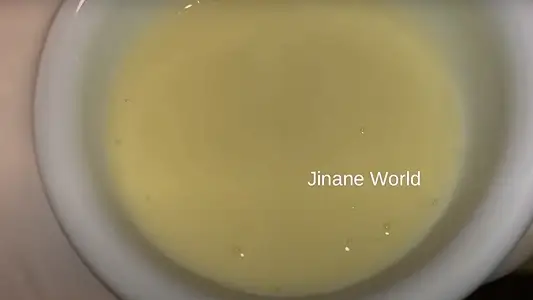
5- The DIY Face Mask for Wrinkles is now ready. Prepare the blend fresh each time you plan to use it.
How to Use
Here’s a detailed explanation of how to use the DIY Face Mask for Wrinkles:
a. Preparation: Start with a freshly cleansed face. Gently pat your skin dry with a clean towel to remove any excess moisture.
b. Application: Using clean fingertips or a soft brush, take a small amount of the prepared face mask mixture. Begin applying the mask evenly onto your face, starting from the center and working your way outward. Be sure to focus on areas where wrinkles or fine lines are more prominent, such as the forehead, around the eyes, and mouth.
c. Avoid Eyes and Lips: Take care to avoid the delicate skin around your eyes and lips while applying the mask, as these areas can be more sensitive.
d. Even Layer: Aim for a smooth and even layer of the mask across your entire face. Avoid applying the mask too thickly, as this may increase drying time and lead to uneven results.
e. Relax and Wait: Once the mask is applied, relax and allow it to sit on your skin for 20-30 minutes. During this time, the ingredients in the mask will work to nourish and rejuvenate your skin, helping to reduce the appearance of wrinkles and promote a more youthful complexion.
f. Drying Time: You’ll notice the mask starting to dry as it sits on your skin. This is normal and indicates that the ingredients are absorbing impurities and excess oil from your pores.
g. Rinsing Off: After the recommended time has elapsed, it’s time to remove the mask. Gently rinse your face with lukewarm water, using your fingers to remove the mask off in circular motions. Continue rinsing until all traces of the mask are removed, then wash your face with soap to remove any lingering egg smell.
h. Pat Dry: Once the mask is fully removed, pat your skin dry with a soft towel. Avoid rubbing or tugging at your skin, as this can cause irritation, especially after the gentle exfoliation provided by the mask.
i. Follow-up Care: After using the mask, follow up with your regular skincare routine. This may include applying a toner to rebalance your skin’s pH, followed by a hydrating serum or moisturizer to lock in moisture and further nourish your skin.
j. Frequency: For optimal results, incorporate this DIY face mask into your skincare routine once a week. Consistency is key to seeing improvements in the appearance of wrinkles and achieving smoother, more youthful-looking skin over time.
Benefits
Here are the benefits of using this DIY face mask for wrinkles:
Reduces Wrinkles: The combination of aloe vera gel and egg in this face mask helps to diminish the appearance of wrinkles and fine lines over time, promoting smoother and more youthful-looking skin.
Increases Skin Elasticity: Both aloe vera and egg are rich in nutrients that can improve skin elasticity, helping to firm and tighten the skin for a more lifted appearance.
Hydrates and Nourishes: Aloe vera is known for its hydrating properties, while eggs contain proteins and vitamins that nourish the skin, leaving it feeling soft, supple, and deeply moisturized.
Evens Skin Tone: Regular use of this face mask can help to even out skin tone and texture, reducing the appearance of blemishes, dark spots, and other imperfections for a more radiant complexion.
Promotes Cell Regeneration: Aloe vera contains compounds that stimulate cell regeneration, helping to repair and rejuvenate the skin from within, resulting in a fresher, more youthful glow.
Calms Irritation: Aloe vera has soothing properties that can help to calm inflammation and irritation, making it suitable for all skin types, including sensitive or acne-prone skin.
Affordable and Natural: Unlike commercial anti-aging products that can be expensive and contain harsh chemicals, this DIY face mask is made from natural ingredients that are gentle on the skin and won’t break the bank.
Easy to Make and Use: With just two simple ingredients, this face mask is easy to make at home and can be incorporated into your skincare routine with minimal effort, making it a convenient option for busy individuals.
Visible Results: With regular use, you can expect to see visible improvements in the appearance of wrinkles and overall skin texture, resulting in a more youthful and radiant complexion that you’ll love to show off.
Here are more articles you might be interested in:
- Natural DIY Face Mask for Acne: Cinnamon Honey Blend for Clear Skin
- Oriental DIY Body Butter with Amber Scent: A Luxe Skin Treat
- Radiant DIY Night Cream for 40+: Niacinamide (B3) and Frankincense Blend
- Simple Sophistication: DIY Light Body Lotion with Aloe Vera Butter
- DIY Cream for Pregnancy Marks: Natural Solution for Radiant Skin
Video How-To on My Channel | Jinane World
The steps to make the DIY Face Mask for Wrinkles are demonstrated between the timestamps 5m59s and 7m44s of this video.