Introducing the ultimate game-changer in natural skincare: DIY Foaming Bath Butter. For a radiant and glowing skin, this powerful homemade concoction is your secret weapon. With its versatile applications in scrubs, creamy soaps, and more, DIY Foaming Bath Butter takes your skincare routine to new heights.
What we will make in this detailed article is the foaming bath butter base. The base can be used in other skincare products like body scrubs and creamy soaps. We have already made 2 products in our blog with the foaming bath butter:
- Exfoliate and Nourish Your Skin with a DIY Foaming Body Scrub: Step-By-Step Guide
- Unlock Beauty Secrets with DIY Rose Creamy Soap: Enhance Your Skincare Regimen
Ingredients Needed
Choose high-quality ingredients to boost the effectiveness and safety of your DIY beauty products.
- Distilled Water
- Vegetable Glycerine
- Coco Betaine: Coconut-derived mild cleanser and foaming agent; naturally derived but processed.
- Stearic Acid: Thickening agent from plant oils for texture; natural.
- SCI Powder (Sodium Cocoyl Isethionate Powder): Coconut-based gentle cleansing agent that creates a mild lather; derived from natural sources but processed.
- Germall Plus Preservative: Synthetic preservative for preventing contamination; not natural.
Coco betaine 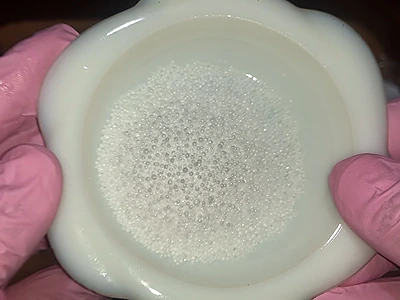
Stearic acid 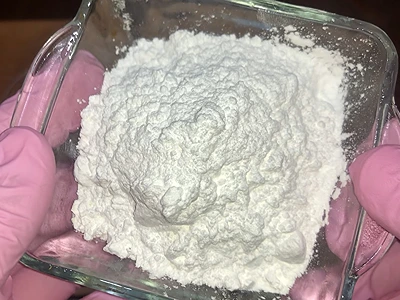
SCI powder
Tools Needed
- Scale to weigh quantities
- Large bowl
- Glass beakers and cups
- Electric hand mixer
- Tablespoons, silicone spatula for mixing
- Protective face mask, necessary when handling the SCI powder
- pH acidity test kit
Prior to use, ensure that both your utensils and containers are properly cleaned and disinfected. Wash them with warm soapy water, dry with a tissue, and then sanitize by spraying with 70% medical alcohol. Wipe them clean and let them air dry before use.
Caution: When handling SCI powder (Sodium Cocoyl Isethionate Powder), it’s important to wear a mask to avoid inhaling any particulates. Keep a safe distance while working with it, as the powder can become airborne and may irritate some individuals.
Steps: DIY Foaming Bath Butter
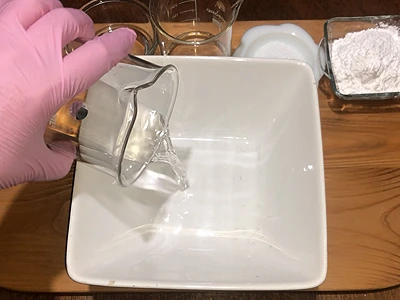
1- Pour 32 grams (1.12 oz) of distilled water into a large bowl.
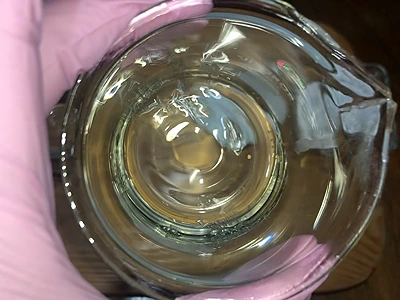
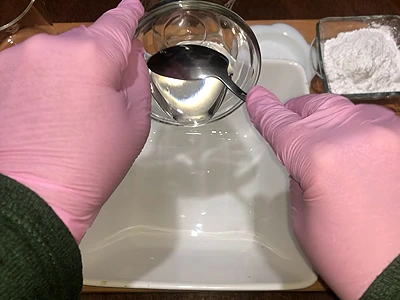
2- Pour in 34 grams (1.20 oz) of vegetable glycerine.
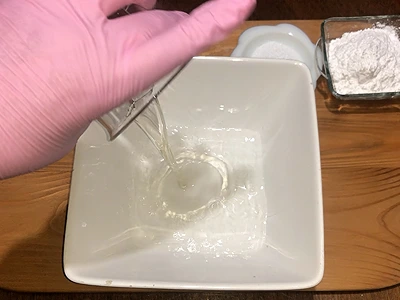
3- Add 32 grams (1.12 oz) of coco betaine to the ingredients.
4- Add 8 grams (0.28 oz) of stearic acid to the mixture.
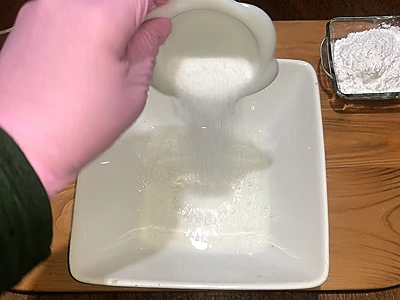
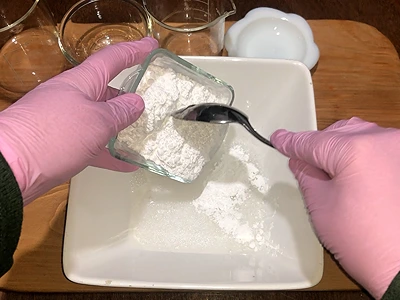
5- Add 47 grams (1.65 oz) of SCI powder into the bowl.
Important: The SCI powder is fine, so add it slowly to the mixture so the powder particles don’t fly off. Please use a face mask when handling and mixing the SCI powder. It is not dangerous but might cause discomfort if the particles are inhaled.
6- With a silicone spatula, mix the contents slowly to spread the ingredients uniformly. Then, keep mixing the contents till you obtain a cream-like consistency.
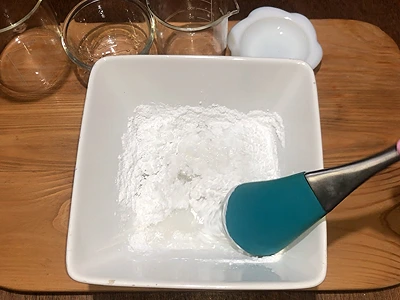
Mix the contents slowly at first 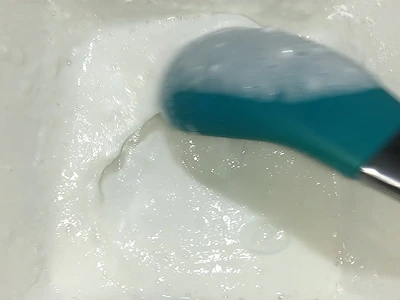
This is the texture after the first manual mixing
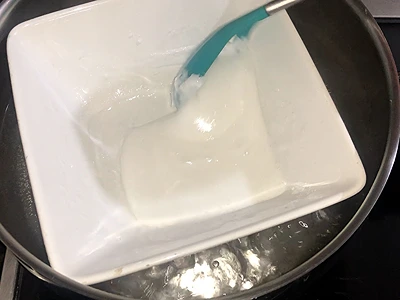
7- Gently heat and melt the mixture using a bain-marie (hot water bath). To set up a bain-marie, place the bowl in a larger pot of hot, steaming water. This method will gradually heat and melt the contents without direct heat. Stir the mixture while it melts, and avoid letting it boil.
In the image below, you can see the bowl sitting in a pot. The pot is on the stove and contains hot steaming water.
8- Keep mixing and melting the ingredients in the bain-marie for 15 minutes.
9- Allow the mixture to cool for 30 minutes. Do not cover the bowl.

After cooling for 30 min 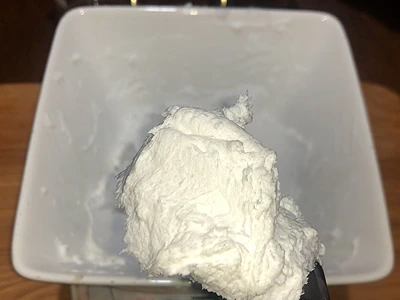
The mix has hardened
10- Add 1.5 grams (0.05 oz) of germall plus preservative.
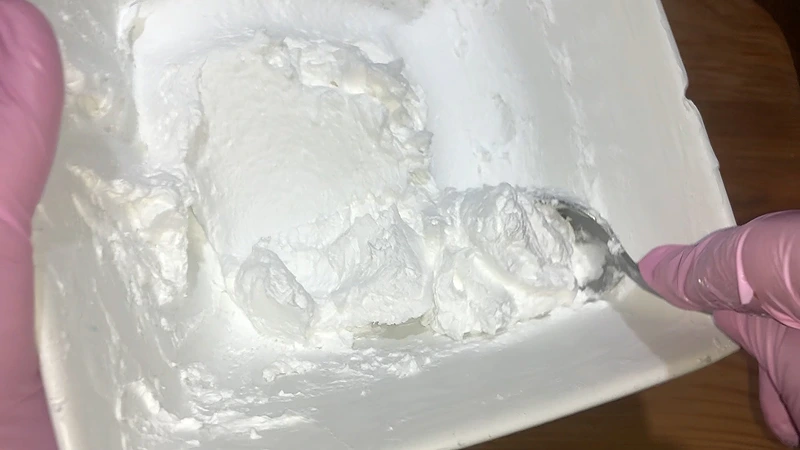
11- Now, we will use the electric mixer to whip the mixture for 1 minute or 2, till it becomes like whipped cream.
12- Our DIY Foaming Bath Butter is now done! But, as a final step, we have to carry out the pH acidity test to ensure that it is good for skincare applications.
pH Acidity Test
It is important to check the pH of the DIY Foaming Bath Butter. It should be between 4.5 and 5.5. If it is more than that, the butter might cause skin allergy.
In a small bowl, mix thoroughly 8 grams (0.28 oz) of distilled water and 2 grams (0.07 oz) of the foaming bath butter.
Take a leaf from the pH test kit, and immerse it in the solution for about 15 seconds. Take it out of the solution, and wait 2-3 minutes. After that, compare the color of the leaf against the range of colors on the pH test kit. In our case, the matching color is 5 which is in the acceptable range.
In case the test shows a value of more than 5.5, you have to bring it down. Simply, prepare a solution of 10 grams (0.35 oz) of distilled water and 10 grams (0.35 oz) of citric acid. Add 3 drops at a time to the foaming bath butter, mix again with the electric mixer, and re-test the pH. Do this till the reading is a maximum of 5.5.
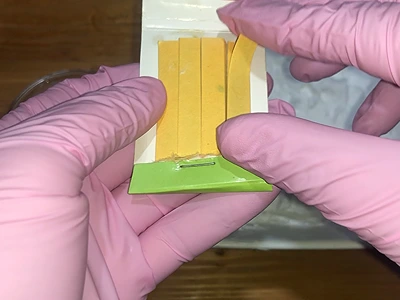
Take a leaf from the PH test kit 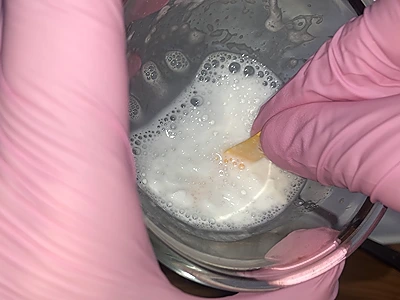
Immerse one end of the leaf into the solution 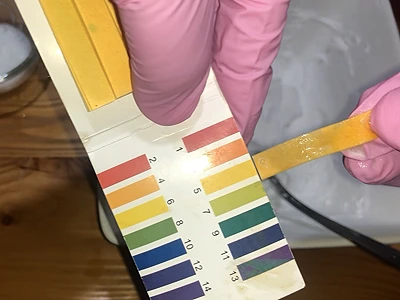
Check the matching color.
How To Store the DIY Foaming Bath Butter
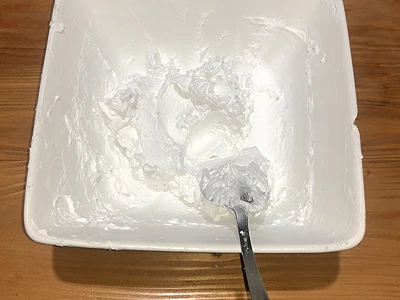
Scoop the foaming bath butter into a clean and disinfected container. Because we added a preservative – germall plus – there is no need to store it in the fridge. Its validity is up to 6 months.
Remember what we said in the introduction to the article, that this is really a foaming bath butter base. As such, it will be used as base in many skincare products such as body scrubs and creamy soaps. So, when you want to make that product – scrub, creamy soap – take the quantity of the foaming bath butter you require out of the container, and keep the rest stored away.
Let’s Test It Out
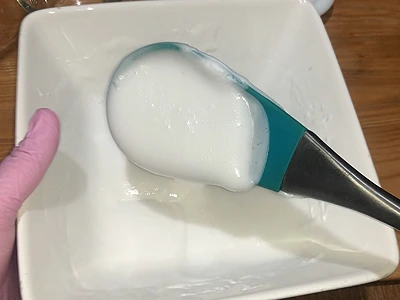
In the images below, I am applying the DIY Foaming Bath Butter onto my hand to test out its foaminess.
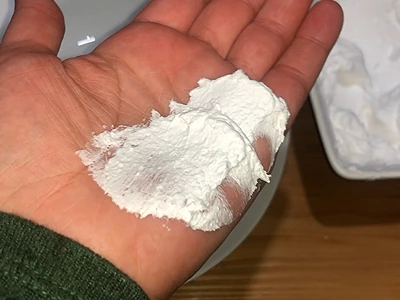
To test it out, I am applying some on my hand 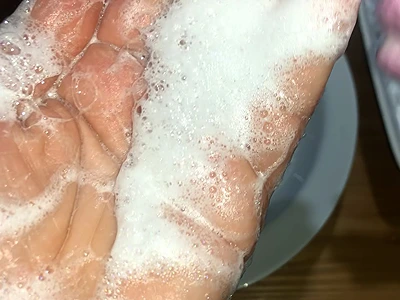
The foaminess is great!
Benefits: DIY Foaming Bath Butter
Discover the incredible benefits of incorporating DIY Foaming Bath Butter into your natural handmade skincare products. It offers a plethora of advantages that contribute to the overall health and appearance of your skin. Here are some key benefits you can experience:
Nourishes and Moisturizes: DIY Foaming Bath Butter is formulated with ingredients like vegetable glycerine and stearic acid, known for their moisturizing properties. It helps replenish and retain moisture in your skin, leaving it soft, supple, and hydrated.
Gentle Cleansing: The presence of Coco betaine and SCI powder in DIY Foaming Bath Butter ensures a gentle yet effective cleansing experience. It helps remove impurities, excess oil, and grime from your skin without causing dryness or irritation.
Exfoliation and Renewal: With its creamy texture and gentle exfoliating properties, DIY Foaming Bath Butter aids in removing dead skin cells, unclogging pores, and promoting cellular renewal. This leads to a smoother, brighter complexion and can help reduce the appearance of blemishes and uneven skin tone.
Versatile Applications: DIY Foaming Bath Butter serves as a versatile base for various skincare products. You can create customized body scrubs, creamy soaps, and other formulations by adding your preferred ingredients such as essential oils, extracts, etc.
Natural and Chemical-Free: By using DIY Foaming Bath Butter, you have control over the ingredients in your skincare products. It allows you to avoid harsh chemicals, sulfates, and synthetic additives often found in commercial products, promoting a more natural and gentle approach to skincare.
Cost-Effective: Making your own skincare products with DIY Foaming Bath Butter can be a cost-effective alternative to purchasing expensive store-bought options. It provides an opportunity to indulge in high-quality ingredients while saving money in the long run.
Embrace the power of DIY Foaming Bath Butter and unlock a world of benefits for your skin. Experience nourished, moisturized, and revitalized skin while enjoying the freedom to create personalized skincare products that suit your specific needs and preferences.
More articles on DIY body butters and creams:
- DIY Natural Jelly for Soft Feet: Unlock Softness with Only 2 Ingredients
- DIY Cream for Mild Eczema: Revitalize Your Skin Naturally with 3 Ingredients Only
- DIY Beetroot Body Butter: Nourish and Rejuvenate Your Skin Naturally
- Experience the Magic of a DIY Turmeric Mask: Transform Your Skin with Golden Bliss
- Sparkle and Shine: Create Your Own Shimmering Lotion For a Glamorous Look
Video How-To on My Channel | Jinane World
The steps for how to make DIY Foaming Bath Butter are demonstrated in this video.