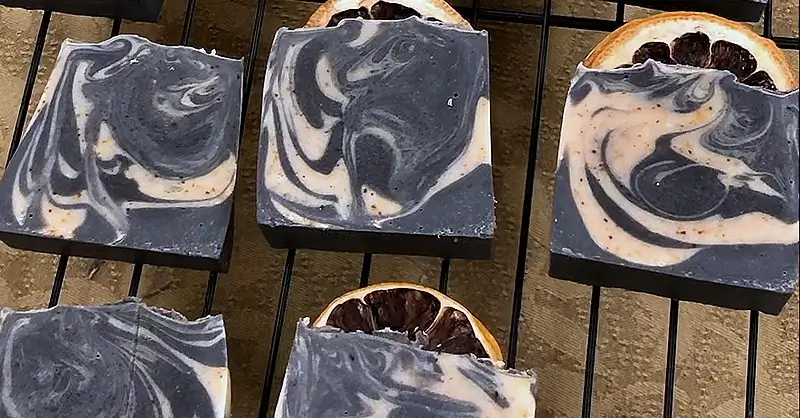
DIY Soap for Oily Skin Recipe is a fantastic way to manage excess oil and achieve a brighter complexion naturally. This soap combines the powerful oil-absorbing properties of activated charcoal with the skin-brightening benefits of turmeric, making it ideal for those struggling with oily skin.
In this Soap for Oily Skin DIY Guide, you’ll follow a detailed process to create this effective soap. Although the steps are thorough, each one contributes to a final product that helps control shine and enhance your skin’s natural glow.
Ingredients Needed
Choose high-quality ingredients to boost the effectiveness and safety of your DIY beauty products.
- Coconut Oil
- Olive Oil
- Refined Shea Butter (odorless)
- Distilled Water
- Sodium Hydroxide (caustic soda or lye)
- Activated Charcoal Powder – Buy it pre-made or make it yourself: DIY Natural Activated Charcoal.
- Jojoba Oil
- Turmeric Powder for Skincare
- Lemon carrier oil
- Optional: Dried Lemon Slices
Tools Needed
- Safety items: Latex gloves, safety goggles, face mask
- Scale to weigh quantities
- One large bowl
- One medium-sized bowl
- Glass beaker
- Teaspoon
- Silicone spatula. Use only silicone or stainless steel.
- Electric hand mixer
- Rectangular silicone mold
Prior to use, ensure that both your utensils and containers are properly cleaned and disinfected. Wash them with warm soapy water, dry with a tissue, and then sanitize by spraying with 70% medical alcohol. Wipe them clean and let them air dry before use.
Safety Precautions
We are using the cold process soap making technique in this guide. This requires mandatory safety measures that you should take during the process:
- No part of your skin should be exposed at any time during the process (a long-sleeved shirt and an apron are good ideas here)
- Don’t let any children or pets come near your soap making work table
- Your soap making table should be in a ventilated area at all times (an open window is a good idea )
- Latex gloves, safety goggles, and face masks should be worn at all times
- Only use silicone, plastic, and stainless steel tools
- All utensils and tools used for cold process soap making should be dedicated solely to this purpose and not used for food preparation.
Steps: DIY Soap for Oily Skin Recipe
This soap is crafted using the cold process method, a time-honored technique where fats and oils are mixed with sodium hydroxide (lye). Through a chemical reaction called saponification, this process transforms the ingredients into soap.
1- Make sure to follow all the safety precautions outlined above before you begin.
The Oils
2- Begin by placing 125 grams (4.4 oz) of coconut oil in a large bowl.
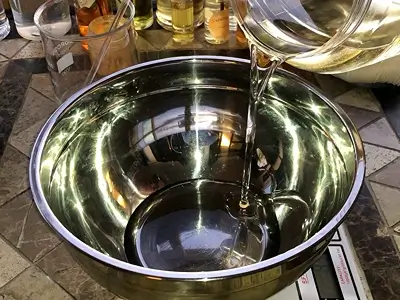
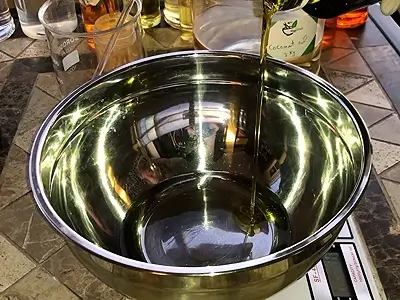
3- Add 250 grams (8.81 oz) of olive oil.
4- Add 125 grams (4.4 oz) of refined shea butter (odorless).
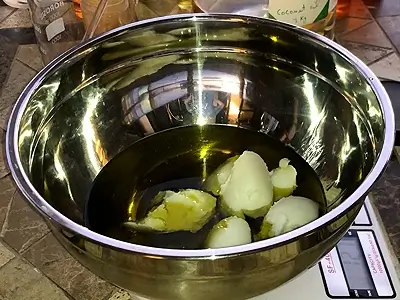
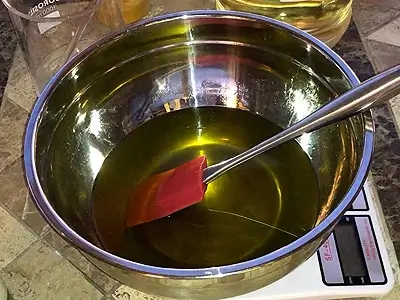
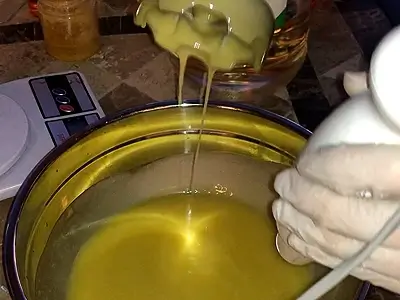
5- Gently heat and melt the ingredients in a bain-marie (hot water bath). A bain-marie is made by placing the bowl in a larger pot of hot, steaming water. This will gradually heat and melt the contents. Make sure to stir while the mixture is melting. Avoid boiling.
6- After using the bain-marie, set the bowl aside and let the contents cool to room temperature.
The Sodium Hydroxide Solution
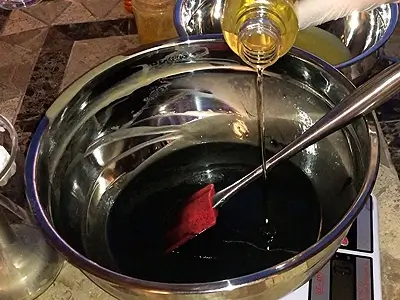
7- In a separate glass beaker, pour 175 grams (6.17 oz) of distilled water.
8- Slowly add 75 grams (2.64 oz) of sodium hydroxide (caustic soda or lye) to the distilled water while stirring with a silicone spatula.
- Begin by adding a small amount of sodium hydroxide, stirring each time, and continue gradually until all of it is fully dissolved.
- Important: Never pour distilled water onto sodium hydroxide, as this can be hazardous!
- Perform this process slowly, keeping the beaker at a safe distance from yourself.
9- Let the contents of the beaker cool to room temperature.

Combine The Main Soap Mixture
Important: Both the oils and the sodium hydroxide solution must be below 40 degrees Celsius (104 degrees Fahrenheit) and close to each other in temperature.
10- Slowly pour the sodium hydroxide solution into the oil mixture while stirring with the silicone spatula. Avoid pouring the oils over the sodium hydroxide solution.
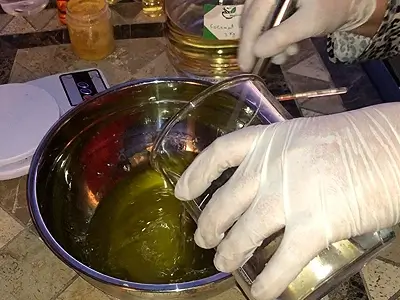
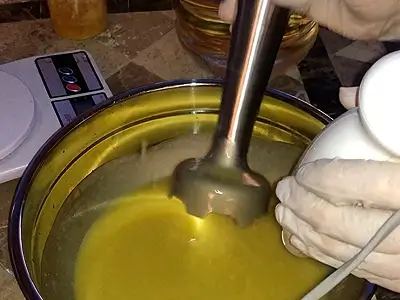
11- Once the sodium hydroxide solution is added to the oils, stir continuously for one minute. The mixture will begin to thicken.
12- Use an electric hand mixer to blend the mixture for 5-10 seconds. Then, stop the mixer and stir manually with the silicone spatula or the mixer shaft for a few seconds.
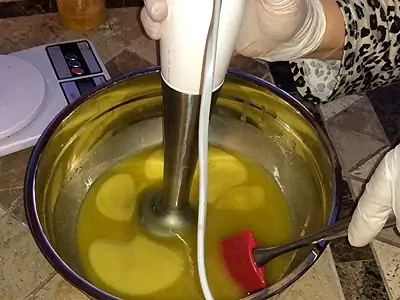
13- Continue alternating between blending with the electric mixer and stirring manually until the soap mixture partially thickens, forming a light, viscous layer on the lower part of the mixer shaft. At this stage, the mixture is ready for the next ingredients, but full saponification will occur after the final mixing, just before pouring into the mold.
Charcoal Half and Turmeric Half
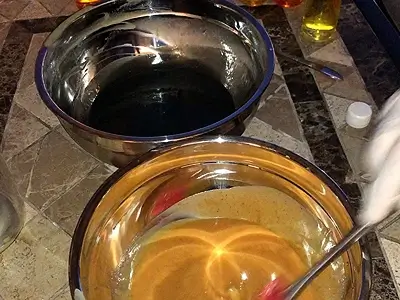
14- Divide the mixture into two equal parts by pouring half of it into another medium-sized bowl.
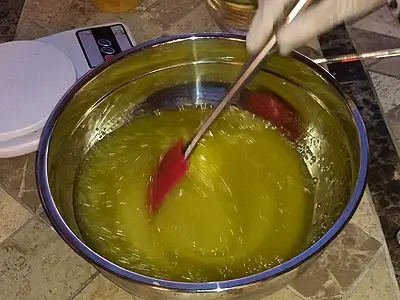
15- Add one teaspoon of activated charcoal to the first bowl (approximately 2% by weight).

16- Stir thoroughly.
17- Add 12.5 grams (0.44 oz) of jojoba oil to the charcoal mixture.
18- Mix well.
19- Add one teaspoon of turmeric powder (for skincare) to the second bowl (also approximately 2% by weight).
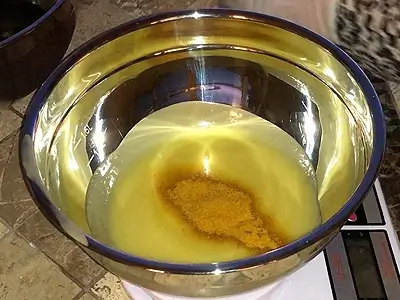
20- Stir the contents.
21- Add 12.5 grams (0.44 oz) of lemon carrier oil to the turmeric mixture.
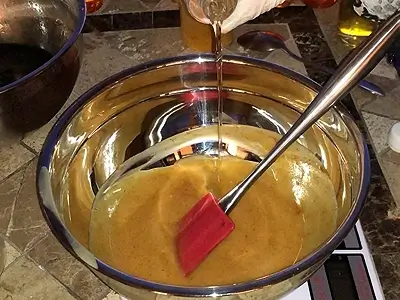
22- Stir thoroughly.
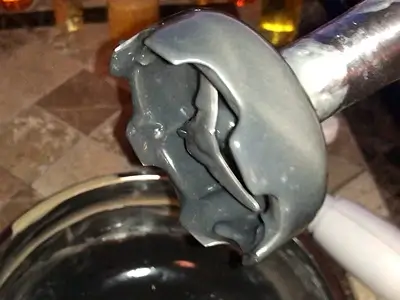
23- Complete the saponification process by alternately whipping each mixture with the electric mixer and stirring with the spatula or mixer shaft.
Continue until the soap mixture thickens. You’ll know it’s ready when a thick, viscous layer forms on the lower part of the mixer shaft. This indicates that the soap has properly thickened and the saponification process is complete.
Final Steps
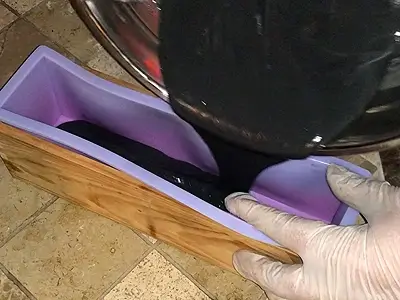
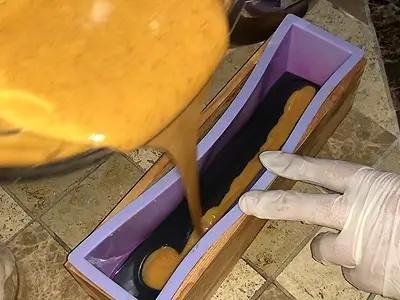
24- Pour the soap mixtures into a rectangular mold in alternating layers, using one layer of charcoal mixture and then one layer of turmeric mixture. Continue layering until the mold is full. After each layer, gently tap the mold on the table and give it a slight shake to help each layer settle.
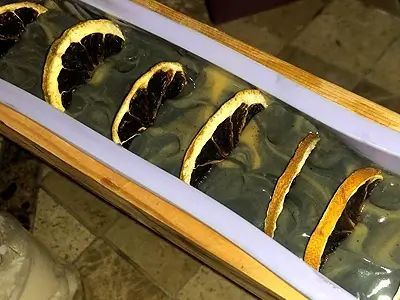
25- As an optional step for a decorative touch, partially insert dried lemon slices into the soap surface.
26- Let the soap in the mold solidify for 24 hours.
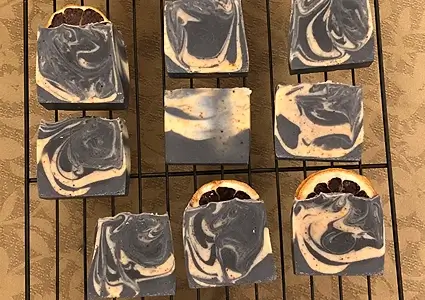
27- Once the soap has hardened, carefully remove it from the mold and cut it into suitable sizes.
28- Your DIY Soap for Oily Skin Recipe is now complete.
Important: The soap bars need to cure for at least 6 weeks. This curing time ensures that the sodium hydroxide is fully neutralized. Only after this period should you use the soap or package it for gifting.
How to Use This DIY Soap for Oily Skin
a. Prep the Soap: Wet your face or body with warm water. This helps open up your pores and prepares your skin for the soap.
b. Lather and Apply: Rub the DIY soap between your hands to create a lather. Gently massage the lather onto your skin in circular motions, focusing on areas prone to excess oil.
c. Rinse Thoroughly: Rinse off the soap with lukewarm water, ensuring all residue is removed. After cleansing, you can apply a toner to balance your skin’s pH, followed by a serum or moisturizer to hydrate and protect your skin.
d. Store Properly: Keep the soap in a dry, cool place to maintain its effectiveness and extend its shelf life. Avoid exposing it to excessive moisture.
Benefits
Controls Excess Oil: The activated charcoal in the soap effectively absorbs excess oil and impurities, helping to reduce shine and prevent clogged pores.
Brightens Skin: Turmeric powder is known for its skin-brightening properties, which help even out skin tone and enhance radiance, leaving your complexion looking fresh and glowing.
Cleanses Deeply: This soap provides a deep cleanse by removing dirt and excess oil, which helps to clear and refresh your skin, reducing the likelihood of breakouts.
Balances Skin: By regulating oil production and removing impurities, the soap helps maintain a balanced skin environment, promoting healthier and more balanced skin overall.
Natural Ingredients: Made with natural ingredients like activated charcoal and turmeric, this soap is a gentle and effective alternative to chemical-laden products.
Here are more tutorials of interest:
- DIY Face Wash with Tea Tree Oil: Treat Your Skin to This Must-Try Recipe
- Homemade Foot Soak for Dry Feet: The Best DIY Solution for Happy Feet
- DIY Soap for Sensitive Skin with Oats and Honey: Gentle and Soothing Recipe
- DIY Glycerine Soap with Mint Recipe: Refresh Your Skin with a Minty Delight!
- DIY Himalayan Bath Salts Recipe: Natural Healing Minerals for a Blissful Detox Soak
Video How-To on My Channel | Jinane World
The steps for the DIY Soap for Oily Skin Recipe are demonstrated in this video.