A DIY turmeric mask is a natural way to brighten your complexion and refresh your facial skin. Turmeric has long been known for its skin-enhancing properties, helping to reduce inflammation and even out skin tone. This simple, effective mask combines turmeric with other gentle ingredients to boost your skin’s glow.
In this guide, you’ll learn how to create a DIY turmeric mask with just a few ingredients like xanthan gum and vegetable glycerine. It’s an easy addition to your skincare routine that can leave your face feeling smoother and looking more radiant.
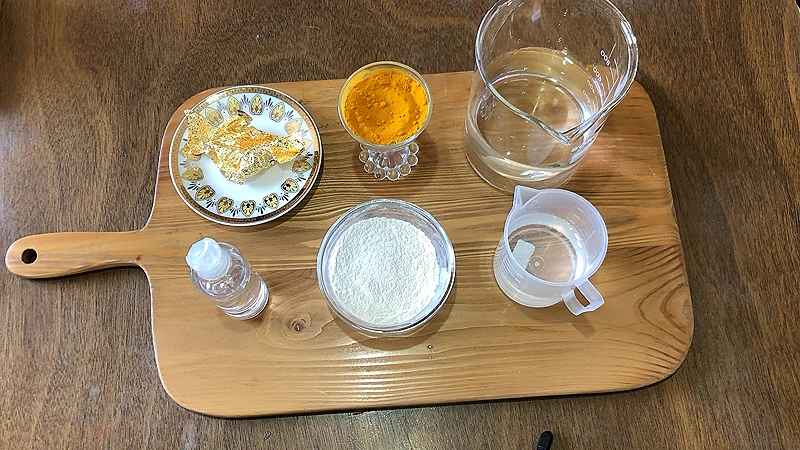
Ingredients Needed
Choose high-quality ingredients to boost the effectiveness and safety of your DIY beauty products.
- Xanthan Gum: A natural thickener that gives the mask a smooth, gel-like consistency, helping it spread evenly and stay on the skin for better absorption.
- Vegetable Glycerine
- Distilled Water
- Turmeric, specific to skincare
- Food-grade Gold Leaf (edible like the one used in cakes)
- Preservative: Germall Plus or similar
Tools Needed
- Scale to weigh quantities
- Glass beaker
- Bowls
- Glass mixing rod and wooden popsicle sticks
- Small whisk
- PH test kit to test the acidity or alkalinity of the mask.
- Glass jar or container to store your DIY Turmeric Mask
Prior to use, ensure that both your utensils and containers are properly cleaned and disinfected. Wash them with warm soapy water, dry with a tissue, and then sanitize by spraying with 70% medical alcohol. Wipe them clean and let them air dry before use.
Steps: DIY Turmeric Mask
1- Put 4 grams (0.14 oz) of xanthan gum into a beaker.
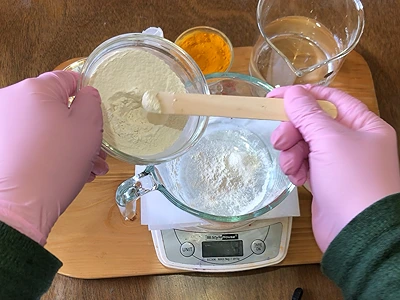
2- Add 20 grams (0.70 oz) of vegetable glycerine.
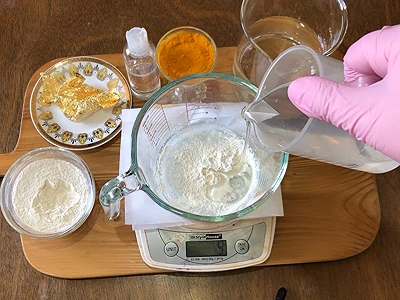
3- Mix thoroughly till the xanthan gum is fully blended with the glycerine.
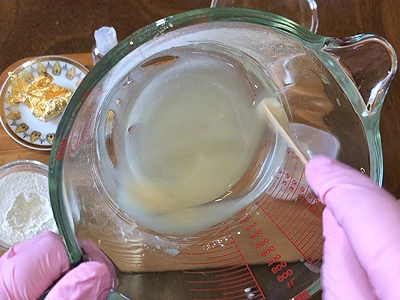
4- Add 164 grams (5.78 oz) of distilled water.
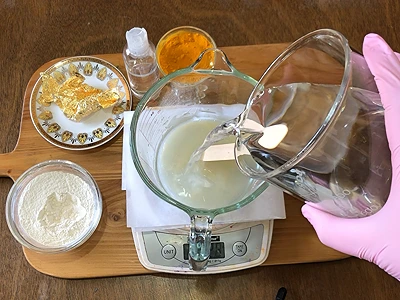
5- Mix well. As you mix the ingredients, you will notice them turning into a gel-like substance.
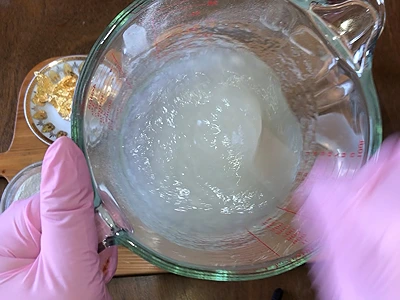
6- Add 3 grams (0.10 oz) of turmeric.
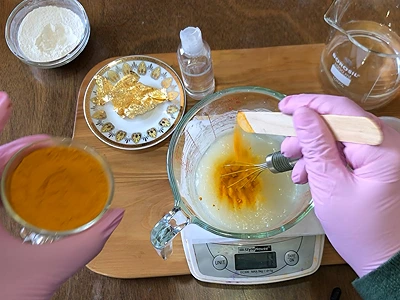
7- Mix thoroughly with a small whisk to blend the turmeric fully with the other ingredients.
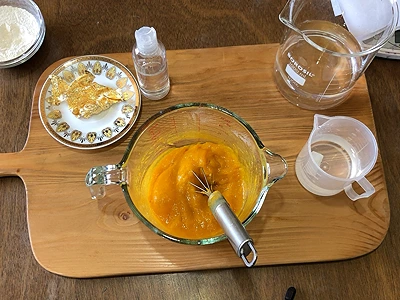
8- Now, we will add the gold leaf. Use the quantity shown in the image below.
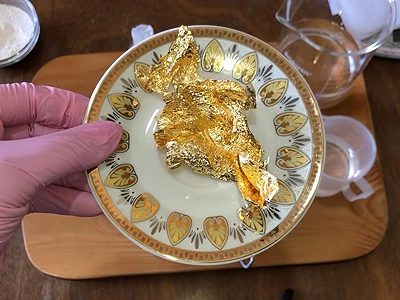
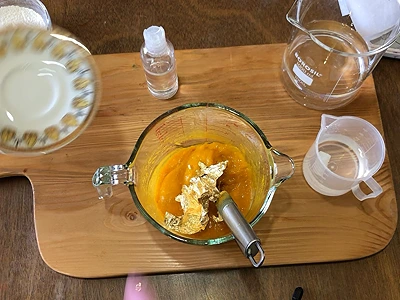
9- Using the whisk, mix again till the gold leaf is disintegrated and mixed with the mask.
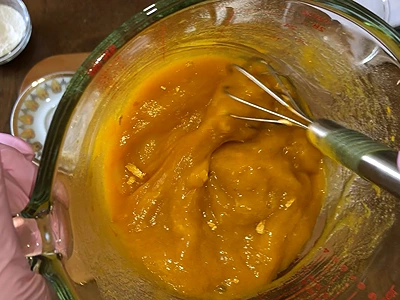
Note: You will notice that even after thorough mixing, the gold leaf pieces are somewhat visible in the mask. This is normal; when you apply the mask to your skin, the pieces will melt.
10- At this stage, we add the preservative. I am using germal plus. You can use an equivalent one. For the mask quantity we have prepared, add 1 gram (0.035 oz) of preservative.
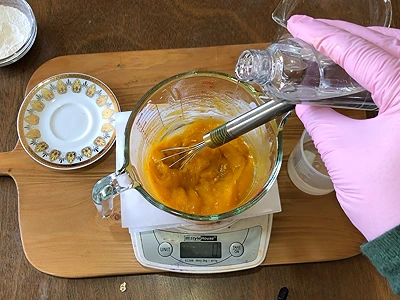
11- Mix the preservative well into the mask mixture.
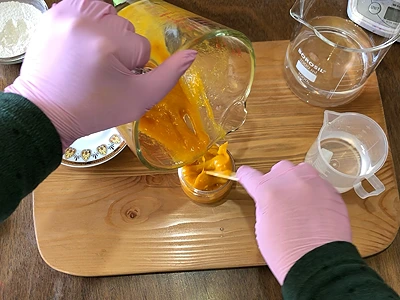
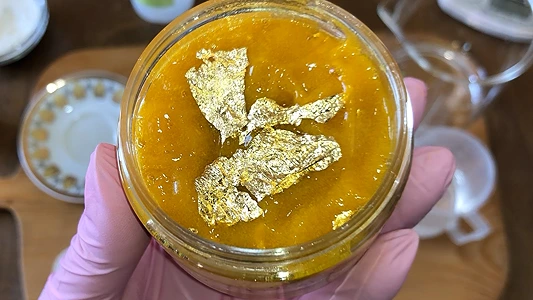
12- Put the mask mixture into a clean and disinfected glass container. For aesthetics, you can add some gold leaf on the surface.
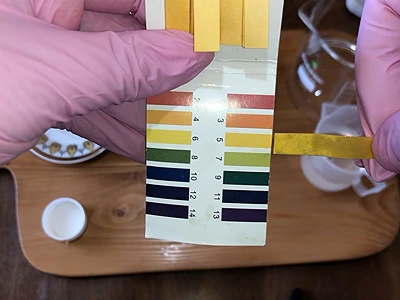
13- As a final step, we will test the PH of the mask. It should be between 4.5 and 5.5. Here, in the mask I have prepared, I get 5 as per the color comparison.
How To Use: DIY Turmeric Mask
To use this DIY turmeric mask for your face and reap its incredible benefits, follow these simple steps:
a. Cleanse your face: Start with a clean and dry face. Gently remove any makeup, dirt, or impurities using a mild cleanser suitable for your skin type. Pat your face dry with a clean towel.
b. Apply the mask: Using clean fingers or a cosmetic brush, apply an even layer of the turmeric mask to your entire face, avoiding the delicate eye and lip areas. Gently massage the mask onto your skin using circular motions, ensuring thorough coverage.
c. Relax and let it dry: Once applied, find a comfortable place to relax and allow the mask to dry for about 15-20 minutes. During this time, the mask will work its magic, nourishing and revitalizing your skin.
d. Rinse off: After the recommended time, moisten a soft washcloth with warm water and gently wipe away the dried mask. Rinse your face with lukewarm water to ensure all traces of the mask are removed.
e. Moisturize: To complete the process, apply a hydrating facial moisturizer suitable for your skin type. This will help seal in the benefits of the turmeric mask and keep your skin supple and nourished.
Note: It’s important to perform a patch test before using the turmeric mask on your entire face, especially if you have sensitive skin or known allergies. A patch test involves applying a small amount of the product on a small area of skin to check for any adverse reactions before using it on the face. If you experience any irritation or discomfort, discontinue use immediately.
Incorporate this DIY turmeric mask into your skincare routine once a week, and witness the transformation as your skin radiates with golden bliss.
Benefits: DIY Turmeric Mask
The DIY turmeric mask offers a multitude of benefits for your skin. From promoting a healthy complexion to addressing specific skin concerns, here are some of the advantages you can expect:
Radiant Glow: Turmeric possesses natural antioxidant properties that help combat free radicals and promote a radiant, youthful glow.
Even Skin Tone: The mask can help even out skin tone, reducing the appearance of dark spots, hyperpigmentation, and blemishes.
Soothes Inflammation: Turmeric’s anti-inflammatory properties can help calm and soothe irritated skin, making it beneficial for conditions such as acne, rosacea, and eczema.
Natural Exfoliation: The mask gently exfoliates the skin, removing dead cells and unclogging pores, leading to a smoother and brighter complexion.
Boosts Collagen Production: Turmeric promotes collagen synthesis, enhancing the skin’s elasticity and firmness, reducing the appearance of fine lines and wrinkles.
Oil Control: If you have oily skin, the mask can help regulate sebum production, reducing excess oiliness and preventing clogged pores.
Anti-Aging Effects: With its antioxidant-rich formulation, the turmeric mask helps combat signs of premature aging, such as fine lines, wrinkles, and dullness.
Skin Nourishment: The mask’s ingredients, such as vegetable glycerine and gold leaf, provide hydration, nourishment, and a healthy glow to your skin.
Natural Brightening: Turmeric’s natural skin brightening properties can help fade dark spots and promote a more even complexion.
Here are some articles on how to make body butters and body creams:
- Sparkle and Shine: Create Your Own Shimmering Lotion For a Glamorous Look
- Experience the Magic of DIY Rose Body Butter for Soft and Supple Skin
- Make Your Own Orange Body Butter: A Nourishing DIY Recipe
- How to Make Natural Sunscreen Cream: A DIY Guide for Healthy Skin Protection
- DIY Vitamin C Night Cream: A Natural and Nourishing Skincare Solution for Overnight Rejuvenation
Video How-To on My Channel | Jinane World
This video demonstrates the steps to create your own DIY Turmeric Mask.
