DIY Henna Soap is an all-natural, chemical-free beauty solution that can help transform your skin. By combining glycerine soap with henna powder, neem oil, and essential oils, you can create a powerful soap that nourishes and revitalizes your skin.
Whether you’re struggling with dryness, acne, or other skin issues, DIY Henna Soap can help restore your complexion to its natural beauty. So if you’re looking for a natural way to enhance your skincare routine, look no further than DIY Henna Soap. Keep reading to discover how to make your own batch at home today!
Ingredients Needed
- Glycerine soap. Alternative: Melt and pour soap.
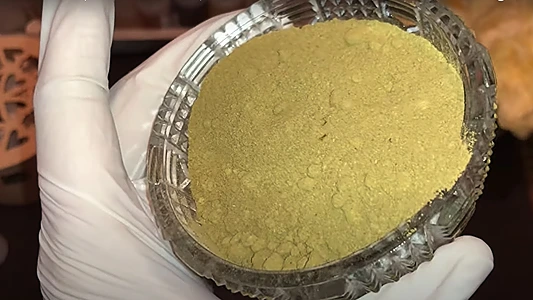
- Henna powder. This is natural and greenish in color.
- Neem oil. The neem oil has an unpleasant smell. This is why we will add essential oil.
- Essential oil (we will use cedarwood essential oil here).
Notes on Ingredients
Choose high-quality ingredients to boost the effectiveness and safety of your DIY beauty products.
When an essential oil is included, I use either concentrated or diluted essential oils. If using concentrated essential oils, use up to 0.5% by weight to ensure safety for all skin types. To use diluted essential oils, mix 1 gram (0.035 oz) of concentrated essential oil with 100 grams (3.5 oz) of sweet almond oil or jojoba oil.
If a recipe calls for fragrance oil, you can use diluted essential oil instead to benefit from both its scent and therapeutic effects. This provides a natural alternative to synthetic fragrance oils and offers additional benefits.
Tools Needed
- Medical alcohol 70%
- Scale to measure quantities
- Small bowl
- Stainless steel pot
- Teaspoons
- Wooden spoon
- Soap mold
Prior to use, ensure that both your utensils and containers are properly cleaned and disinfected. Wash them with warm soapy water, dry with a tissue, and then sanitize by spraying with 70% medical alcohol. Wipe them clean and let them air dry before use.
Steps: DIY Henna Soap
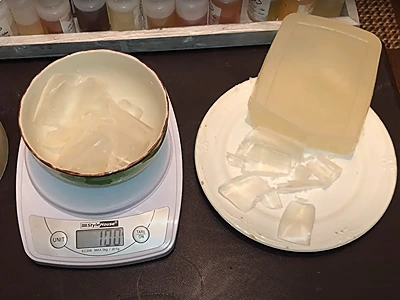
1- Add 100 grams (3.53 oz.) of glycerine soap into a bowl.
2- Melt the contents of the bowl through a hot water bath (bain-marie).
A hot water bath is done by placing the bowl in a larger pot of hot steaming water. This will gradually melt whatever is inside the bowl without causing it to burn. As the contents of the bowl melt, make sure to mix every now and then.
When the contents have fully melted, you can take the bowl out of the pot and continue to the next step.
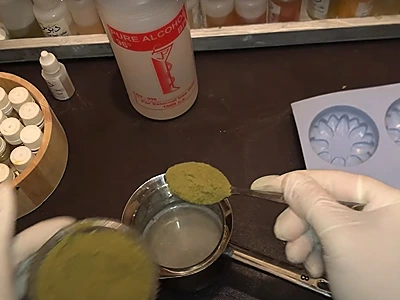
3- Add 1 teaspoon (5 grams or 0.18 oz) of henna powder into the bowl.
4- Mix the ingredients well using a wooden spoon.
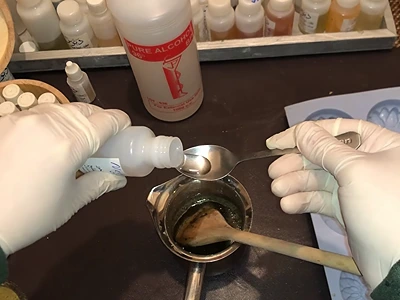
5- Add 1/2 a teaspoon (approximately 3 grams or 0.11 oz.) of neem oil and mix well.
6- Wait for the mixture to cool slightly to allow the vapor to dissipate (1 minute should be enough). If we don’t do this, the essential oil that we will add in the next step might evaporate. In the meantime, keep stirring the mix.
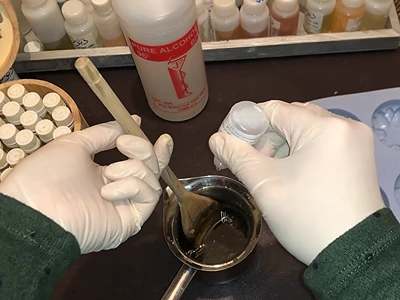
7- Add 6 drops of your chosen essential oil and mix well.
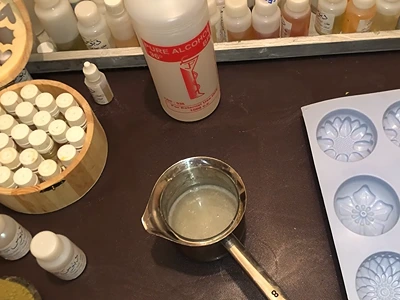
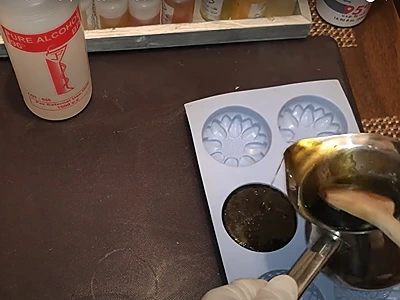
8- Pour the soap mixture into the mold and spray the surface with medical alcohol 70%. We do this to avoid having any bubbles on the surface of the soap.
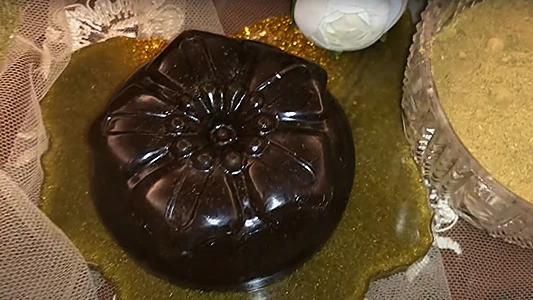
9- Wait for the soap to fully harden and take it out of the mold slowly.
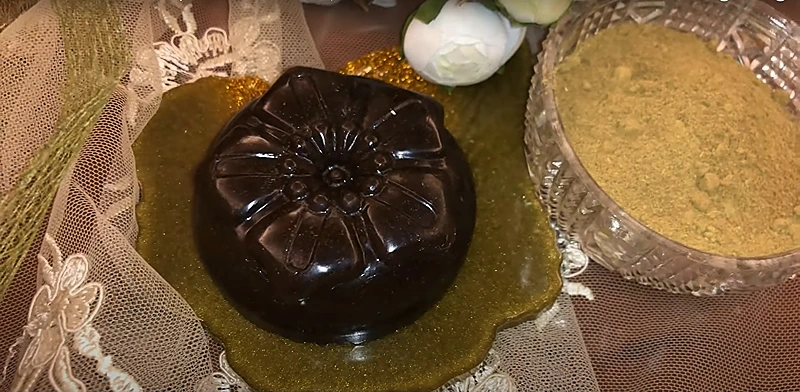
10- Congratulate yourself for making your very own henna soap right at home!
How To Use: DIY Henna Soap
To use your DIY Henna Soap, begin by wetting your skin with warm water. Next, lather the soap in your hands or on a washcloth and gently massage it onto your skin in circular motions. Be sure to pay special attention to any problem areas or areas of dryness.
Rinse off the soap with warm water and pat your skin dry with a clean towel. You may notice a slight greenish tint from the henna, but don’t worry – this is completely normal and won’t stain your skin.
For best results, use your DIY Henna Soap daily as part of your regular skincare routine. With its natural ingredients and gentle cleansing properties, your skin is sure to look and feel its best in no time!
Benefits: DIY Henna Soap
Gentle cleansing: The natural glycerine soap used in this recipe helps to gently cleanse the skin without stripping away natural oils. This can be especially beneficial for those with sensitive or dry skin.
Moisturizing: The combination of glycerine soap and neem oil in this recipe can help to moisturize the skin, leaving it feeling soft and smooth.
Nourishing: Henna powder contains natural compounds that can help to nourish the skin, promoting a healthy, youthful glow.
Natural ingredients: By using natural ingredients like henna powder and essential oils, you can avoid harsh chemicals and synthetic fragrances often found in commercial skincare products. This can be especially important for those with sensitive skin or allergies.
For more articles on DIY natural handmade soaps, check these out:
- DIY Handmade Beetroot Soap with Cherry Oil: A Natural Skincare Solution
- Detoxify Your Skin: DIY Activated Charcoal Soap Recipe with Glycerine
- DIY Blue Nila Soap: How to Make it at Home with Glycerin
- DIY Cold Process Coconut Oil Soap: Nourish Your Skin Naturally
- Nourish Your Skin with Homemade Oat Soap: A Step-by-Step Guide
Video How-To on My Channel | Jinane World
The steps to make your own DIY henna soap are demonstrated in this video.