Introducing our latest self-care obsession: DIY Foaming Sand Scrub for soft, glowing skin. If you’re seeking the ultimate pampering experience and a natural way to rejuvenate your hands and body, look no further.
This easy-to-make scrub combines the exfoliating power of clean sand with the nourishing benefits of foaming butter, infused with an aromatic fragrance oil. Get ready to unlock the secret to radiant skin with the DIY Foaming Sand Scrub. Say goodbye to dullness and hello to a revitalized, silky-smooth complexion.
Ingredients Needed
- Foaming Butter: You can buy it ready or, better yet, make it at home as per this article: DIY Foaming Bath Butter.
- Clean Sand: It can be purchased ready to use for skincare. Alternatively, you can collect fine sand from the beach. If you choose this option, make sure to wash the sand thoroughly, dry it completely, and filter it to remove any unwanted materials like glass or shells.
- Oil-soluble Liquid Color
- Fragrance Oil
Notes on Ingredients
Choose high-quality ingredients to boost the effectiveness and safety of your DIY beauty products.
When an essential oil is included, I use either concentrated or diluted essential oils. If using concentrated essential oils, use up to 0.5% by weight to ensure safety for all skin types. To use diluted essential oils, mix 1 gram (0.035 oz) of concentrated essential oil with 100 grams (3.5 oz) of sweet almond oil or jojoba oil.
If a recipe calls for fragrance oil, you can use diluted essential oil instead to benefit from both its scent and therapeutic effects. This provides a natural alternative to synthetic fragrance oils and offers additional benefits.
Tools Needed
- Scale to measure quantities
- One large bowl
- Two small bowls
- Electric hand mixer
- Large spoon
- Tablespoon
- wooden popsicles
- Container to store the foaming sand scrub
Prior to use, ensure that both your utensils and containers are properly cleaned and disinfected. Wash them with warm soapy water, dry with a tissue, and then sanitize by spraying with 70% medical alcohol. Wipe them clean and let them air dry before use.
Steps: DIY Foaming Sand Scrub
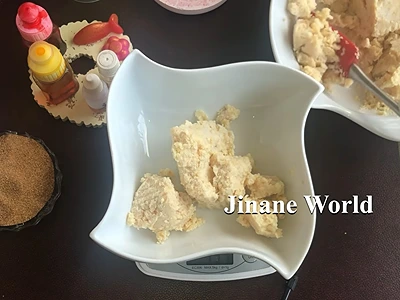
1- Start by adding 300 grams (10.58 oz) of foaming butter into the large bowl.
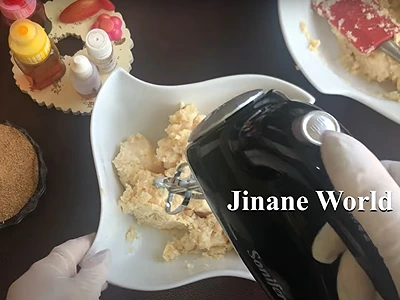
2- Using an electric hand mixer, whip the foaming butter till it acquires a cream-like texture.
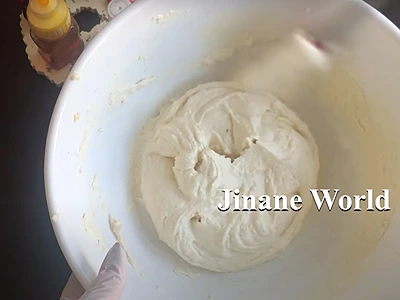
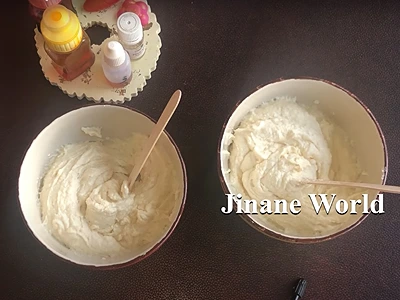
3- The foaming butter should now have a creamy consistency.
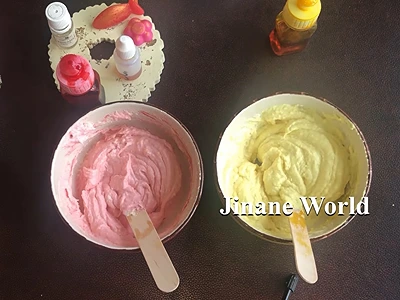
4- Split the whipped foaming butter into two equal parts, because we will be making two scrubs of different colors and fragrances, one inspired by pineapple and the other by pomegranate. Put each part in its own small bowl.
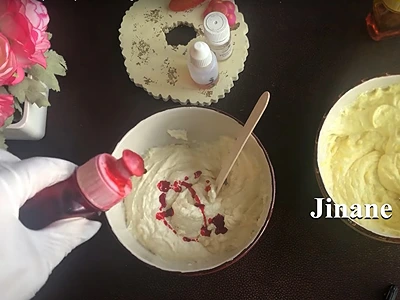
5- Now, we will add the colors. Use oil-soluble liquid colors. They mix well with the foaming butter and they don’t leave any residual stain on the skin.
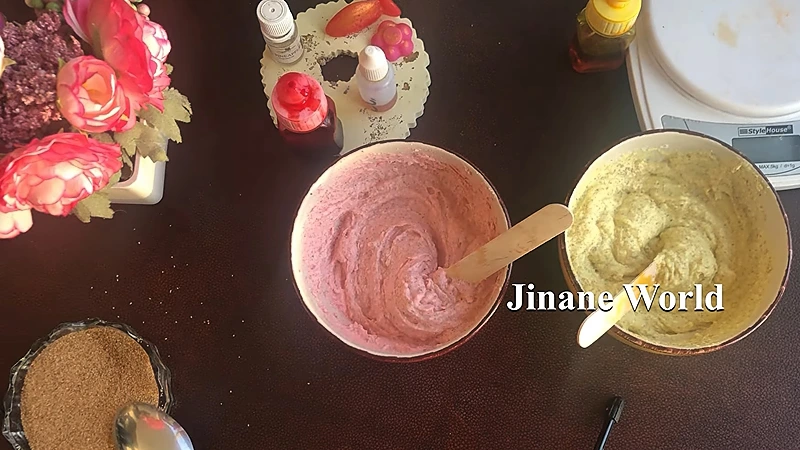
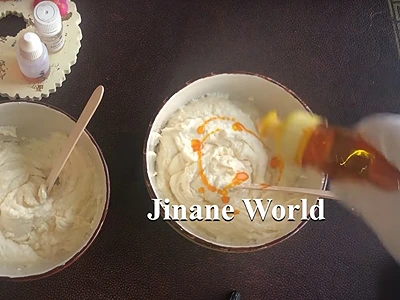
6- Add some yellow color to the pineapple bowl, and some red color to the pomegranate bowl.
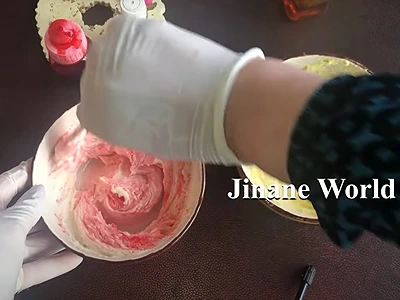
7- Mix each thoroughly.
8- Now, we will add the fragrance oils. Add about 10 drops of pineapple fragrance oil to the yellow bowl, and add 10 drops of pomegranate fragrance oil to the red bowl.
9- Mix again.
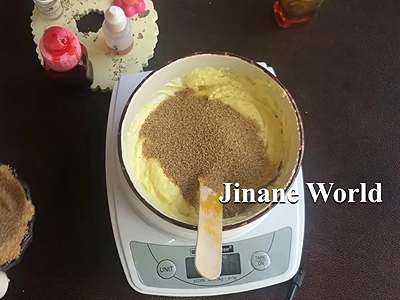
10- With a tablespoon, add 66 grams (2.32 oz) of clean sand to each bowl.
11- Mix well.
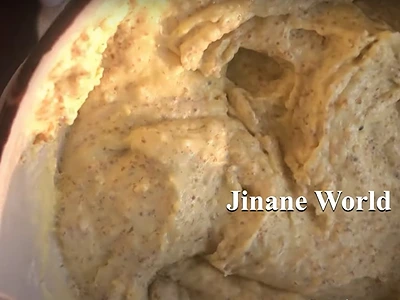
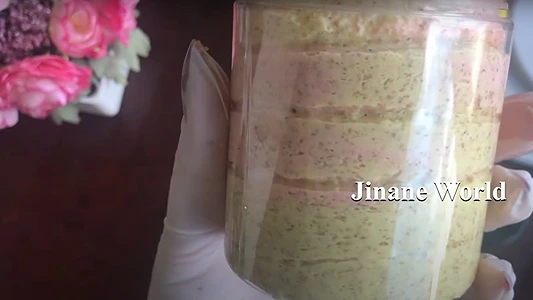
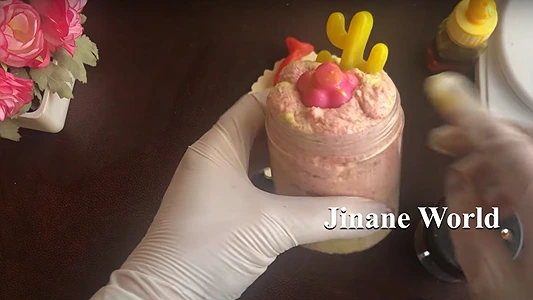
12- The DIY foaming sand scrub is now done. Scoop each part into its own container.
Let’s Try it Out
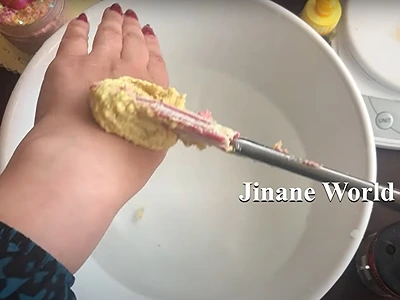
I will apply some on my hand to try out its lathering.
How To Use: DIY Foaming Sand Scrub
Discover the transformative power of our DIY Foaming Sand Scrub and learn how to incorporate it into your skincare routine for soft, glowing skin. Using this rejuvenating scrub is a breeze, and here’s how:
a. Start by dampening your hands or body with water. The scrub works best on moist skin, as it helps to activate the exfoliating properties of the sand.
b. Take a small amount of the DIY Foaming Sand Scrub in your hands. Gently massage it onto your skin in circular motions. The clean sand particles will work their magic, sloughing away dead skin cells and revealing a fresh, vibrant complexion underneath.
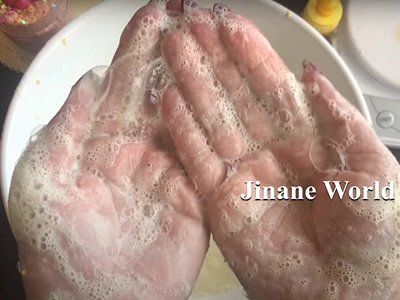
c. As you massage, the scrub will begin to foam, creating a luxurious lather that cleanses and nourishes your skin. Enjoy the velvety texture and invigorating sensation as you continue to massage for a few minutes.
d. Rinse thoroughly with warm water, ensuring that all traces of the scrub are removed from your skin. Pat dry with a soft towel.
e. Follow up with your favorite moisturizer to lock in the hydration and seal the benefits of the scrub. Your skin will feel exceptionally soft, rejuvenated, and ready to glow.
Remember to use the DIY Foaming Sand Scrub 2-3 times a week for optimal results. It’s the perfect addition to your self-care routine, providing you with a spa-like experience in the comfort of your own home.
Benefits: DIY Foaming Sand Scrub
Indulging in the use of DIY Foaming Sand Scrub offers a multitude of benefits for your skin. Here are some of the advantages you can expect:
Exfoliation: The clean sand particles in the scrub act as gentle exfoliants, sloughing away dead skin cells and unclogging pores. This process reveals a fresh, rejuvenated layer of skin, promoting a smoother and more radiant complexion.
Soft and Smooth Skin: The combination of foaming butter and sand helps to moisturize and nourish your skin, leaving it feeling incredibly soft and supple. Regular use of the scrub can help alleviate dryness and rough patches, resulting in a smoother texture overall.
Improved Skin Tone: By removing dead skin cells and stimulating blood circulation, the DIY Foaming Sand Scrub can contribute to a more even skin tone. It can help diminish the appearance of blemishes, hyperpigmentation, and rough patches, giving your skin a healthier and more balanced look.
Enhanced Absorption: Exfoliating your skin with the scrub helps to remove the barrier of dead skin cells, allowing your skincare products to penetrate more effectively. This means that moisturizers, serums, and other treatments can work more efficiently, maximizing their benefits for your skin.
Invigorating Experience: The foaming action and delightful fragrance of the scrub create a luxurious and invigorating sensory experience. It can uplift your mood, provide a sense of relaxation, and make your skincare routine feel like a spa-like indulgence.
For more articles on DIY scrubs, check these out:
- How to Make Body Scrub: Discover the Enchanting Arabian Candy Scrub with Blue Nila
- Make Your Own Gel Face Scrub: 4 Ingredients Only for Natural Exfoliation and Nourishment
- Indigo Scrub with Sugar and Olive Oil: Revitalize Your Skin Naturally
- Natural Beauty Hack: How to Make Beetroot Body Scrub for Healthy Skin
- Get Silky Smooth Skin with this Easy DIY Rose Scrub with Blue Nila
Video How-To on My Channel | Jinane World
The steps to make your own DIY Foaming Sand Scrub are demonstrated in this video.